Choose the Palette as One Interacting System
Rock, wood, and substrate should not be selected in three unrelated shopping decisions. They share visual scale, support one another physically, influence the same water, and compete for the same tank volume. A branch that looks perfect on a shelf may float above the only stone capable of anchoring it. A beautiful soil may release nutrients into a sand path that was meant to stay clean. The best selection process starts with livestock and water, defines the scene, assigns each material a job, and tests the complete palette before purchase. That approach produces a layout that is coherent on camera and workable during ordinary maintenance.
A: Choose the dominant material first, based on whether geology or root structure leads the planned scene.
A: Inspect the exact batch, test representative pieces, and rely on observed composition and water effects rather than the label alone.
A: Yes, when it meets the livestock, root, nutrition, visual, and maintenance requirements across the whole footprint.
A: Use them when different areas have genuinely different planting or visual roles that a single material cannot satisfy.
A: They lock foundations, extend geological direction, and connect dramatic pieces to the terrain more naturally.
A: No. Identity, condition, treatment history, buoyancy, contact points, animal safety, and maintenance access are equally important.
A: Create enough contrast to see the animals without building a harsh palette that overwhelms their natural appearance.
A: Use it only if that change supports the livestock plan; otherwise choose a more compatible material rather than fighting it continuously.
A: Calculate from the mapped depths and retain a modest allowance for settling and corrections, avoiding an arbitrary oversized estimate.
A: Every material should support the same scene while meeting chemistry, structure, planting, animal, access, and maintenance constraints.
Write the Constraints Before Visiting a Supplier
Record the aquarium’s internal dimensions, equipment locations, and practical maximum hardscape height. List the planned animals with adult size, digging behavior, bottom contact, territory, water chemistry, and need for open swimming space. Add the planting method and maintenance schedule. These facts prevent a display bin from becoming the design brief.
Set a total material budget and estimate the volume available after substrate and hardscape displacement. Include hidden supports, delivery, and extra matching pieces. Large wood and stone reduce water volume quickly. A palette that fits the glass physically can still leave too little functional habitat at full maturity.
Define the Scene and Its Dominant Material
Decide whether the composition is led by geology, root architecture, or terrain. A mountain-style layout gives stone the strongest role and uses substrate to expose its formation. A flooded bank may be led by one wood mass, with stone serving as support. A streambed may depend on substrate grain and rounded cobbles more than any single object. Naming the dominant material tells you where quality and budget matter most.
Screen Rock for Chemistry, Structure, and Scale
Confirm the candidate stone is suitable for aquarium use and compatible with the water target. Trade names are unreliable, so inspect the actual batch and test when chemistry is uncertain. Carbonate-rich rock may support hard-water systems but work against a soft-water plan. Look for metallic veins, friable seams, coatings, strong odor, and residue.
Handle pieces from several angles. Find the stable base, the strongest face, the main directional line, and the portion that can be buried. Select one convincing primary piece plus supporting sizes from the same family. Avoid buying only dramatic peaks; low fragments and transition stones are necessary to make a formation meet the ground.
Judge scale inside a cardboard tank outline or against the aquarium measurements. A stone must remain visible after burial and mature plant growth, yet it cannot remove essential swimming room. Estimate weight before lifting and plan how it will enter the tank without striking a pane. Reject pieces that are too heavy to control safely.
Evaluate Wood for Shape, Buoyancy, and History
Choose only reliably identified, untreated aquarium-suitable wood. Avoid construction scraps, varnished pieces, aromatic wood, and roots from contaminated areas.
Examine soft sections, mold, loose bark, deep holes, and narrow forks. Preparation can remove dirt and reveal tannin release, but it cannot reverse chemical treatment or make an unsuitable species safe.
Match form to the scene. Branching wood creates movement and open canopy; compact root wood creates mass and shelter; long linear pieces can imply current or a fallen trunk.
Rotate the piece in the tank footprint. The most attractive tabletop orientation may require an unstable underwater contact point or send branches into the viewing glass.
Select Substrate by Animal Contact and Planting Role
Begin with the inhabitants. Bottom-sifting or burrowing animals need suitable grain shape and size, and powerful diggers can dismantle layered decorative systems. Then consider plants. Inert sand or gravel may require root tabs or water-column fertilization, while active aquatic soil can provide nutrients and alter chemistry. Product behavior and replacement life vary, so read the current guidance for the chosen material.
Decide Whether the Palette Needs One Substrate or Zones
A single substrate is easier to install and maintain. It can unify the tank and tolerate animal disturbance without exposing borders. Choose this route when the same material satisfies feeding, rooting, appearance, and cleaning across the aquarium. Variation can come from depth, planting, and hardscape rather than another grain.
Zoned substrates are useful when rooted planting needs soil while an open foreground needs sand, or when a stream channel should contrast with a planted bank. Draw the boundaries before buying quantities. Use hidden dividers and embedded materials to retain them, while accepting that roots, flow, and animals will move some grains.
A decorative cap adds another relationship to manage. Confirm the lower material will not rise through the cap during planting or siphoning and that the cap will not prevent roots from reaching their intended medium. Do not build layers merely because a diagram shows them; every layer should solve a requirement in this specific aquarium.
Coordinate Color Temperature, Texture, and Detail
Place damp samples together under the intended aquarium light. Cool gray fractured rock often pairs naturally with dark neutral substrate, while warm wood may sit comfortably against tan sand. Contrast can be useful, but an extreme black-and-white palette may overpower fish and plants. Consider how algae, biofilm, and tannins will shift the colors after several months.
Distribute texture by scale. If stone, wood, and gravel are all highly detailed, the tank can become visually noisy. Let one material carry the sharpest texture and use another as a quieter field. Repeat a few shapes across sizes so the palette relates without looking manufactured.
Build Three Small Candidate Palettes
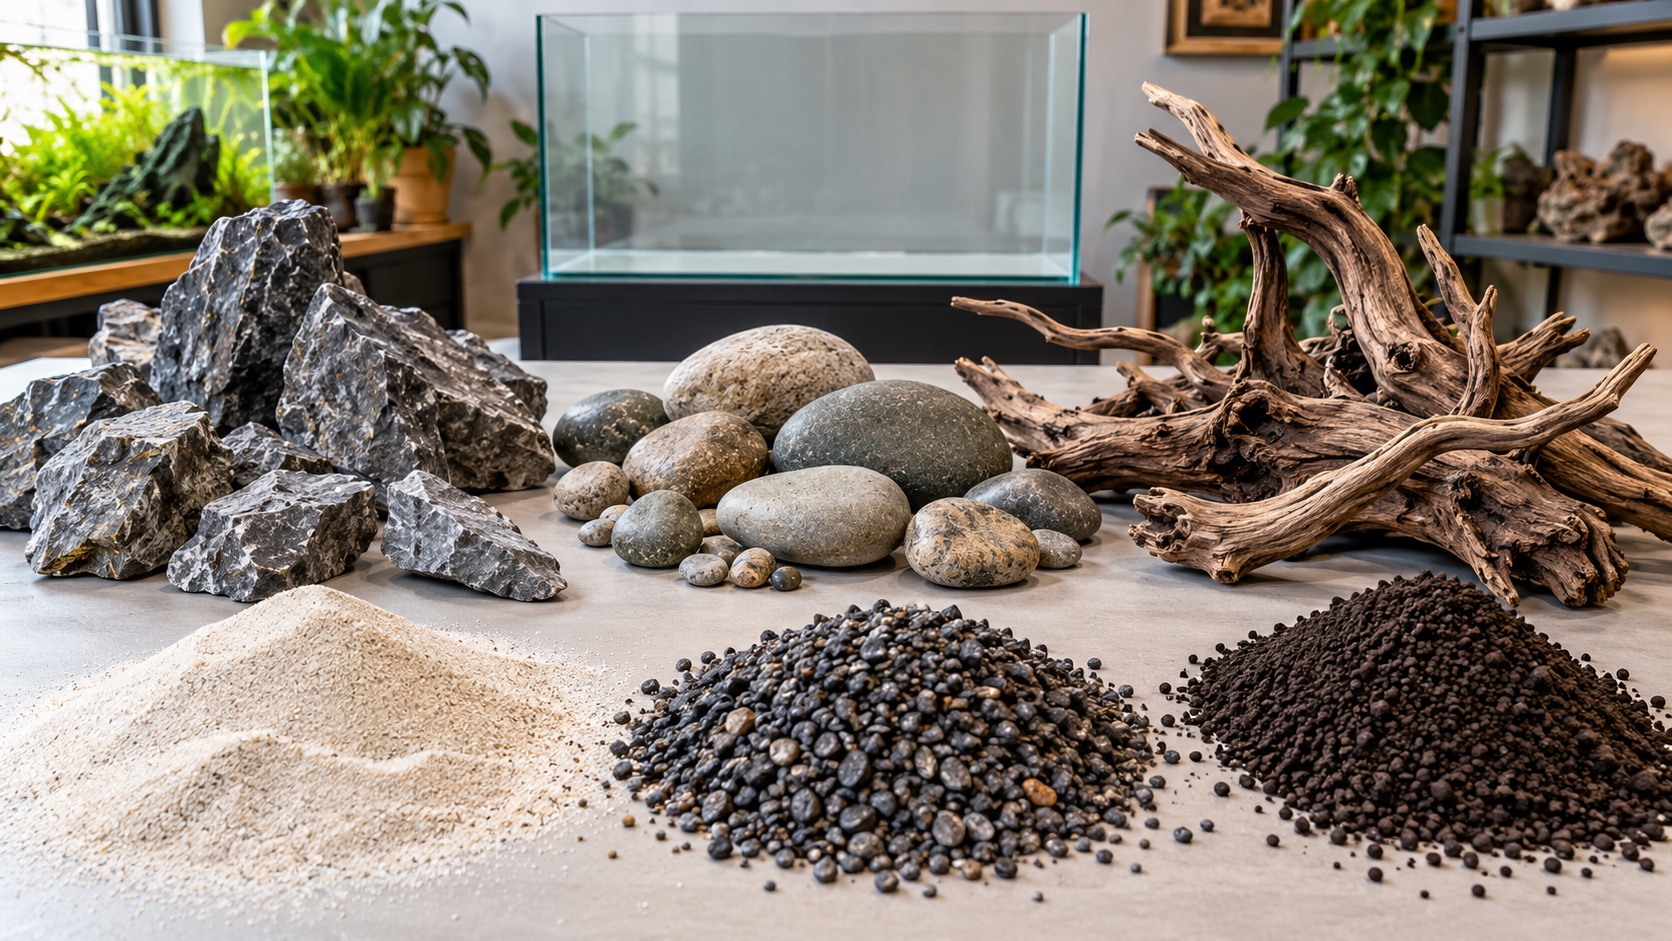
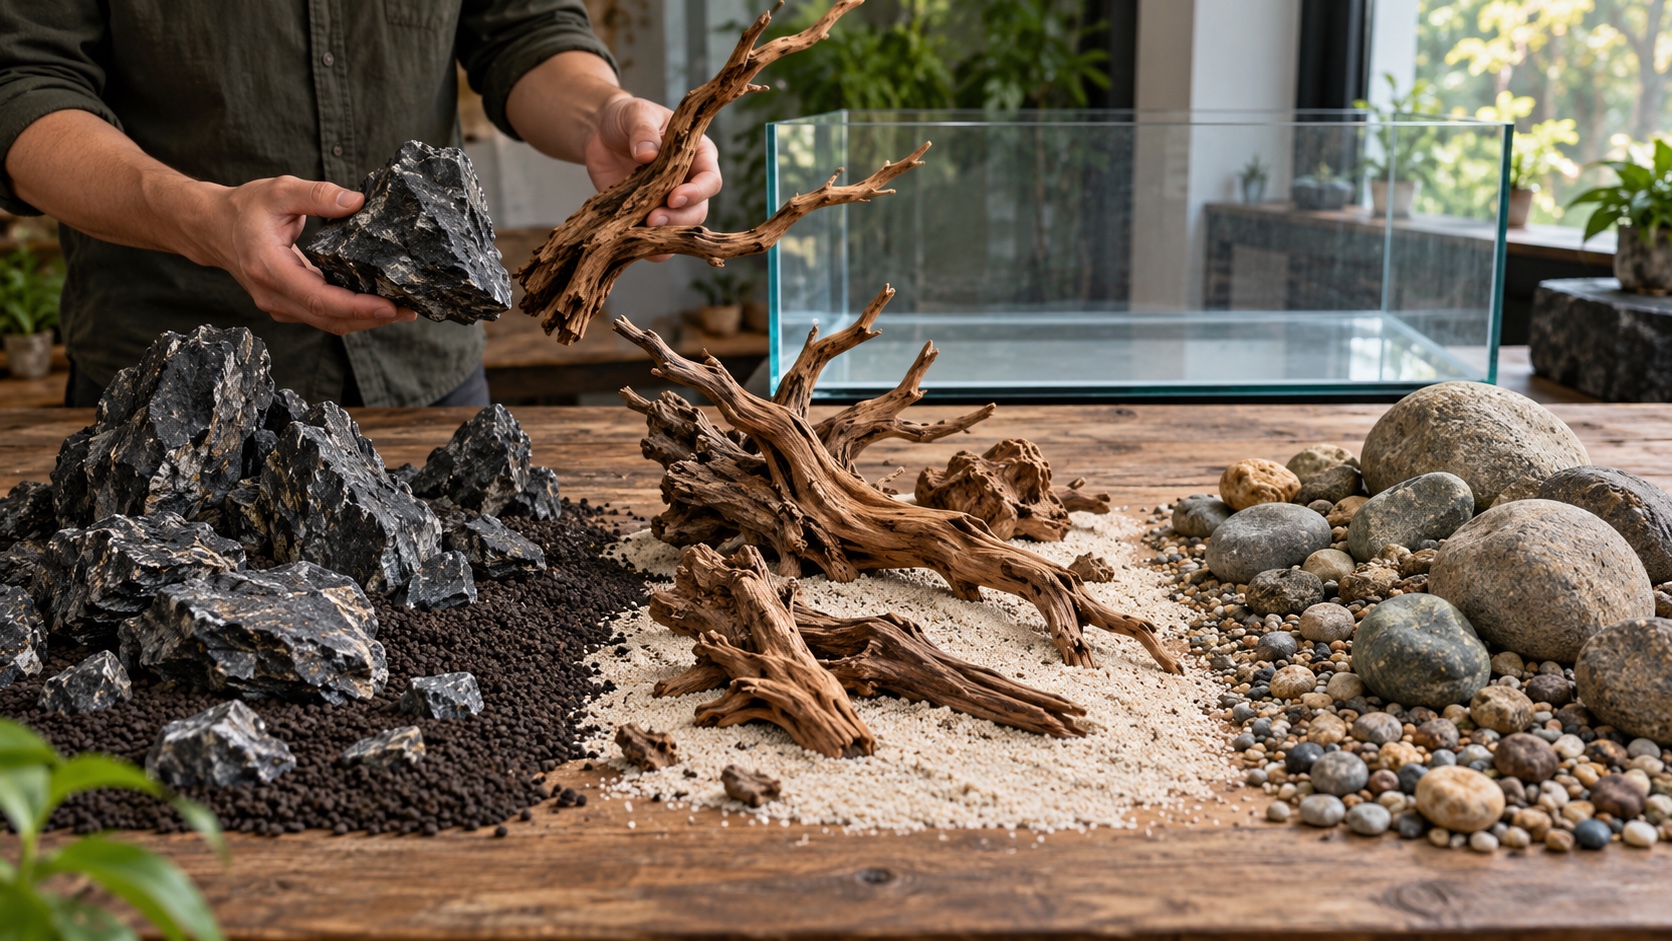
Instead of comparing every item in the shop, assemble three complete options. One might use dark angular rock with fine soil, another warm branching wood with pale sand, and a third rounded cobbles with natural gravel. Photograph each set from the future viewing angle. Score them against the written constraints, not against novelty.
Test the Leading Palette Before Committing
Soak representative stone in source water beside a control and compare pH, hardness, alkalinity, and conductivity. Soak wood to observe buoyancy, tannin release, soft areas, and trapped debris. Wet substrate to inspect dust, color, grain shape, and how easily current moves it. These tests reveal interactions that dry displays hide.
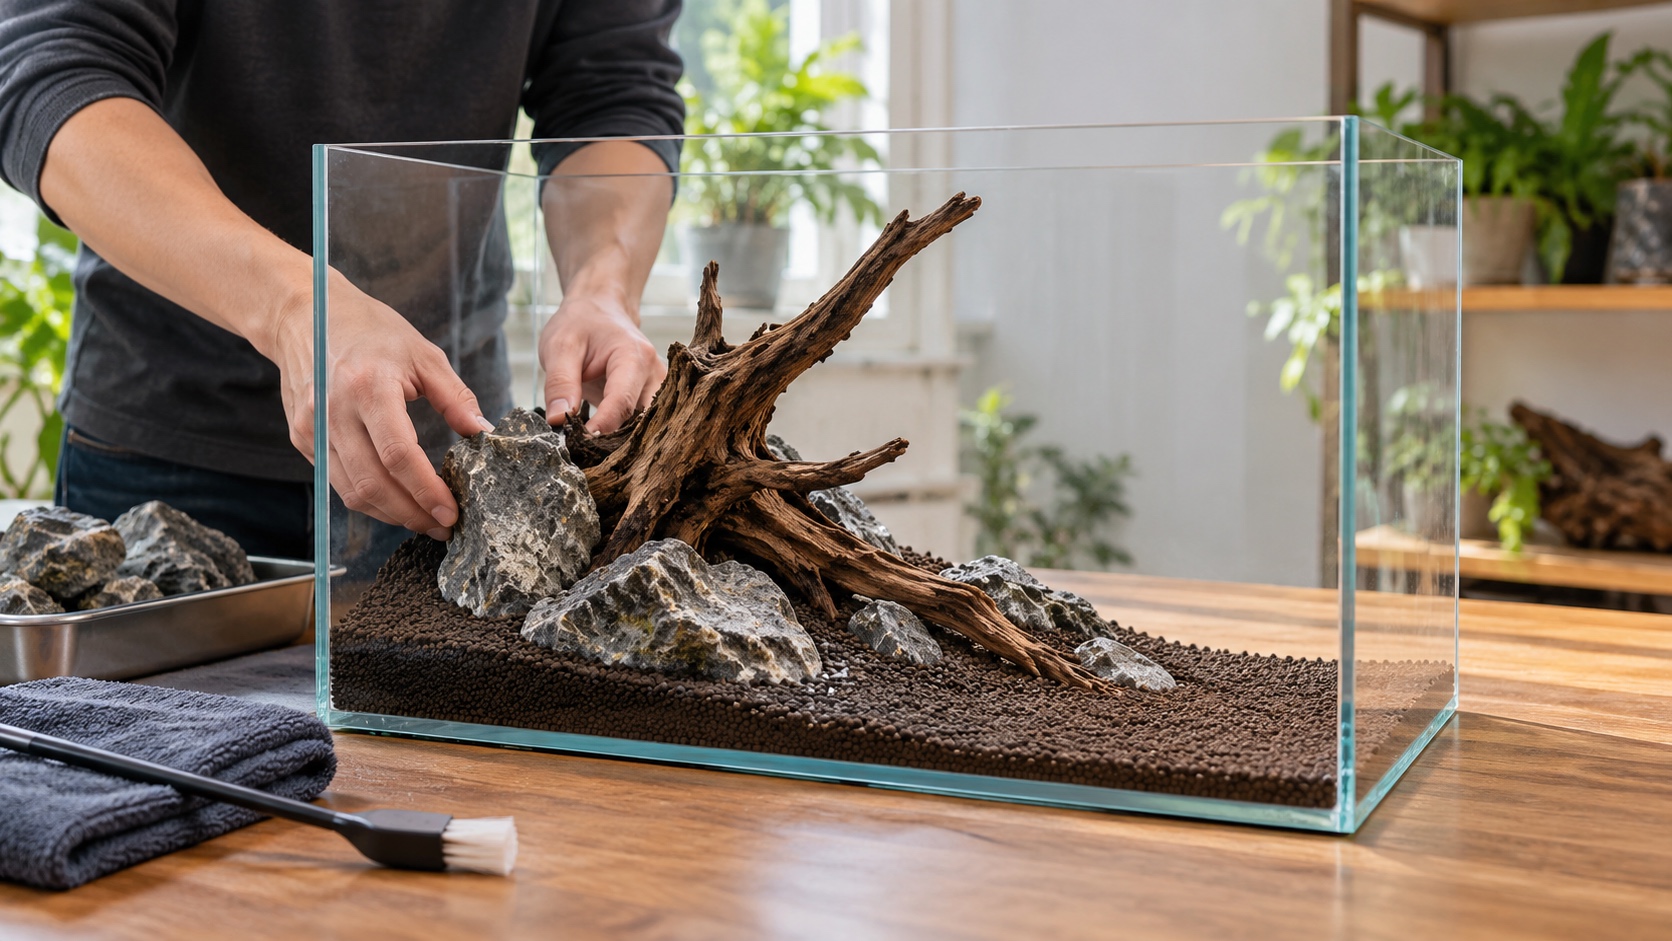
Rehearse the arrangement at full size with the intended substrate depth represented. Confirm important stones have stable bases, wood can be secured without glass pressure, and the material group leaves clear access. Add a line for mature plant height. Small support stones should remain useful even if they later disappear visually.
Estimate maintenance with the palette in place. Can a prefilter be removed? Can a siphon reach the low point? Will pale sand sit directly below a shedding moss wall? Does porous stone occupy the only convenient feeding area? Choose the palette that remains convincing after these practical questions, not the one that requires them to be ignored.
Purchase by Role and Keep the Final Selection Disciplined
Buy the primary piece first only when enough related support material is available. Select transitions, low fragments, and hidden supports deliberately. For wood, include the hardware or base needed to manage buoyancy. For substrate, calculate volume from actual planned depth and add a modest allowance for slope correction rather than guessing by tank length alone.
Keep receipts and batch information until testing is complete. Materials sold under the same name can vary between shipments. Clean and prepare each type appropriately without soaps or household chemicals. Store unused matching pieces dry; they may be valuable for a later repair when the original batch is unavailable.
Lay everything together one final time and remove the weakest addition. A palette often improves when a second stone type, extra branch, or novelty gravel disappears. Visual restraint also simplifies chemistry, structure, and cleaning. The remaining materials should share a clear story and separate roles.
The choice is complete when livestock can use the space, water goals remain achievable, the structure can be built safely, plants receive the right substrate, and ordinary tools can reach the tank. Rock, wood, and substrate then stop behaving like purchased objects and begin acting as one landscape.
Receive and Verify the Materials Before Installation Day
Open deliveries on a protected floor rather than beside the aquarium. Compare the contents with listing photographs only to confirm identity and quantity; natural variation is expected. Photograph damage, unexpected coatings, or major geological differences before cleaning. Weigh very heavy pieces before planning a solo lift and reject any handling route that requires reaching across glass with an unstable load. Keep supplier information until every piece passes inspection and sample testing.
Separate materials by type and clean them with methods appropriate to their composition. Do not use soap, bleach, polish, or household sprays unless a verified aquarium procedure specifically calls for a product and complete neutralization. Use dedicated brushes and containers so a safe material is not contaminated during preparation. Brushing and repeated rinsing should reveal cracks, soft wood, loose grit, and residues that dry display lighting concealed. Allow the pieces to dry where any new odor or surface change remains easy to notice.
Retest the actual shipment even when an earlier sample behaved well. Use fresh source water and a control container for stone. Label the containers outside the wetted area and record starting values before immersion. Soak wood where leaks cannot damage a floor and secure a lid only in a way that does not create pressure. Observe odor, surface film, color release, and structural softening over time. Repeat questionable readings before attributing them to the material.
Sort visible pieces by role after testing: primary, support, transition, or reserve. Mark nothing with ink that will enter the aquarium. Use placement photographs or a numbered diagram outside the tank instead. Include orientation arrows on the diagram for pieces with one safe base. A rehearsed sequence reduces the time heavy pieces hover above glass and keeps buried supports from being mistaken for decorative leftovers. It also lets a helper understand the plan without giving directions during a difficult lift.
Stage substrate in measured containers by zone and keep a small clean reserve. Check that each container can be lifted and poured with control; divide heavy volumes before they become a spill or back-strain risk. Cover prepared materials so dust, pets, and household sprays cannot reach them before use. Reconfirm that the stand is level and that towels, lifting space, and fill-water equipment are ready. Review the order in which soil, foundations, major pieces, and decorative grains must enter; a beautiful primary rock should not have to be lifted twice because its base was forgotten. Keep the rehearsed front-view photograph visible without placing a phone where wet hands can damage it. Installation day should begin with verified materials, known quantities, and a safe lifting order. Pause if the actual contact points differ from rehearsal instead of burying instability. Photograph hidden foundations before covering them, note any unused reserve material, and preserve enough matching substrate for future erosion repairs and any later redesign. That preparation protects the original design from last-minute substitutions and prevents an exciting new piece from bypassing the same standards applied to the rest of the palette.