Hardscape Gives the Aquarium Its Durable Shape
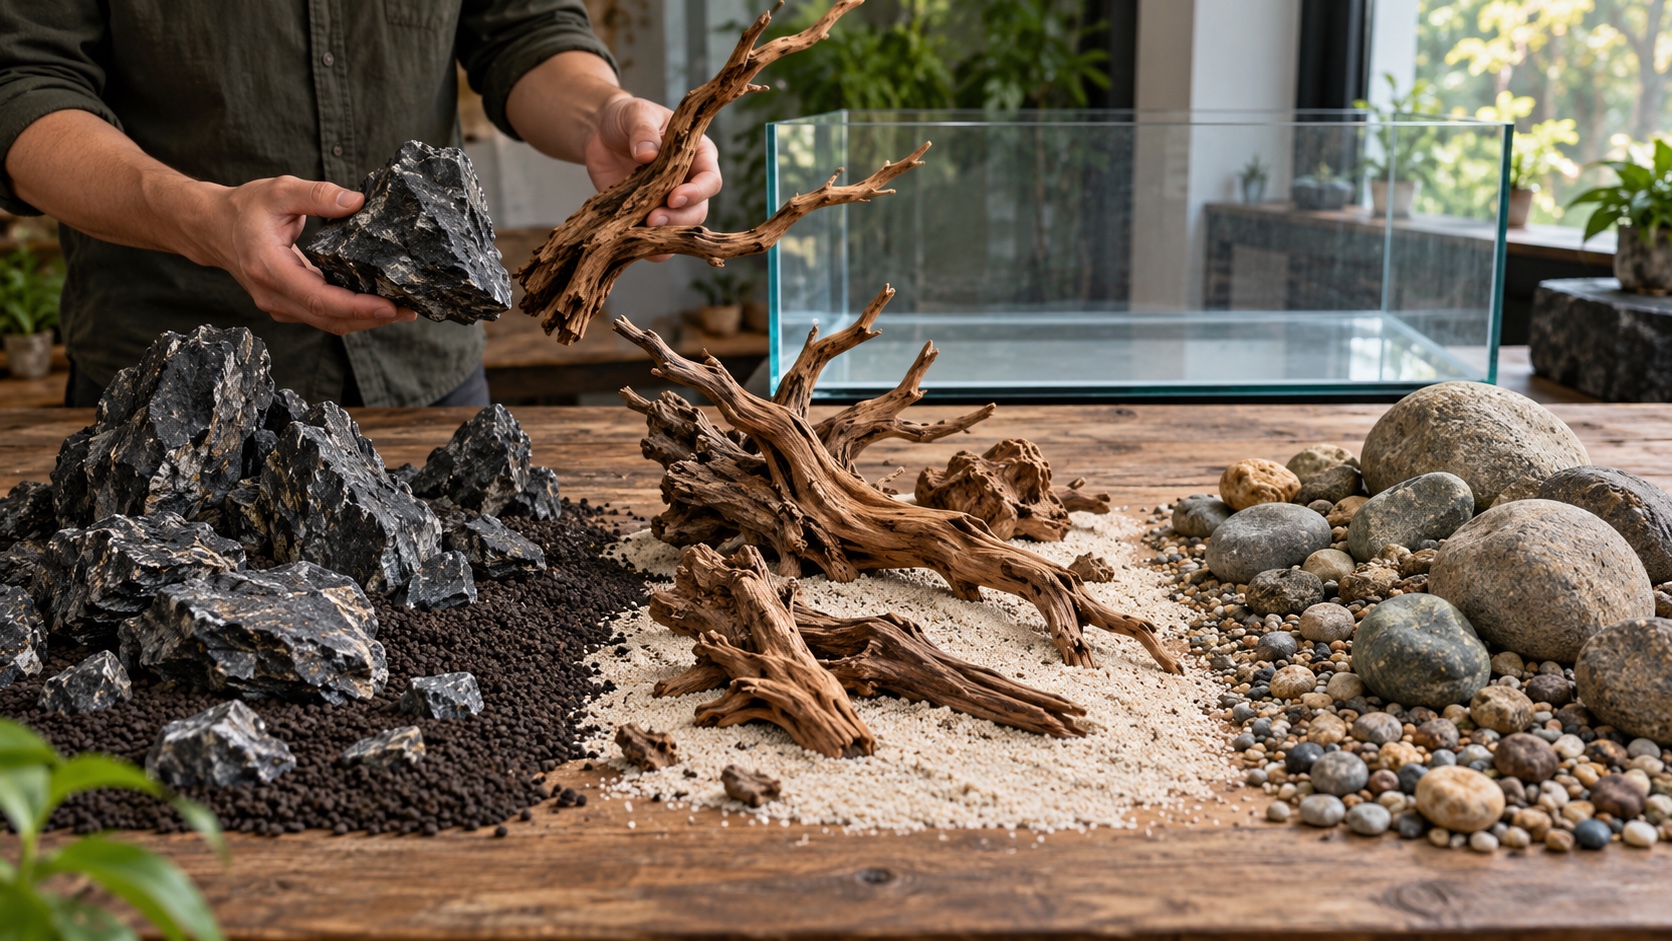
Plants can be trimmed and replaced, but the rock, wood, and substrate beneath them determine where the eye travels, where fish shelter, and whether the layout remains safe after months of maintenance. For a beginner, hardscaping is less about owning impressive materials than learning to arrange a few pieces with clear hierarchy, stable support, believable scale, and enough open water. A simple formation that survives filling and remains easy to clean will outperform a crowded display assembled only for setup day. This guide explains the visual and structural decisions that turn loose materials into a dependable freshwater landscape.
A: Use only enough related pieces to establish the main formation, support it safely, and connect it to the substrate.
A: Grid guides can help, but hierarchy, direction, balance, and the tank's actual proportions matter more than exact coordinates.
A: Important loads need a stable protected foundation that cannot disappear when soil compresses or animals excavate.
A: Glass, empty surrounding space, substrate burial, water, and later plant growth all change the apparent scale.
A: Their strongest lines should relate intentionally, though slight variation keeps the formation from appearing mechanically parallel.
A: Keep enough for livestock movement, equipment flow, maintenance, and a clear visual release from the main mass.
A: They can, but beginners usually achieve stronger unity with one geological family and varied sizes.
A: Build it dry on its real foundation, apply gentle directional pressure, and reject any stack that depends on precarious balance.
A: Plan their mature roles before hardscaping, then finalize species after light, water, nutrient, and maintenance demands are confirmed.
A: Stop when the main idea reads clearly, all pieces are secure, access remains open, and additions no longer solve a defined problem.
Begin With the Tank’s Living Requirements
List the intended animals before drawing the layout. Adult size, group behavior, territory, bottom use, digging, and fin shape all affect hardscape. A cave may be useful for one species and a territorial trap for another. A dramatic field of sharp rock can reduce usable floor area or damage fish that startle against it. Design around the animals at maturity.
Decide where food will land, how a net can move, and which route a siphon will follow. Mark the filter intake, return, heater, and viewing panes on a simple top-down sketch. Keep enough water around equipment for correct operation. These practical spaces become part of the composition instead of looking like areas the hardscape forgot.
Choose One Landscape Idea You Can Describe
Use a short phrase such as “roots leaning over an open bank,” “a broken ridge releasing into meadow,” or “rounded stones along a quiet stream bend.” The phrase establishes material family, direction, and negative space. It also makes editing easier: a piece either supports the idea or competes with it. Avoid combining a mountain, forest, cave network, and beach simply because every object was appealing in isolation.
Work With Hierarchy, Direction, and Empty Space
Select a primary mass rather than several equal focal pieces. It may be a dominant stone, a root base, or a connected group. Place it away from the exact center and angle its strongest line into the composition. Supporting pieces should reinforce that direction, extend the base, or help the formation meet the substrate.
Vary size and spacing. Equal rocks in a row create rhythm but rarely feel geological. Cluster related pieces more tightly near the main mass, then reduce scale as the structure moves away. Partly bury stone and wood so they appear to continue below the surface. A piece resting completely on top of flat gravel looks recently placed.
Protect negative space with the same care as the hardscape. An open sand channel, foreground field, or water column gives the formation scale and preserves swimming room. Shape its boundary rather than leaving a uniform gap around every object. Photograph the large light and dark masses; if the scene reads only through tiny details, its hierarchy may be weak.
Use a Full-Size Dry Rehearsal
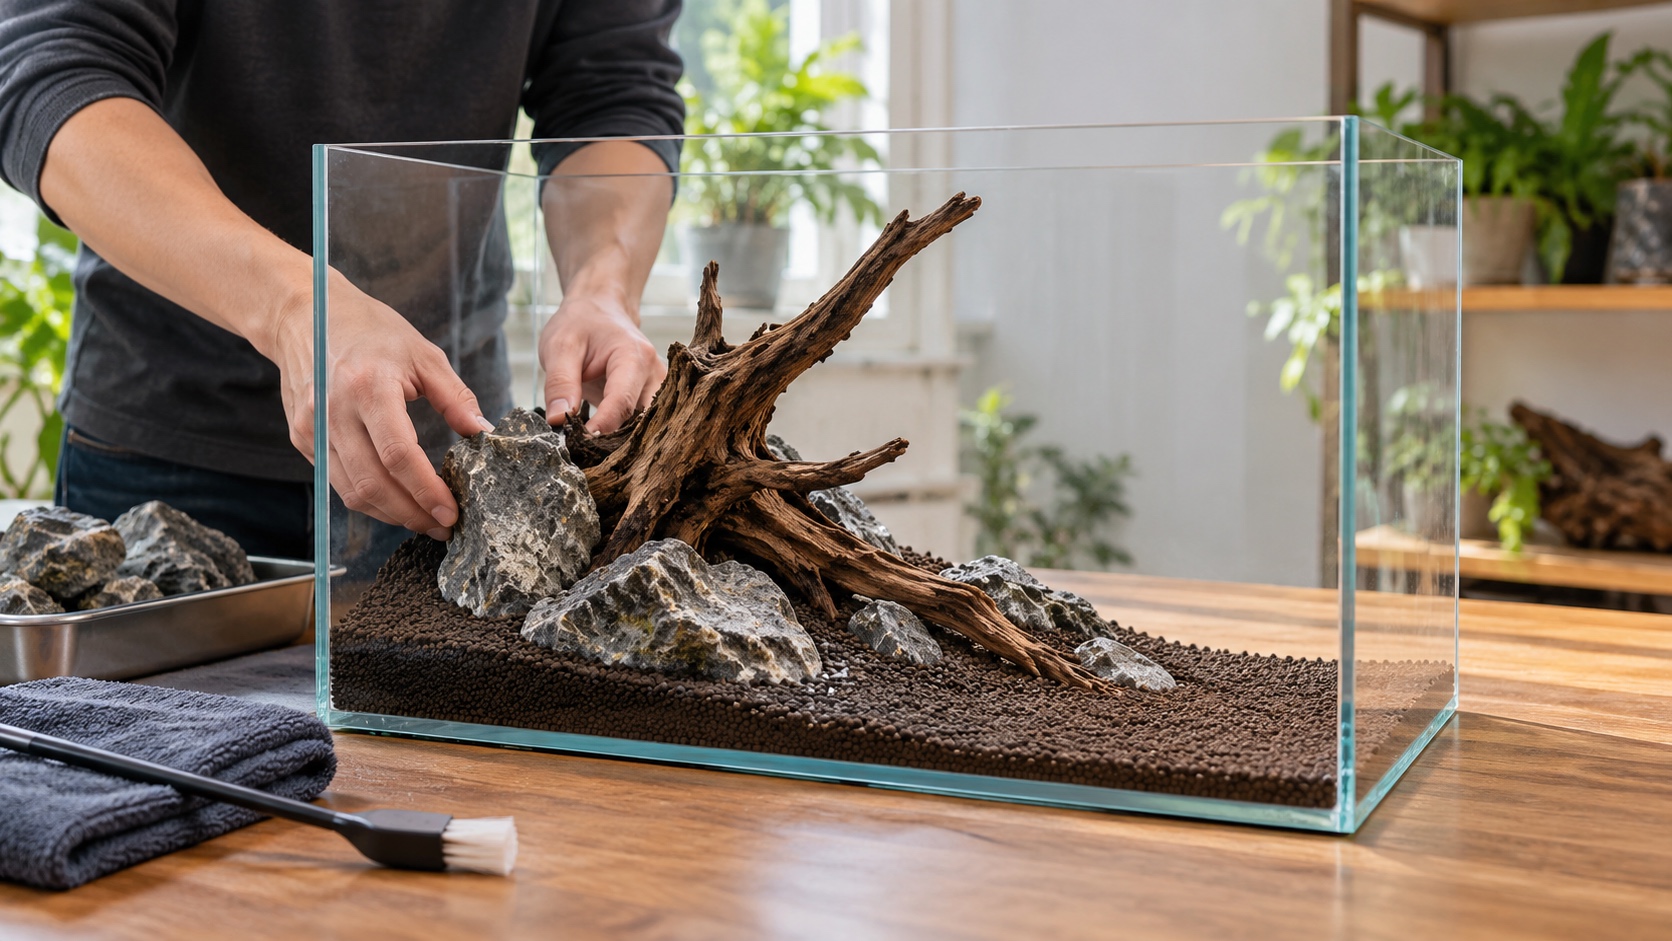
Mark the aquarium footprint and glass height on cardboard. Arrange the actual materials there before they become heavy, wet, or difficult to rotate. View the rehearsal from the future eye level and take photographs. Overhead views help with access planning but often conceal flat depth and awkward silhouettes.
Represent the final substrate slope with temporary support. Add a tape line for the expected plant height so small stones are not selected based on exposure they will lose. Test several arrangements by moving the primary mass first; changing dozens of minor fragments before the main gesture works wastes time.
Protect Glass and Build Foundations Before Slopes
Concentrated loads and sharp contact points need deliberate support. Follow the aquarium manufacturer’s requirements and use aquarium-safe protective methods appropriate to the tank. Heavy stone should sit on a stable foundation, not on deep loose substrate that fish, roots, or siphons can remove. Keep substantial pieces from leaning against side panes. If the structure cannot remain stable when exposed at its base, more decorative soil will not make it safe.
Seat Every Important Piece Against Movement
Lower the primary material with controlled hands and no fingers trapped beneath it. Rotate flat or broad faces downward where they create dependable contact without ruining the intended appearance. Press gently from the directions that filling, buoyancy, and maintenance may apply. A stone that rocks now will not become safer after planting.
Use smaller hidden pieces to lock gaps, or attach components with aquarium-safe methods designed for the material and load. Adhesive should support a sound structure, not rescue a top-heavy stack. Wood requires a buoyancy plan until it is fully waterlogged. Do not wedge branches against glass or the tank rim.
Inspect every opening. Close crevices that narrow beyond the fish’s ability to reverse, and remove spear-like tips from startle routes. Ensure tools can reach behind the formation. Structural safety includes predictable movement during water changes, when buoyancy and hose contact may differ from normal operation.
Shape Substrate to Explain the Hardscape
Build the terrain around secure foundations. A higher bank can make a root appear exposed by erosion; a rear slope can lift distant stones; a shallow foreground can enlarge apparent depth. Retain significant elevation with safe hidden structure instead of trusting unsupported soil. Smooth every transition while leaving some irregularity that suggests natural deposition.
Use substrate boundaries deliberately. Sand beside soil can create a clear route, but grains migrate under flow, animal activity, and maintenance. Bury dividers below the finished surface, support edges with embedded stone, and avoid steep exposed seams. Plan how the border will be restored without lifting the whole hardscape.
Test the Layout Before Planting
Photograph the dry tank from the front, both sides, and slightly below normal eye level. Convert one image to grayscale or simply squint to reduce color information. The primary mass and open area should remain clear. Look for tangencies where a branch barely touches a stone in the view, equal gaps, repeated peaks, and lines that lead directly out of a corner.
Plant to Reveal Structure Rather Than Conceal It
Assign plants by role: a low foreground that preserves scale, transition growth that joins material to substrate, attached plants for selected wood or stone, and taller background groups that frame without erasing the silhouette. Choose species for the actual light, nutrients, carbon strategy, water, and care routine. A plant is not suitable merely because it appears in a reference photograph.
Leave important faces exposed beyond their setup-day appearance. Carpets thicken, moss expands, and stems lean. Anticipate that volume when setting the planting boundary. Dense planting can help establish a new aquarium, but density should follow the design. Avoid placing one different species around every rock, which breaks a unified landform into decorated islands.
Mist while planting and keep soil out of wood joints. Fill slowly over a barrier, pausing at shallow depth to replace plugs and inspect movement. If the formation shifts, stop and correct the foundation. Do not hold a rock in position while another person fills around your hand.
Maintain the Relationships the Dry Layout Established
Save the dry-layout photographs. During trims, use them to restore stone exposure, branch direction, and the intended open route. Remove runners from bare zones early. Lift debris with gentle flow before siphoning and clean textured surfaces with a soft dedicated brush. Never lever a scraper against a structural piece. Check stability after deep plant thinning, substrate excavation, or a major water change. Roots can bind soil, and removing a mat may reveal erosion around a base. Lower the water for any meaningful structural repair. Casual underwater nudging is a poor way to correct a heavy formation.
Allow appropriate aging. A little patina, algae within control, and softened substrate edges can make the scene more believable. Maintenance should preserve function and hierarchy, not return every surface to showroom brightness. Intervene when growth hides the primary mass, debris threatens water quality, or access closes. A successful beginner hardscape remains understandable after plants mature and fish inhabit it. The main structure stays secure, open water remains usable, and routine care does not require reconstruction. Restraint is practical: fewer well-chosen pieces create fewer traps, fewer unstable contacts, and a clearer landscape.
Practice a Safe Revision Instead of Starting Over
Most first hardscapes have one relationship that feels unresolved after filling. Identify the exact problem before touching anything. The primary stone may be too upright, the root may end abruptly, or the foreground route may be too narrow. Name one issue and decide whether plants and normal aging will soften it. Observe the aquarium at several times of day because reflections and room light can make the same gap feel different. Ask whether the issue affects livestock or maintenance, or whether it is only a temporary visual concern. Constant unspecific rearrangement creates risk without teaching composition.
If the change is visual and minor, test it first in a photograph. Crop the image, cover a distracting fragment, or sketch a wider open area. Compare the edited image with the untouched version after a day rather than deciding immediately. This separates composition judgment from the physical excitement of moving material. A digital test cannot prove stability, but it can show whether the proposed edit solves the visible problem and whether a simpler plant trim might achieve the same result.
For a dry aquarium, remove loose substrate around the target and support neighboring pieces before lifting. Keep both hands available and place removed rock on a padded tray. Never twist a heavy piece against the glass. Preserve a photograph of hidden supports so they can be returned to the correct order. Rebuild the foundation, retest movement from several directions, and restore soil only after the contact points are secure. Recheck clearances that may have changed when the main face rotated.
For a filled aquarium, move livestock away from the work zone and lower the water enough for controlled handling. Remove plants that prevent you from seeing the base. Protect exposed filter media from drying and keep replacement water ready before work begins. A large structural change may justify temporarily housing animals in a heated, filtered container with appropriate cover. Do not improvise a risky underwater repair simply to preserve the current photograph or avoid a planned interruption.
Document the reason, method, and result. Include the date and water level used during the work. Compare access, stability, and open space before deciding the revision worked. Watch the modified area during the next fill, water change, and trim, when forces differ from the dry test. Review fish movement as well; a visual improvement is not successful if it removes a resting place or creates conflict at a narrow passage. If substrate begins escaping or a branch transmits hose movement to the foundation, correct it before livestock resumes normal use. Wait through several ordinary care sessions before making another optional change. Share the photographs with an experienced keeper when load, glass clearance, or animal safety remains uncertain, and treat structural doubt as a reason to simplify. The most valuable beginner practice is not producing endless versions; it is learning to connect a specific observation with a limited, safe correction that improves both the landscape and its care over time.