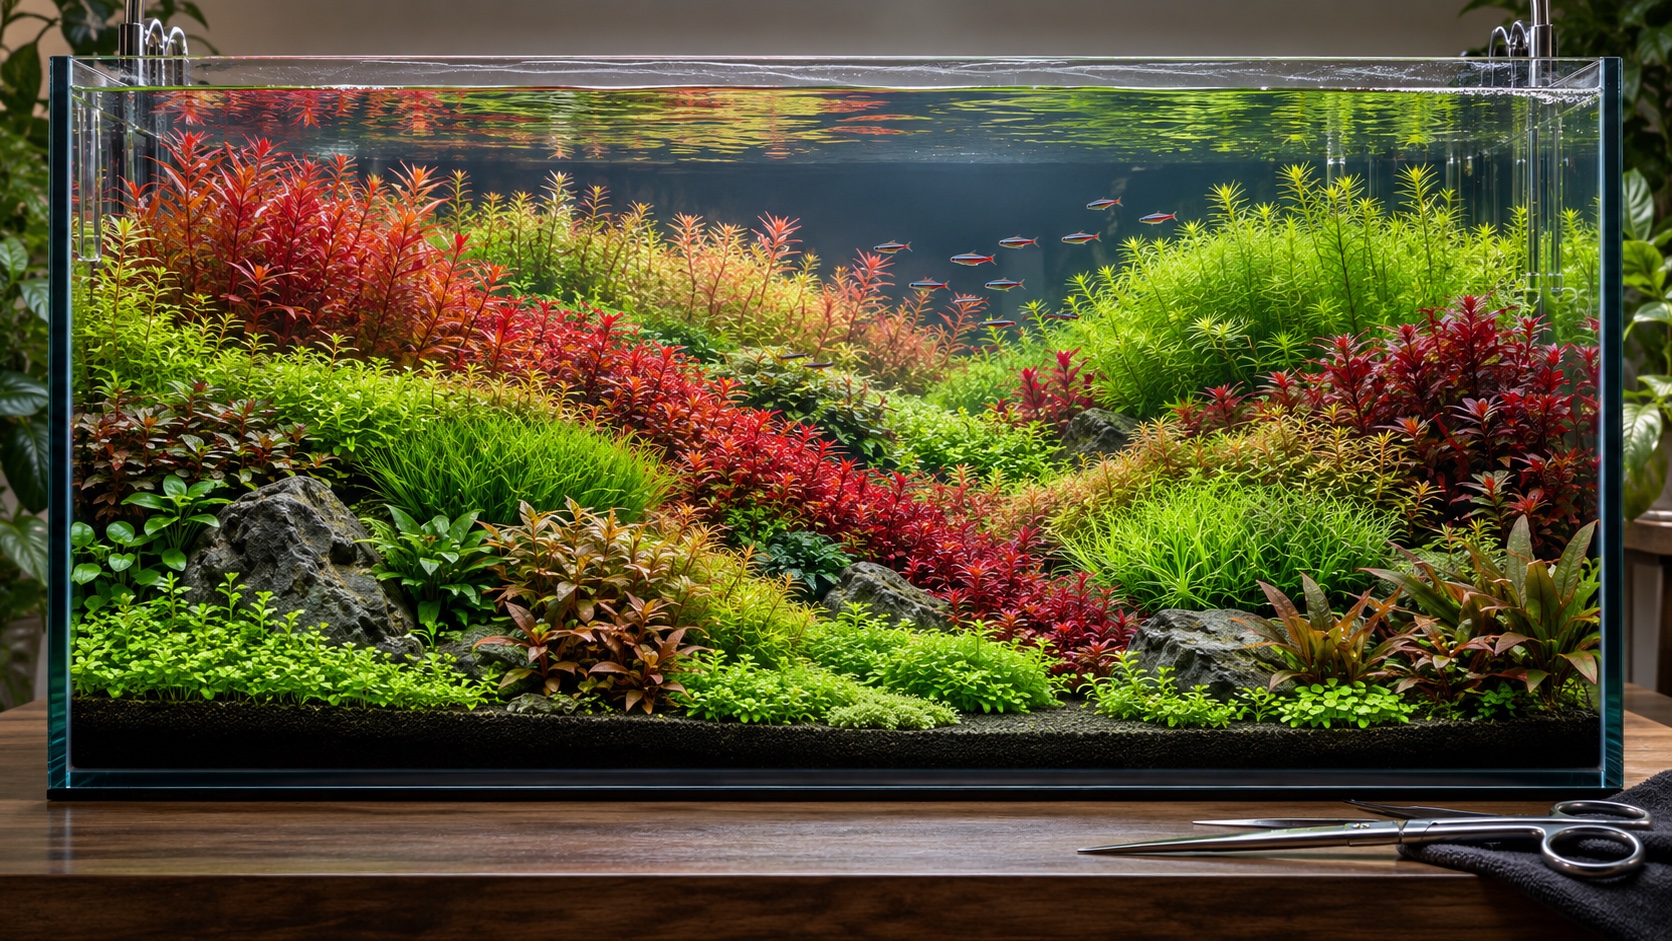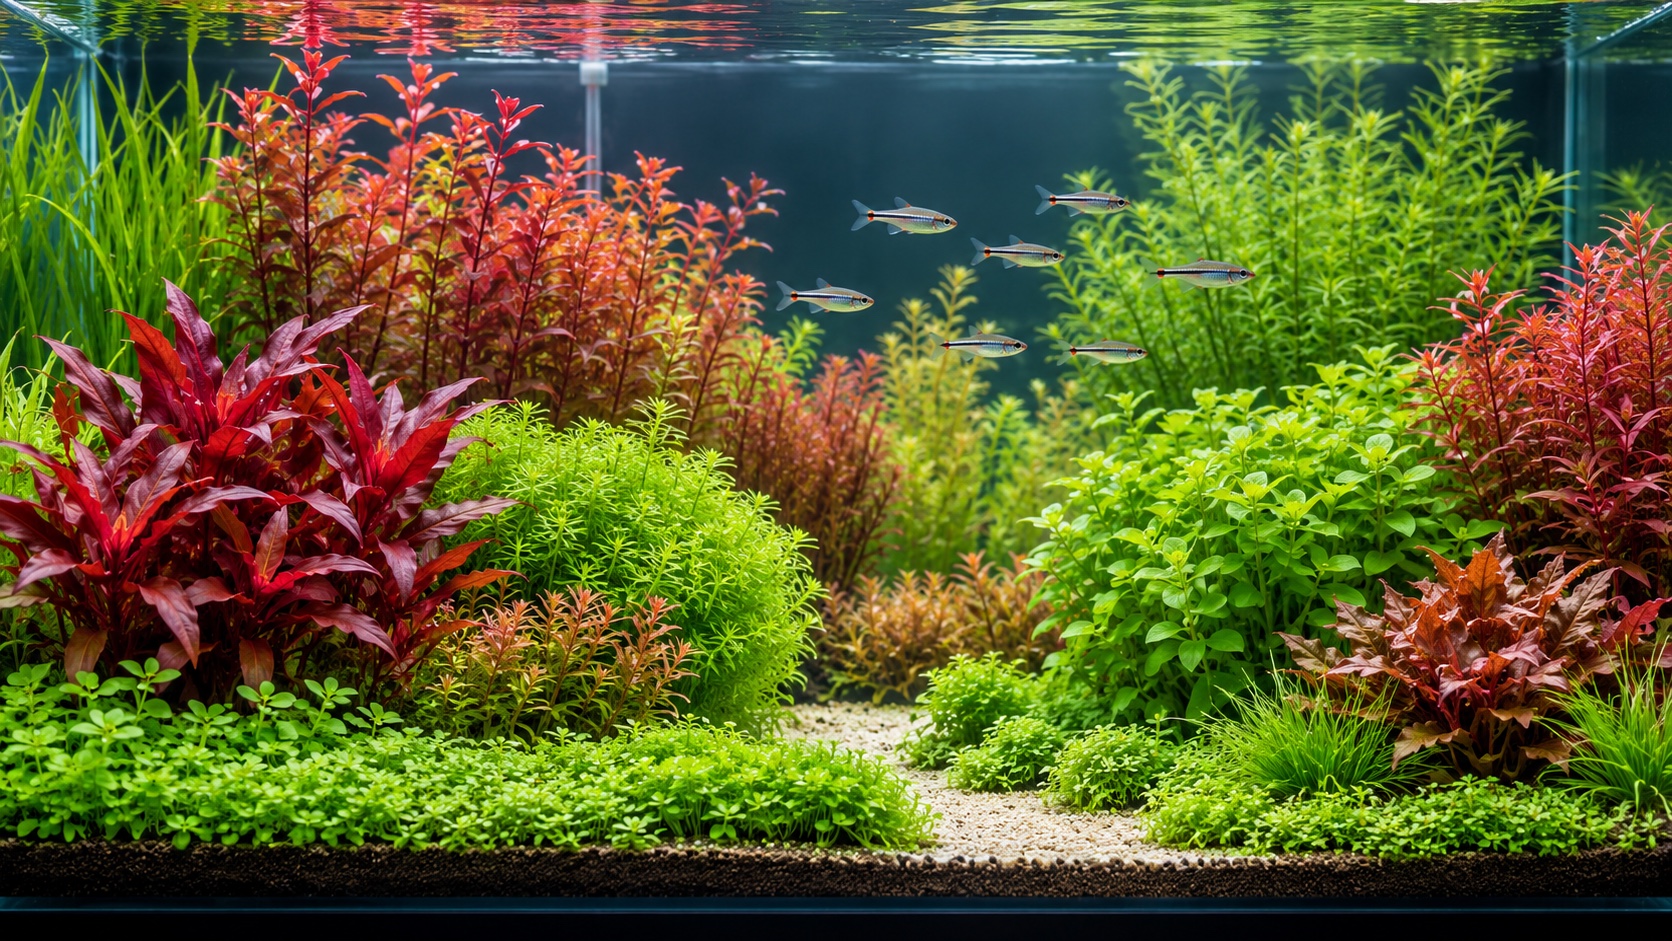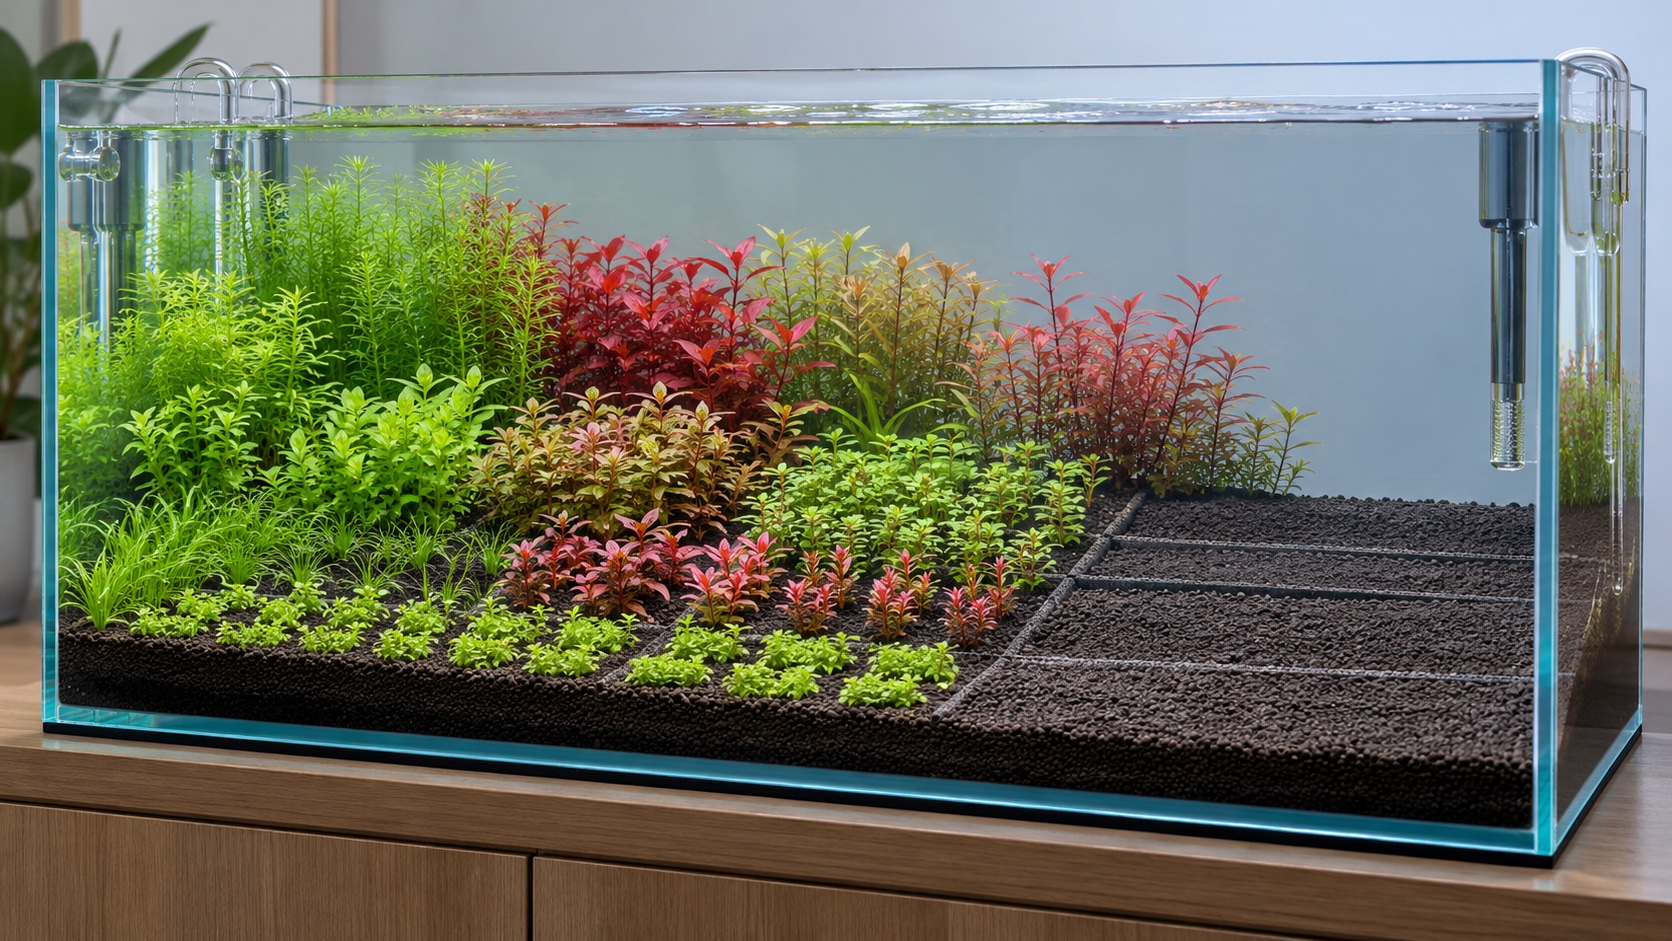
Set Up the Garden in an Order That Protects Every Later Step
A Dutch aquarium is easiest to build when the work follows the same logic as a garden installation: prepare the growing system, map the beds, condition the plants, establish them without crowding, and shape them only after healthy growth begins. Skipping ahead creates problems that are difficult to repair inside a full tank. A poorly placed filter return leaves a dead corner behind dense stems. An unmarked planting boundary disappears as soon as the substrate is wet. A newly planted street loses its perspective when adjacent groups were never given separate footprints. This step-by-step setup focuses on the first several weeks rather than the final show-day photograph. It provides a practical sequence for turning an empty aquarium into a stable planted system whose groups can later be trimmed into recognizable Dutch form.
A: Floating shoots, disturbed substrate, weak edge contrast, or an overly wide rear section can erase its perspective.
A: Plant enough healthy mass for stability, but preserve spacing for light, flow, rooting, and later branching.
A: Increase only after stable healthy growth shows the plants can use more energy without worsening algae.
A: Check planting depth, damaged bases, substrate texture, and whether flow is striking the group too directly.
A: No. Add them after testing demonstrates reliable biological processing and all species requirements are met.
A: Crowding, shading, weak circulation, or repeated high trimming can leave the lower structure under-supported.
A: Change height, leaf form, edge shape, or the amount of visible substrate between them.
A: Trim after rooted plants show vigorous submerged growth and can recover from deliberate shaping.
A: No. Preserve developing biological media and service mechanical components without disrupting the entire filter.
A: Stable water, predictable growth, rooted plant groups, and a repeatable care routine mark the transition to ongoing gardening.
Step 1: Confirm the Tank, Stand, and Work Area
Place the empty aquarium on a level stand rated for its filled weight. Check access to electrical outlets, filter hoses, water-change equipment, and the cabinet before any substrate is added. Protect connections with drip loops and keep power strips away from splash paths. Dutch planting eventually fills the rear glass, so leave enough clearance to remove an intake, clean tubing, and reach valves without crushing stems.
Decide the normal viewing position. A composition seen from a sofa needs larger plant masses than a desktop tank viewed at arm’s length. Tape a plain background temporarily and examine reflections at the hours when the aquarium will be enjoyed. Direct sun complicates lighting control and can heat the water, so choose placement for stable conditions rather than for the brightest window.
Step 2: Assemble and Test the Equipment Dry
Install the filter, heater, light, timer, and any carbon dioxide hardware according to their manufacturers’ instructions, but do not conceal them yet. Confirm that tubing reaches without sharp bends and that components can be serviced. If pressurized carbon dioxide is planned, verify every fitting and understand how delivery will be monitored before the cylinder is opened. The system should be easy to shut down safely. Lay out the electrical load as deliberately as the plumbing. Confirm that timers and smart plugs retain their schedules after a brief outage, label only the cabinet-side cords where markings will stay dry, and keep controllers accessible. A plant-heavy display can change quickly when a light remains on or circulation stops unnoticed, so test failure behavior before vegetation hides the hardware.
Step 3: Choose the Energy Level and Starting Settings
Write down a conservative starting photoperiod, fertilizer method, temperature range, and water-change schedule. High light is not a substitute for plant mass or stable carbon. A moderate initial intensity gives newly handled roots and stems time to establish while limiting the energy available to algae. Increase it later only when healthy growth shows that the aquarium can use more.
Test the source water for the parameters that matter to the selected plants and future livestock. The aim is not to force one universal number but to build within a range you can reproduce. If the source is unusually hard, soft, or variable, resolve the water strategy before selecting delicate species. A repeatable routine is more useful than a theoretically perfect target that changes at every water change.
Prepare a setup log. Record light intensity and duration, planned dosing, carbon dioxide timing if used, water temperature, and the first test results. Dense planting can hide early changes, and memory becomes unreliable once several adjustments occur. A few dated notes let you change one factor with purpose.
Step 4: Build a Substrate That Supports Replanting
Choose a substrate system suited to rooted plants and the intended fertilization method. Dutch tanks undergo repeated trimming and replanting, so the bed needs enough depth to anchor stems without creating an unstable mountain. Slope it gently toward the rear for layering. If a nutrient layer requires a cap, follow the specified depth and keep it covered during later uprooting.
Use discreet retaining pieces where a bed changes height, but keep visible rock subordinate to the plants. Leave a clean margin at the front glass if that suits the presentation. Smooth the surface without compacting it excessively; roots need penetration and water movement through the upper layer.
Step 5: Draw the Plant Beds Before Opening the Pots
Mark irregular footprints in the dry substrate with a planting stick. Give dependable structural species the larger beds. Reserve one diagonal route for a plant street, with a wider near end and a narrower rear end. Set aside a focal zone and at least one dark or low opening to separate masses. Avoid equal blocks and a continuous band of foreground plants, which can make the design look like horizontal shelving.
Step 6: Sort Plants by Role and Growth Speed
Arrange the plants outside the aquarium in the order they will be used: foreground, transitions, street, midheight beds, focal group, and background structure. Compare mature forms rather than the temporary appearance of store pots. Remove a redundant species if it duplicates a neighbor’s leaf size, color, and height. Contrast should remain visible after both groups are healthy and full.
Separate fast stems from slower rosettes and runners. This predicts where boundaries will need active maintenance. A slow bed beside a vigorous species can disappear unless its neighbor is contained. Give the fast plant a reachable edge and enough space for trimming tools.
Inspect for algae, damaged leaves, pests, and mislabeled material. Use an appropriate quarantine or cleaning method before planting. Remove rock wool carefully, rinse roots when suitable, and divide stem bunches into individual shoots. Discard rotting tissue rather than burying it beneath a new group.
Step 7: Plant the Foreground and Transitions
Work from the front while your hands have clear access. Divide low plants into small portions and place them within their assigned beds, leaving deliberate substrate gaps. Position transition plants behind or beside them in uneven depths so the layout does not form parallel stripes. Keep runner-producing species behind a hidden boundary if they must not cross into a street.
Mist exposed leaves during a long planting session. Set crowns at the correct level and avoid burying rhizomes. Step back after each bed and look through the front pane; overhead spacing can appear generous while the front view already looks crowded.
Step 8: Establish the Street and Main Stem Groups
Plant stems one at a time in staggered rows. Space them for lower light and flow rather than packing the store bunch back together. Begin the street with a readable near edge, then narrow or raise it toward the rear. Keep its neighboring beds different in leaf form so the perspective line does not dissolve into similar foliage.
Step 9: Position the Focal Group and Rear Structure
Place the focal plant after the surrounding footprints are visible. Allow for its adult spread and resist adding a matching accent on the opposite side. Build the rear with unequal heights, letting one group descend toward an opening and another support the focal area. Equipment can sit behind these plants only when it remains reachable.
Check the tank from the viewing distance before filling. The young plants will look sparse; judge the spacing by expected growth, not by the urge to finish the picture immediately. Move an entire bed now if its outline is weak. Rearrangement becomes disruptive after roots take hold.
Step 10: Fill Slowly and Commission the System
Cover the substrate with a sheet or shallow dish and add conditioned water gently. Pause partway to replace floating shoots and repair bed edges. Start the filter and heater, then inspect every connection. Adjust the outlet for broad movement across the tank. Stems should sway lightly in several zones rather than bend sharply under one jet.
If carbon dioxide is part of the plan, establish its timing and stable delivery with caution. Do not raise light to compensate for uncertain gas distribution. Set the recorded photoperiod, verify the timer, and note the initial water temperature. New substrate may affect chemistry, so follow measured conditions and product guidance rather than assuming the tank is immediately stable.
Remove loose leaves and any fragments trapped at the surface. A dense startup has a large amount of handled plant tissue, some of which may melt as submerged growth replaces nursery foliage. Early housekeeping reduces decaying material without sterilizing the developing system.
Step 11: Cycle and Observe the Young Aquarium
Establish biological filtration with an appropriate waste source and test ammonia and nitrite until processing is reliable. Clear water does not confirm a cycle. Perform water changes appropriate to the substrate and results, keep the filter running, and avoid replacing developing biological media. Livestock waits until the system meets its requirements.
Use the waiting period to inspect planting quality rather than to add more species. Reset any stems that lean out of their bed, clear leaves trapped beneath neighboring groups, and compare lower growth across the tank. Early corrections should protect establishment. Repeated uprooting for cosmetic perfection can delay rooting and release additional debris.
Step 12: Make the First Shaping Cuts
Wait for healthy submerged growth and rooted stems. Then cut each group according to its planned contour: a low rounded bush, a rising street, a taller loose mass, or a stepped rear bed. Do not trim the aquarium into one level hedge. Remove clippings immediately and preserve enough leaf mass for recovery. Where older stem bases weaken, lift selected plants and replant their strongest tops with fresh spacing. Thin crowded interiors so flow and light can reach below the canopy. The first shaping session should improve structure, not produce instant competition density.
Step 13: Add Livestock Gradually
Choose fish and invertebrates by adult size, group needs, behavior, temperature, and chemistry. Preserve midwater swimming routes and surface access among the plant beds.
Add animals gradually after cycling is verified, quarantine when possible, and watch how feeding changes nutrient load. A coordinated school can complement the garden’s order, but welfare determines the stocking plan.
Step 14: Convert Setup Tasks Into Weekly Gardening
Use each water change to restore one or two boundaries, remove a wandering runner, and inspect lower stems. Rotate deeper work instead of uprooting every bed at once. Clean filter components in stages and keep a record of meaningful changes. Photographs from the same front position reveal when a street flattens or neighboring groups merge.
Keep the maintenance order consistent enough that fragments from one task do not spoil another. Trim before siphoning, collect floating cuttings before they reach the intake, then clean the viewing panes and refill. Finish by checking timers and observing circulation with the water at operating level. This sequence turns a long list into a repeatable session.
The setup is complete when the system behaves predictably enough to shape. From that point, Dutch style emerges through repeated gardening: healthy regrowth, distinct beds, varied contours, and disciplined subtraction. A stable, readable young tank is a better foundation than a crowded first-day imitation of maturity.
Review the planting map after several trimming cycles and revise it only when the evidence is clear. A species that repeatedly shades its neighbor, escapes its assigned bed, or demands incompatible conditions may need a new position or removal. Editing the palette is part of gardening, not an admission that the original plan failed.