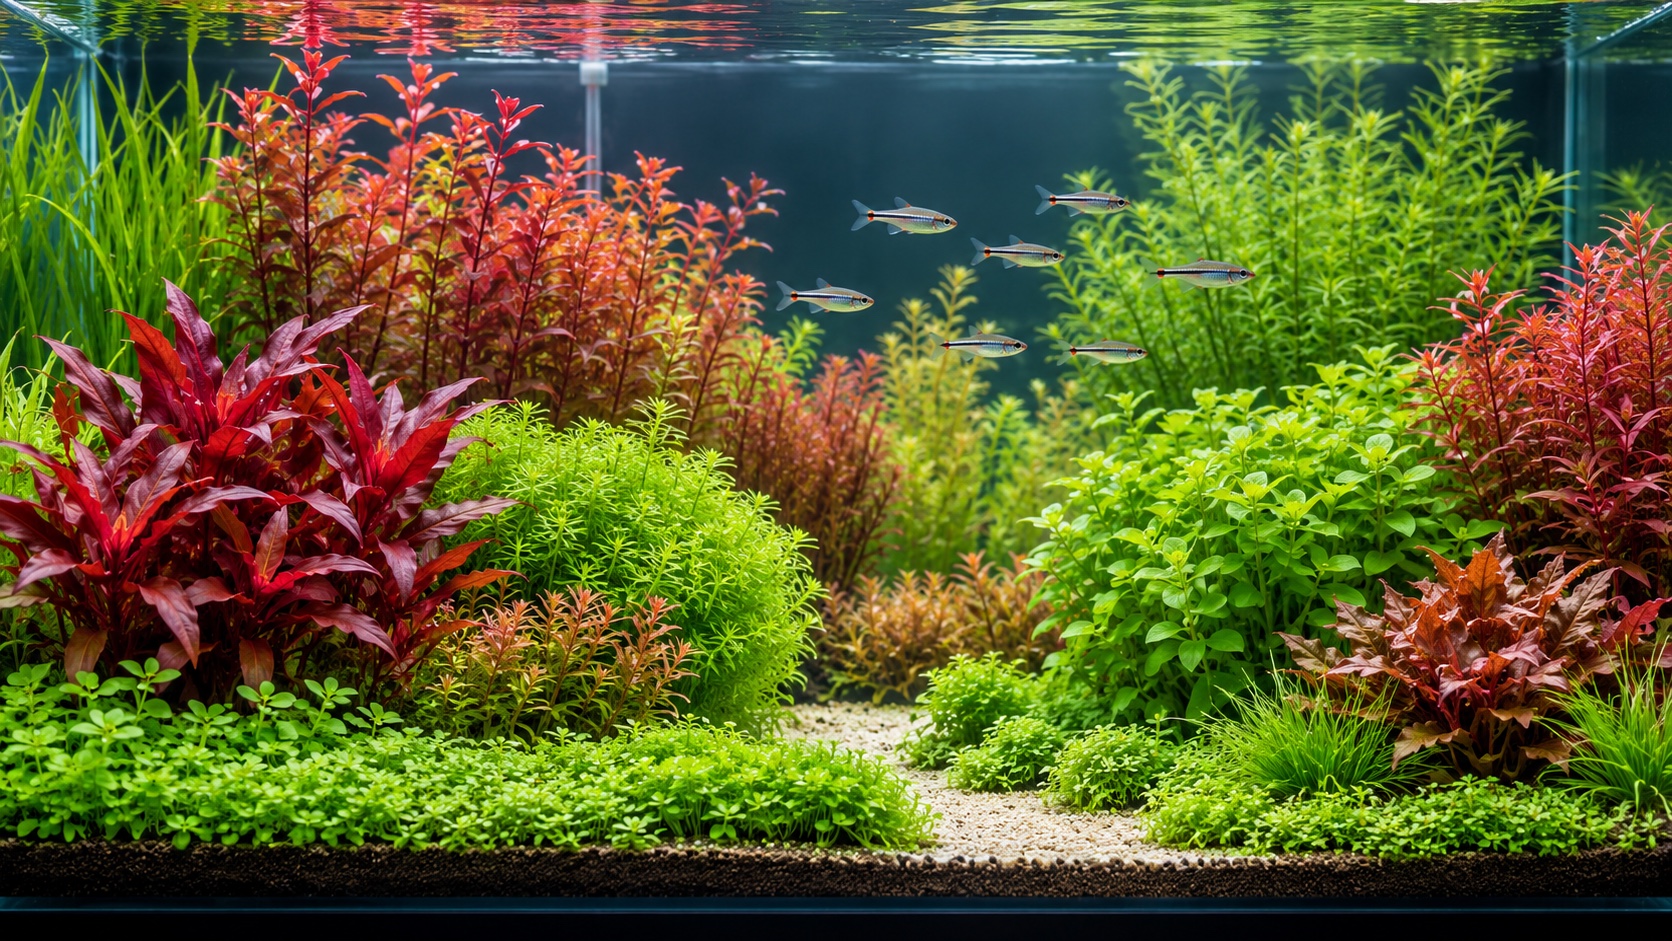
Turn an Empty Tank Into a Planned Planting Display
To create a Dutch-style aquarium, you must plan for what plants will become after several rounds of growth and pruning. The setup-day arrangement is only a framework. Stem groups need room to branch, rosettes need space for adult leaves, and a plant street must remain visible after neighboring beds expand. This build sequence starts with the operating system, then maps each bed, plants for later shaping, and carries the aquarium through establishment to its first coherent trim. It assumes that livestock welfare and biological stability take priority over the visual deadline. The result should not be a crowded plant collection. It should be a living composition in which every group has a boundary, a height, a contrasting neighbor, and a maintenance method that keeps it recognizable.
A: Use enough slope to layer beds, supported where needed, but avoid unstable elevation that will flatten during uprooting.
A: If the system uses it, establish safe consistent delivery with the planted startup and stabilize it before increasing light.
A: Close enough to read as a group, yet spaced for lower light, circulation, rooting, and later branching.
A: It can, but contain the boundary because planting, fish movement, and siphoning will gradually mix loose materials.
A: Select a distinctive form or controlled color that suits the system and has enough room to mature without competing accents.
A: Trim after healthy submerged growth and rooting are evident, with timing adjusted to each species and startup conditions.
A: Neighboring growth, side shoots, equal textures, or an overly wide rear section may be weakening its perspective.
A: No. Replant selected strong tops when density or renewal is needed, and avoid compressing the bed.
A: Only after measured cycling is complete and the aquarium matches the chosen species' full requirements.
A: Distinct beds, varied contours, a readable perspective line, controlled focal emphasis, and consistent horticultural care.
Set the Operating Target Before Selecting Plants
Decide whether the aquarium will run as a moderate-energy planted tank or a high-energy system. Moderate light with adaptable species can produce a convincing Dutch influence and a gentler maintenance pace. High light, pressurized carbon dioxide, and faster plants can create dense color and rapid shaping, but they reduce tolerance for inconsistent dosing, circulation, or gas delivery. Write down the intended photoperiod, water-change rhythm, fertilizer method, and carbon dioxide plan before shopping.
Test the source water and identify the temperature and chemistry range you can maintain reliably. Choose plants and eventual livestock inside that range. The visual plan should not depend on chasing unstable numbers or forcing incompatible species together. If your tap water varies seasonally or is very hard, research how shortlisted plants respond and whether treatment is practical over the long term.
Install Equipment for Even Plant Growth
Position the filter intake and return to move water across all beds, including the lower foreground and dense rear corners. The goal is broad circulation without a jet that pins stems flat. Install a heater where flow distributes warmth, and conceal it only if it remains serviceable. Use a controllable light spanning the planted width so outer groups are not permanently shaded. Set the timer before planting rather than relying on memory.
Prepare Substrate and Mark the Garden Beds
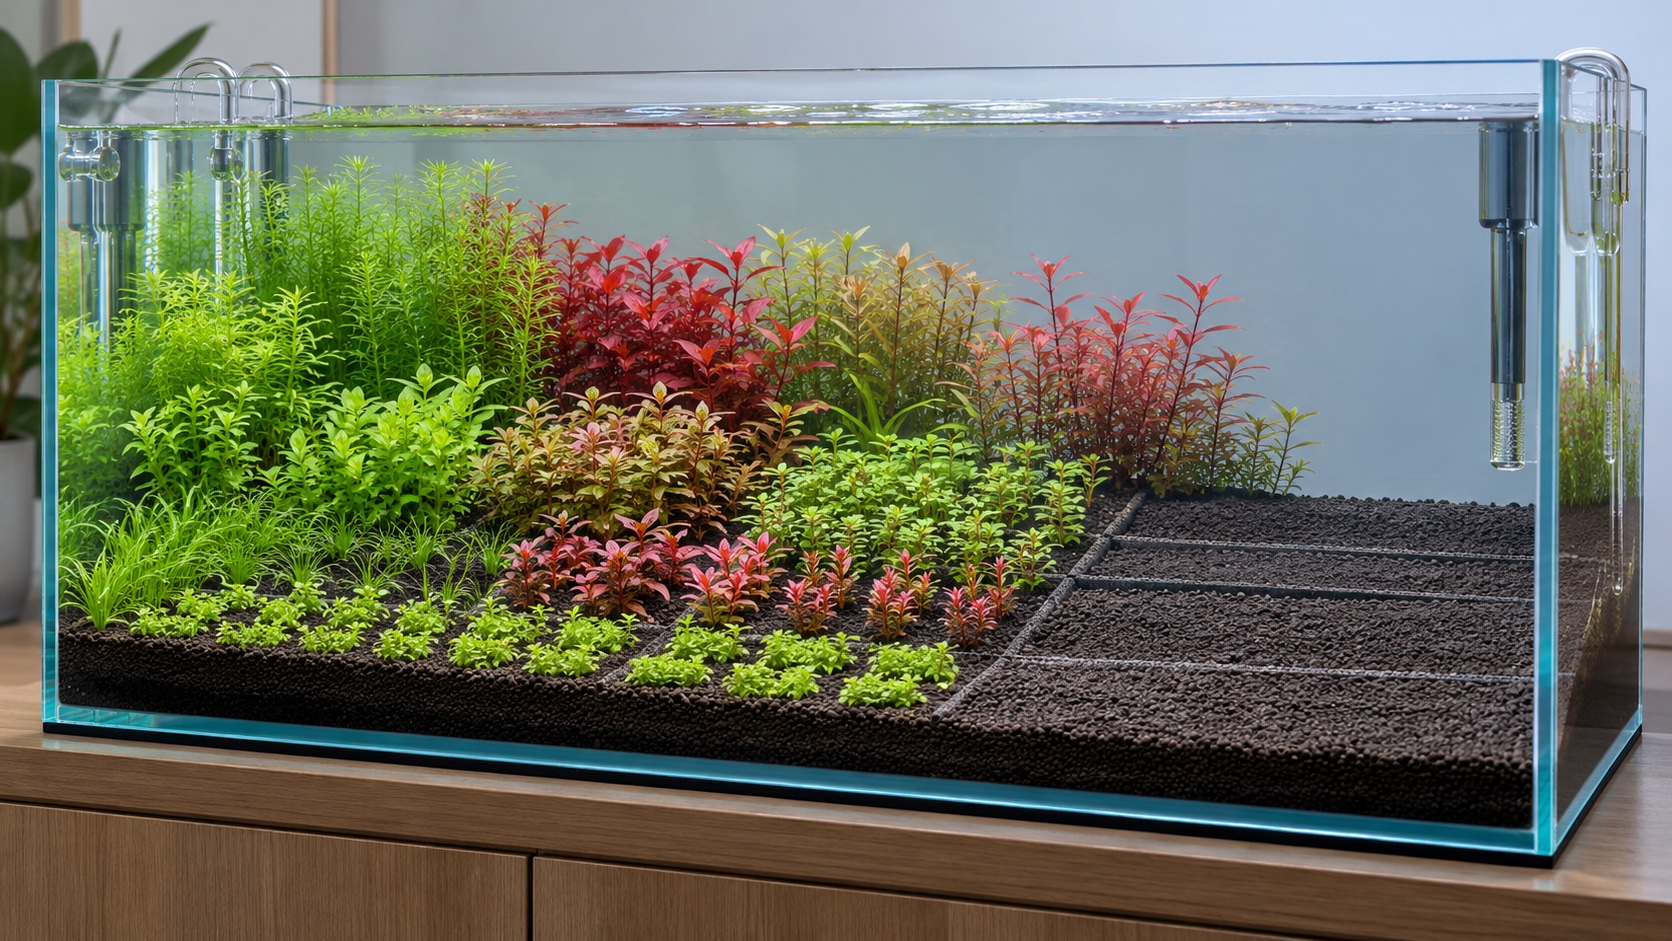
Use a planted substrate system appropriate to the selected species and fertilization plan. Slope it moderately upward toward the back to help plant groups layer, but keep enough depth across every rooted bed. A nutrient-rich lower layer must remain capped according to its product method; exposed fine material can cloud the water and migrate during uprooting. If using active aquasoil, account for its startup behavior and water-chemistry effects.
On the dry substrate, trace bed boundaries with a planting tool or temporary markers. Avoid equal rectangles. Create interlocking footprints with different widths and depths, while preserving a path for one diagonal street. Reserve foreground breathing room and a small dark gap where the composition needs separation. View the marks from the front because boundaries that look generous from above may disappear at eye level.
Place any supporting hardscape low and discreetly. Small stones can retain soil or protect a boundary, but they should not become competing focal objects. Confirm the plant beds remain reachable with tweezers and scissors. Dense Dutch planting eventually makes access the scarce resource, so build it into the layout now.
Choose a Coordinated Plant Palette
Select structural plants first. You need dependable background mass, one perspective street, several midheight forms, a foreground treatment, and a focal accent. Give each candidate an expected mature height, width, growth speed, and pruning response. Remove redundant species that offer the same leaf size and color. The tank will show more sophistication through strong groups than through a large species count.
Create contrast pairs on paper. Fine green Rotala beside a broader, darker Hygrophila can read clearly. A low compact Staurogyne group may support a taller red Ludwigia accent when their care requirements align. Cryptocoryne can provide slower, grounded mass between faster stem beds. These are examples of roles, not mandatory names; availability and exact cultivation demands vary, so verify each variety.
Quarantine, Clean, and Divide the Plants
Inspect plants for damaged tissue, hitchhikers, algae, and mislabeled growth. Use a quarantine or cleaning method appropriate to the plants and your risk tolerance, avoiding treatments that can damage sensitive species or later harm livestock. Remove pots and rock wool carefully, rinse roots as appropriate, and separate stems into individual shoots. Trim badly crushed roots or leaves with clean tools instead of burying decaying material.
Plant the Foreground Without Making a Uniform Carpet
Begin at the front while access is unobstructed. Plant low species in deliberate beds, leaving selected substrate visible to define edges. Space runners according to their eventual spread and install a hidden barrier where an aggressive plant must stop. A complete wall-to-wall carpet can flatten the composition and create constant boundary work, so use low growth to support the higher groups rather than to erase all ground.
Place compact transition plants behind or beside the foreground. Their job is to step the eye toward taller beds, not form a repetitive strip across the tank. Vary the depth of these transitions and allow a taller group to approach the front in one controlled area. This interruption prevents the layout from becoming horizontal layers.
Plant Stems According to Their Future Contours
Insert stems individually in staggered rows. Start with enough spacing for lower leaves and water movement, even if the new group looks slightly open. Arrange shorter shoots toward the front of a bush and taller shoots behind, but do not attempt the final show shape with freshly handled plants. A healthy stem can branch into the planned volume; an overpacked bunch often sheds shaded lower leaves.
For the plant street, lay out a wider beginning and a narrower path toward the rear. The apparent line may rise, descend, or turn slightly depending on the design. Keep its edges clean and use neighboring groups with distinct leaf forms. A street loses its perspective when the surrounding plants share the same texture or when side shoots blur the boundary.
Place the focal group last among the major beds so you can judge its remaining space. Give a large rosette or vivid stem mass enough room to mature without pressing against every neighbor. Connect it to the rest of the composition through repeated color or leaf rhythm, but avoid placing a second equally intense focal point at the opposite side.
Fill Carefully and Commission the Equipment
Cover the substrate and add conditioned water slowly. Pause during the fill to replant floating stems and correct disturbed borders. Once full, start filtration, heating, and any carbon dioxide system according to a safe, measured procedure. Check every hose and fitting for leaks. Observe circulation with plant movement; a gentle sway across multiple areas is more useful than violent motion in one corner.
Set a conservative initial light period and record the intensity. If carbon dioxide is used, establish stable timing and distribution before raising light. Follow the substrate manufacturer’s startup guidance where appropriate, while relying on water tests and plant response rather than a universal calendar. Frequent early water changes may be useful with nutrient-releasing soils and large fresh plant mass.
Cycle the Aquarium Without Rushing the Display
Provide an appropriate waste source and monitor ammonia and nitrite until the biofilter demonstrates reliable processing. Clear water does not prove readiness. Remove decaying leaves, keep the intake clear, and preserve developing filter bacteria. Do not add animals to solve algae or to make the tank look finished. Livestock is introduced after stable conditions and species-specific requirements are satisfied.
Feed Growth Consistently and Diagnose Methodically
Use a complete fertilization approach suited to the substrate, plant load, and water-change schedule. Consistency matters more than frequent brand changes. Observe new tips, lower leaves, root development, and growth rate across several species. When a problem appears, verify dosing, light timing, flow, temperature, and carbon dioxide stability before making a dramatic correction.
Dense beds can create local differences. A foreground may receive strong light while a rear corner receives weak circulation; one fast group may consume resources and shade its neighbor. Compare locations as well as species. Adjust outlet direction, thin an obstructing group, or change spacing before assuming the entire aquarium needs more fertilizer or light.
Make one meaningful change and allow enough time to evaluate it. Multiple simultaneous changes destroy the evidence. Keep brief notes or photographs so you can distinguish a genuine improvement from ordinary growth variation. The disciplined diagnostic habit that protects plant health also protects the design from reactive overcorrection.
Make the First Structural Trim
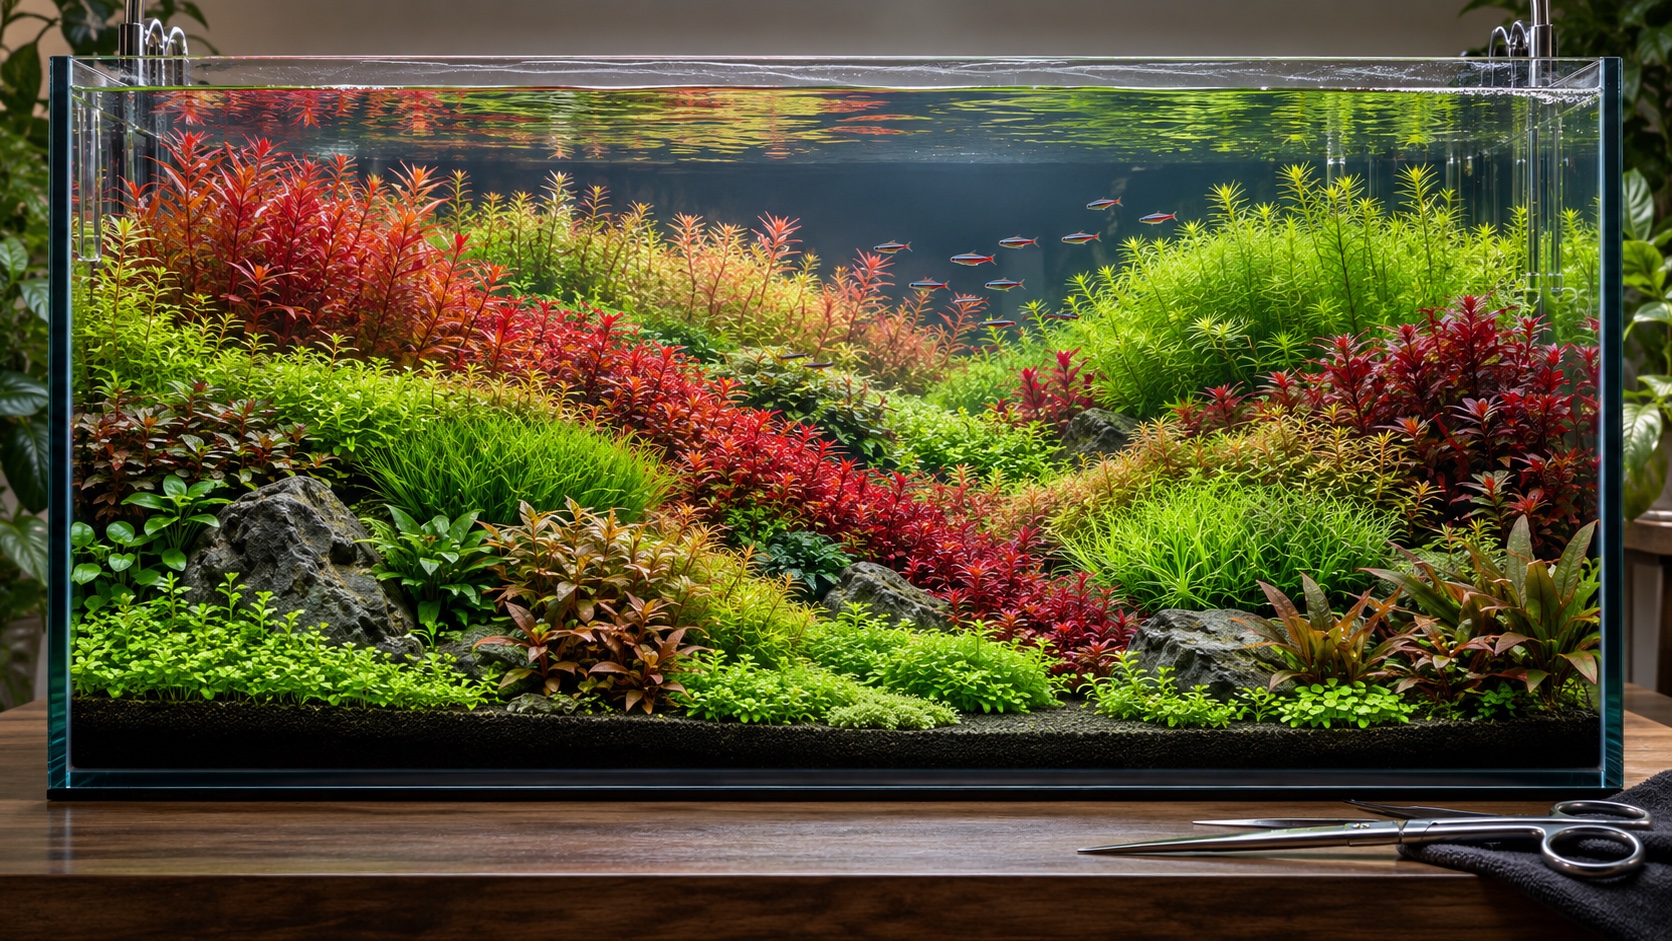
Wait for established healthy submerged growth, then trim each stem group according to its planned contour. Cut the street along its perspective line. Shape one bush low and rounded, allow another to remain taller and looser, and preserve deliberate gaps. Remove loose fragments immediately so they do not shade foreground plants or root in unintended beds. The first trim may expose sparse interiors. That is expected. Healthy nodes can branch, and strong tops can be replanted to build density. Do not force instant fullness by packing every cutting back into the same footprint. Maintain spacing and remove weak bases when necessary. A group that is structurally healthy will hold a clean outline longer than a compressed bundle.
Restore Boundaries During Every Water Change
Use routine maintenance to inspect the edges first. Pull one wandering runner, lift one leaning stem, and thin one crowded junction before the problem spreads. Clean the glass, siphon accessible debris without stripping the substrate, and service filter components in rotation. Small boundary repairs keep the composition stable and reduce the need for disruptive rescapes.
Review the tank from a distance after tools are put away. Check whether the street still leads inward, the focal group remains dominant, and neighboring beds retain contrast. If the design feels busy, subtraction is usually more effective than another plant purchase. Lower a group, widen a gap, or remove a redundant texture.
Add Livestock Only After the Garden Can Support It
Choose animals whose adult size, behavior, social requirements, temperature, and water chemistry fit the established aquarium. Preserve enough midwater swimming room and surface access. Add livestock gradually after the cycle is verified, quarantine when possible, and watch how feeding affects nutrient load and maintenance. A coherent school can complement the planted geometry, but the fish remain living inhabitants rather than decorative finishing pieces.
Develop the Aquarium Through Repeated Gardening
A Dutch-style aquarium reaches maturity through cycles of growth, trimming, thinning, and replanting. Over time you will learn which groups recover quickly, where flow weakens, and how long each contour holds. Use that knowledge to schedule work instead of waiting for every bed to become overgrown at once.
As confidence grows, refine transitions before adding species. A few stems shifted forward, a lower edge cut more decisively, or a dark gap widened by an inch can change the whole reading of the garden. Those small spatial corrections preserve the health and familiarity of established plants while making the composition more intentional.
The finished appearance is temporary by design. Success lies in returning the garden to a strong composition without undermining its health. When plant groups remain vigorous at their bases, contrasts stay readable, and maintenance fits your real week, the aquarium has become more than a display. It is a horticultural system you know how to guide.