Commission the Aquarium in an Order You Can Verify
Blackwater setup is easiest to control when the tank moves through clear stages instead of receiving wood, leaves, tinted water, plants, and fish all at once. The setup sequence below treats every fill line and botanical addition as a checkpoint. You will know whether the foundation holds, whether circulation reaches behind the roots, whether the water recipe repeats, and whether decomposition remains within the filter’s capacity before the next variable arrives. That deliberate pace matters because amber water can make a new aquarium look mature long before its biology is ready. A safe setup earns its atmosphere through measured commissioning, not through a dark first-day photograph.
A: The slope may lack support or the fill stream may be too concentrated; lower the water and rebuild the retaining structure.
A: Stop filling, drain to a safe working level, and secure or resoak the wood rather than forcing it down.
A: The intake location, retaining layout, or flow path needs adjustment before the tank operates unattended.
A: Only use it for a defined reason because it can remove some of the dissolved compounds producing the intended tint.
A: Microbial biofilm commonly colonizes fresh wood; monitor odor and water quality to distinguish it from a larger problem.
A: Staged additions are easier to evaluate and reduce the risk of overwhelming a new system with decomposing material.
A: Removing tinted water temporarily lightens the aquarium; stable botanicals generally restore some color over time.
A: Add them after circulation starts so their collection points and effect on surface exchange can be assessed.
A: Pause further acidifying additions, verify alkalinity and the water recipe, and correct the cause without making abrupt swings.
A: Setup ends when equipment, chemistry, cycling, decay, and maintenance are predictable, even if the scene continues to age.
Stage 1: Prepare the Stand, Tank, and Work Zone
Confirm the stand is level, stable, and rated for the completed aquarium. Inspect the tank seams and clean the glass with aquarium-safe methods. Leave enough space behind and beside the system for hoses, cords, and filter service. A root-heavy layout becomes frustrating when equipment can only be reached by dismantling the scene.
Place towels, buckets, a shallow tray for wet botanicals, and dedicated tools within reach. Separate clean equipment from anything used with household chemicals. Confirm a safe drip loop and protected electrical route. Photograph the empty tank and mark the intended maximum substrate and water levels with removable tape outside the glass.
Stage 2: Mix and Test the First Water Batch
Prepare the exact water the aquarium will receive before arranging hardscape. Test temperature, pH, general hardness, carbonate hardness, and any other parameter important to the planned livestock. If reverse-osmosis water is blended or remineralized, record volumes and product amounts rather than relying on memory. Aerate the mixture when appropriate and retest it after it equilibrates. A repeatable starting batch gives later pH or conductivity movement a meaningful baseline and prevents the visual excitement of the setup from rushing an uncertain chemistry recipe.
Stage 3: Install and Dry-Test the Equipment
Mount the filter, heater, thermometer, light, and timer while the tank is empty. Check tubing length and cabinet clearance. Position the intake where a prefilter can be removed without pulling leaves across the aquarium. Aim the return toward a route that can circulate around, not directly through, the future root bank.
Set the light to a conservative initial schedule and confirm the timer survives a brief power interruption. Do not hide controllers behind wood or place plug connections where a spill can reach them. If the heater will sit near litter, use the manufacturer’s approved orientation and any suitable guard without blocking water around the thermostat.
Fill the filter body as required for safe startup, but keep it off until the tank reaches the manufacturer’s operating level. Arrange media for mechanical capture and biological support. Activated carbon or other chemical media may remove desired tint, so include it only for a defined need rather than by habit.
Stage 4: Form the Substrate and Open Channel
Add rinsed inert sand or the selected substrate in controlled layers. Create the final open channel first because it is easier to protect an intentional empty shape than to excavate one later. Slope gently toward accessible areas where debris can be collected. Avoid very deep compacted pockets that cannot be reached or circulated.
Use hidden supports when the scene needs a raised bank. Heavy stone must rest on a stable foundation rather than loose sand alone, with concentrated loads protected from the bottom glass. Keep retaining pieces fully buried if they do not belong in the visible habitat. Press the substrate lightly, then inspect the side panes for voids or steep faces likely to collapse during filling.
Stage 5: Seat the Root Structure
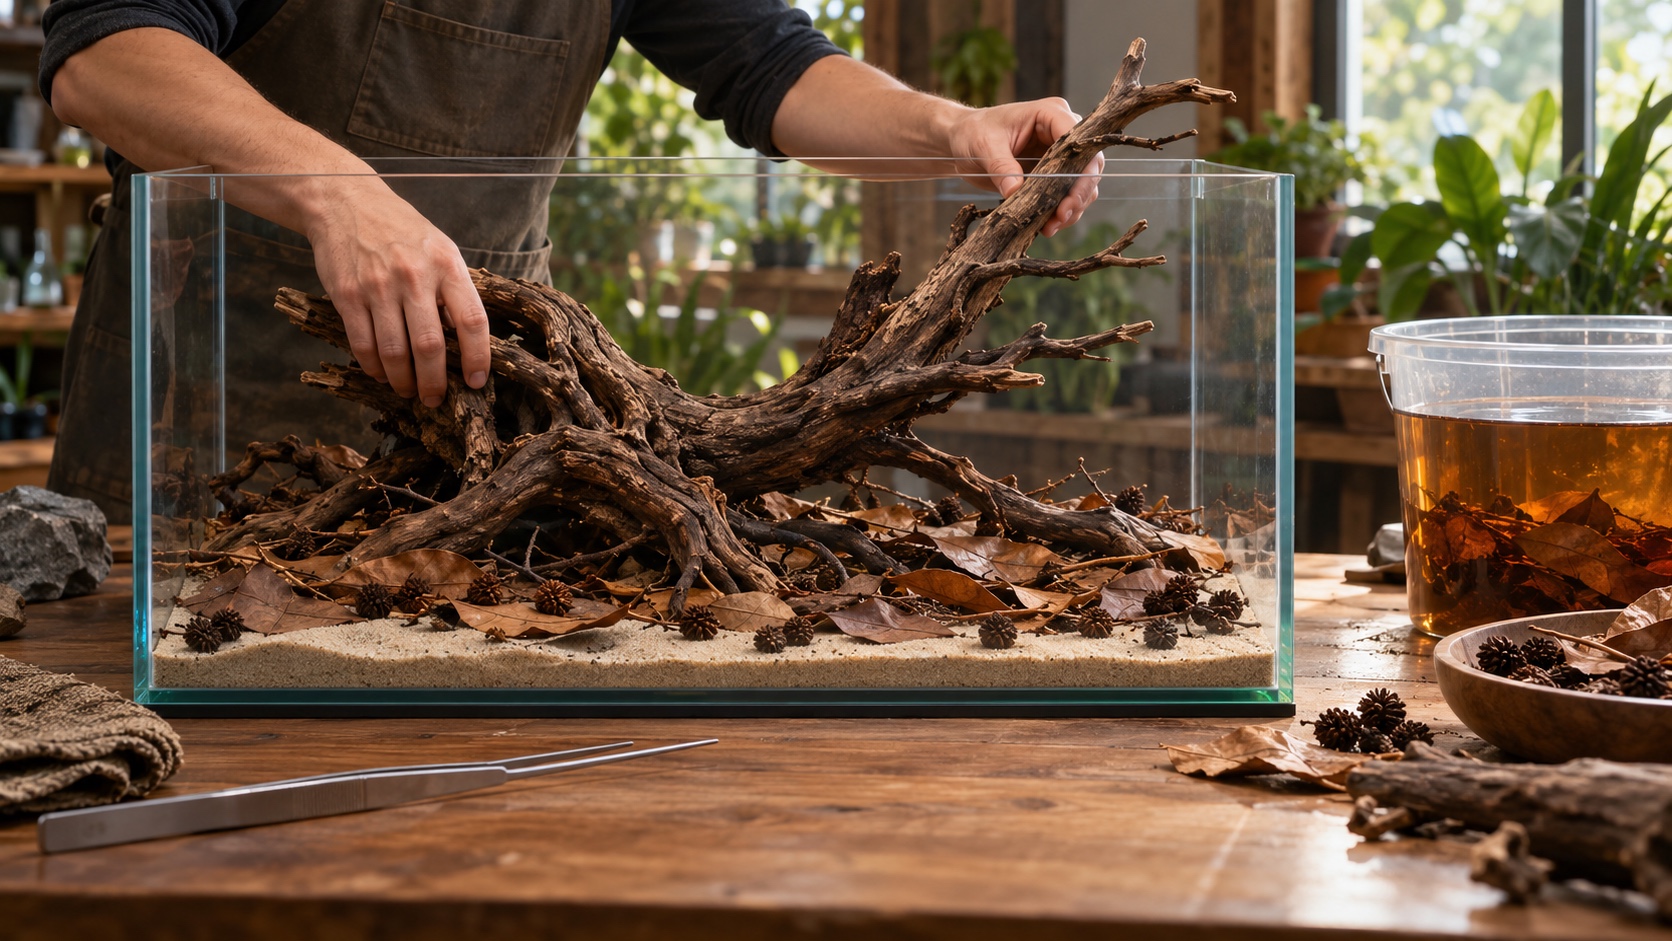
Lower the largest wood piece with two-handed control and settle it onto its intended supports. Add connected pieces in order of structural importance. Test each assembly with gentle pressure from several directions; it should not pivot toward the glass or rise when a branch is lifted. Maintain gaps large enough for fish to pass safely or close them completely. Verify that the intake, heater, and glass remain serviceable before any leaves disguise the contact points.
Stage 6: Place the First Botanical Layer
Begin with the largest prepared leaves, positioning them where slow natural accumulation makes sense: beneath roots, against the back of a bank, and along sheltered edges. Leave the sand route mostly clear. Wet stubborn leaves in the prepared water so they settle without being pinned by unsafe objects.
Add a small number of durable pods or cones only after considering their decay rate and effect on water. Vary spacing and overlap. Ten identical objects placed at equal intervals look decorative rather than ecological. Keep fragments away from the intake face and the area where food will be offered.
Photograph the layer from above and from the normal front view. The overhead image records access routes and hidden equipment clearances that will disappear after filling. Remove any piece that creates a trap, pushes wood off balance, or prevents a siphon from entering an important waste pocket.
Stage 7: Add Plants Without Overfilling the Scene
If plants fit the habitat plan, attach suitable epiphytes to stable wood and keep their rhizomes exposed. Plant rooted species in protected substrate pockets with their crowns above loose litter. Mist leaves while working and remove damaged nursery growth that would decay immediately.
Keep the planting deliberately sparse until actual light and chemistry performance are known. Floating plants can be introduced after flow starts, when their movement reveals where they will collect. Reserve an open surface area for gas exchange, feeding, and inspection.
Stage 8: Complete a Shallow-Fill Inspection
Cover the open sand with a plate or plastic sheet and add prepared water slowly until the substrate is submerged by several centimeters. Stop and wait. Watch for rising wood, collapsing banks, floating plants, and trapped air lifting leaf layers. Repair small sand channels with the low water level; drain further for any structural correction. Lift the fill barrier gently and note where fine particles travel. That movement predicts which litter pockets may migrate once the filter starts.
Stage 9: Fill Fully and Establish Gentle Circulation
Continue filling without pouring directly onto wood or botanicals. Start the filter only at its correct operating depth, then inspect every connection for leaks. Confirm the return creates surface movement across the tank. A blackwater surface can look calm while gas exchange is inadequate, so judge movement from several angles.
Trace a few suspended particles to see whether water passes behind the roots and returns to the intake. Redirect broad flow before increasing power. If a leaf repeatedly blocks the prefilter, move the leaf or add a discreet retaining branch rather than accepting a recurring obstruction.
Start the heater and compare its reading with a separate thermometer after temperatures stabilize. Test the first filled water batch and record how the substrate and botanicals changed it. Do not correct a modest initial tint difference. Chemistry, temperature, circulation, and equipment reliability have priority over color.
Stage 10: Cycle With the Final Hardscape in Place
Add an appropriate controlled ammonia source and monitor processing according to a reliable cycling method. Test ammonia and nitrite until the system repeatedly handles the expected load. Track nitrate where useful and perform water changes based on results, substrate behavior, and the needs of plants. Preserve developing biological media and keep filtration continuous.
Inspect new biofilm, softening leaves, and water odor at the same time each day. Pale or translucent growth on fresh wood is common, while strong rotten odor or falling oxygen signals excess decomposition. Remove only the problematic load and improve gas exchange. Stripping all botanicals whenever the tank looks unfamiliar prevents the keeper from learning its normal startup stages.
Stage 11: Build the Mature Litter Layer Gradually
Add a measured portion of the remaining leaves after the first layer settles and test results remain stable. Note the date, material, and amount. Wait long enough to observe the system’s response before repeating. Turn or lift dense piles gently to check for trapped waste, but do not continuously rearrange the entire floor. The mature layer should develop through controlled additions that the filter and maintenance routine can support.
Stage 12: Add Livestock and Shift Into Routine Care
Confirm the finished aquarium meets the selected species’ temperature, chemistry, group size, adult space, and behavioral requirements. Quarantine when possible. Introduce fish under subdued light and monitor breathing and balance immediately. Do not use a sensitive animal to prove the cycle. The evidence must exist before stocking.
Feed in the open zone using small portions. Count the group and inspect body condition daily while they learn the root network. If the fish hide continuously, evaluate stress, group size, current, light, and water conditions instead of removing every shelter for visibility.
During the first month, keep maintenance consistent. Match change water, lift debris from accessible pockets, rinse mechanical media only as needed, and avoid cleaning all filter components together. Replace early botanical losses in small portions. Record any relationship between additions, oxygen, pH, odor, and behavior.
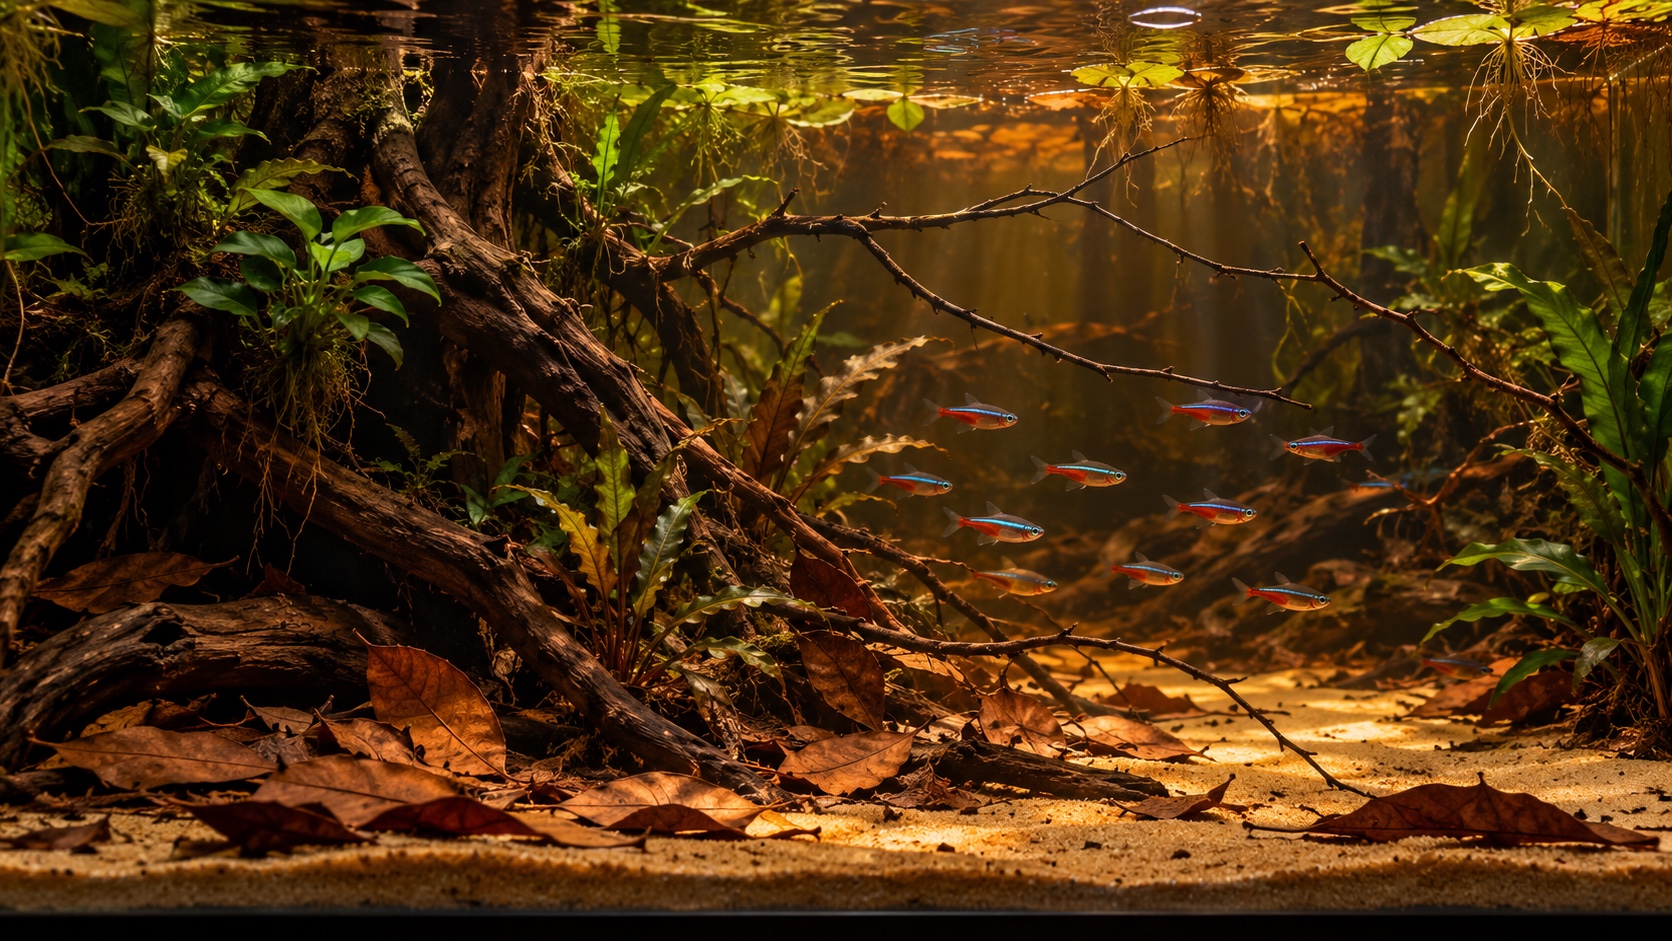
The setup phase ends when equipment is reliable, nitrogen processing is proven, the water recipe repeats, botanicals decompose at a manageable pace, and livestock behaves normally. From then on, preserve access and stability while allowing natural aging. A successful blackwater tank can look wild because its commissioning was controlled.
Rehearse Maintenance Before Declaring the Setup Finished
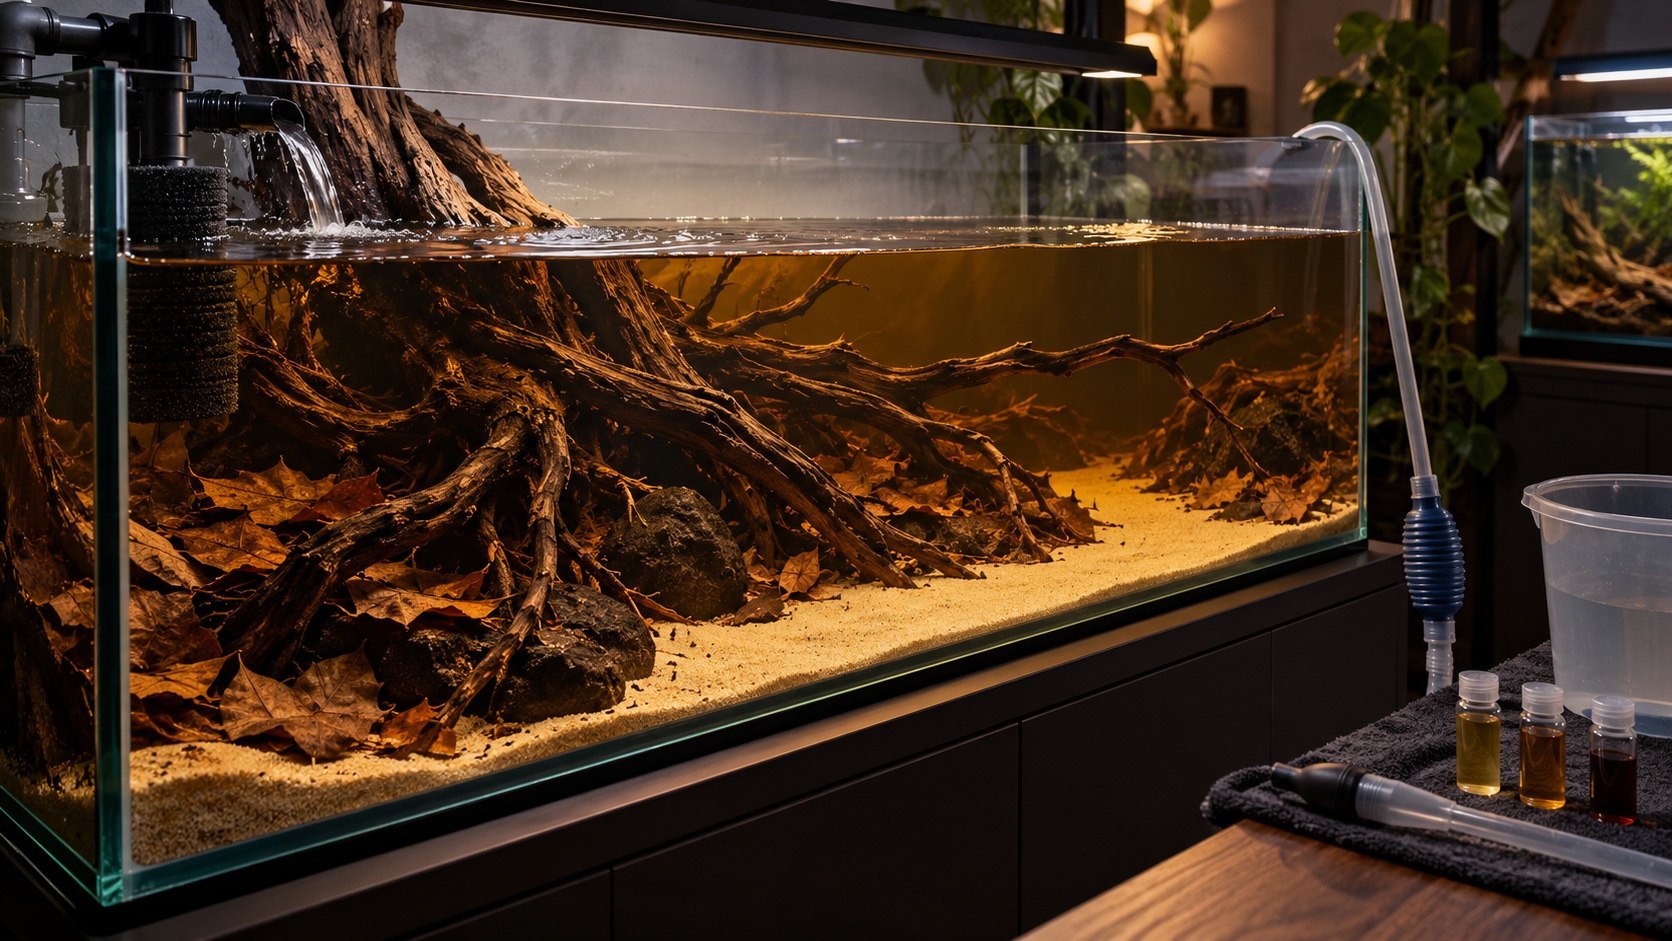
Perform one complete water change with the final hardscape and botanical layer in place. Confirm the siphon reaches the planned waste pockets without pulling apart the root bank. Measure the replacement water, refill gently, restart equipment, and verify that the filter primes and the heater remains submerged correctly. Observe whether the lighter post-change tint makes fish inspection easier. Time the task without rushing and note which preparations prevented spills. A maintenance rehearsal exposes awkward access while the layout is still young enough to adjust.
Service the prefilter and mechanical media without moving the main wood. Track how long the task takes and where dripping parts can be placed safely. Inspect impeller access and make sure replacement media can enter the cabinet without disconnecting unrelated equipment. If a hose must drag across a branch or an intake can only be removed after disturbing leaves, revise the equipment route. Routine service should not put the glass, hardscape, or livestock at risk.
Return the room to its normal schedule and check the aquarium several hours later. Temperature, surface movement, water level, and fish behavior should settle back into their expected ranges. Check beneath the cabinet for slow leaks and confirm that no leaf has migrated onto the intake after restart. Compare the new water reading with the pre-change record so a mixing error is not hidden by the tank’s tint. Add the verified sequence to the care log. Include contingency steps for a filter that fails to restart or a prepared-water batch that misses its target. Store the log beside the testing supplies so the routine remains easy to repeat. A setup is operational when another careful maintenance day can repeat the same results, not merely when the first fill remains clear.