Create the Habitat From Its Ecological Logic
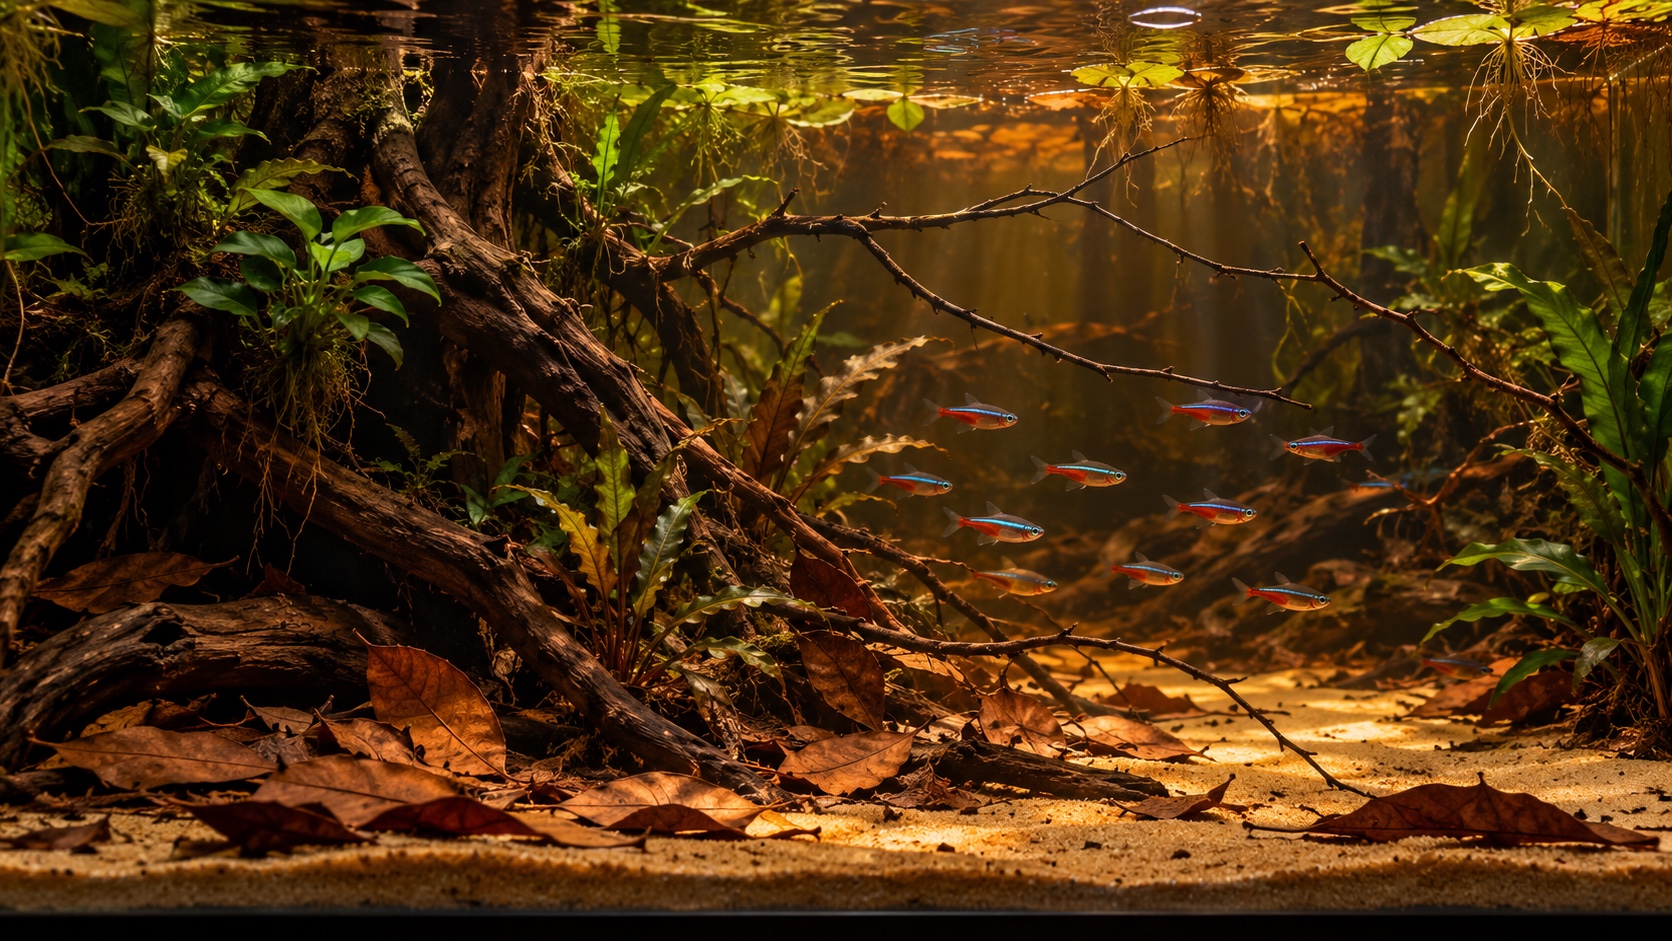
A blackwater aquarium becomes convincing when color, structure, water chemistry, and livestock all point toward the same habitat. The build should begin with a particular scene—a leaf-covered forest pool, a narrow root bank, or a slow tributary—not with a bottle of tannin extract. That decision controls how much open sand remains, where fish can shelter, how the filter moves water, and which botanical materials belong in the tank. The goal is not maximum darkness. It is a stable freshwater system in which amber water, subdued light, woody cover, and controlled decomposition support the animals rather than obscure poor husbandry. Building in this order keeps the atmosphere purposeful and gives every material a job.
A: It can supplement a controlled plan, but it should not replace suitable water, safe botanicals, and a functioning habitat.
A: Use only aquarium-suitable methods and products, and confirm the entire assembly is stable before filling.
A: Begin with a modest layer that leaves feeding, flow, and inspection areas visible, then add more in measured stages.
A: No. The need depends on source-water chemistry and the verified requirements of the chosen livestock.
A: Place it where it can draw from the system without being sealed by leaves and where the prefilter remains accessible.
A: It can, but the plant community should suit the intended habitat and the planned low-light water conditions.
A: Botanical species, preparation, quantity, water chemistry, filtration, and time all influence visible tint.
A: Stop, lower the water enough to work safely, and rebuild the support instead of forcing it underwater.
A: Only after biological processing, temperature, chemistry, oxygenation, and hardscape stability are consistently verified.
A: Use uneven material density, functional shelter, restrained repetition, and enough time for leaves and biofilm to age naturally.
Translate a Real Habitat Into a Design Brief
Choose one environmental reference before buying décor. A flooded woodland margin suggests vertical roots, scattered leaves, and quiet pockets. A shallow tributary may have a defined sand route beneath overhanging wood. A forest pool can be darker, more enclosed, and heavier with litter. Collect several photographs of the same habitat type and look for repeated relationships rather than copying one dramatic image.
Write a short design brief that names the intended fish, water conditions, open-water requirement, dominant material, and maintenance access. Include what the aquarium will exclude. A plan such as “soft-water schooling fish beneath a root bank, with open sand and no dense stem planting” prevents attractive but unrelated additions from weakening the scene. It also exposes conflicts before they enter the tank.
Set a Measurable Water Target Before Choosing Materials
Test the source water for pH, general hardness, carbonate hardness, ammonia, nitrite, and nitrate. Conductivity is also useful when managing very soft water. Research the captive requirements of the selected species and decide whether the source water already fits, can be adjusted safely, or requires a controlled mixture with reverse-osmosis water. Do not assume leaves will transform hard alkaline water into suitable blackwater. Their acids and tannins may tint it while carbonate buffering holds pH steady. If remineralization or blending is needed, establish a repeatable recipe and record it before the display is filled.
Choose Equipment for a Shaded, Debris-Producing Layout
Select a tank footprint that accommodates the adult fish group and the planned root mass without eliminating swimming length. Front-to-back depth is especially valuable because wood can overlap while leaving a clear channel. Confirm the stand is level and rated for the filled system. Place the tank where direct sun will not produce shifting heat and light across the amber water.
Size filtration for reliable biological processing and gentle, complete circulation rather than a violent current. A prefilter sponge can catch fragments before they enter an impeller, and accessible mechanical media simplifies cleanup after botanical additions. Arrange the intake so leaves cannot seal it. Position the return to move the surface and sweep behind the wood without scouring the litter bed.
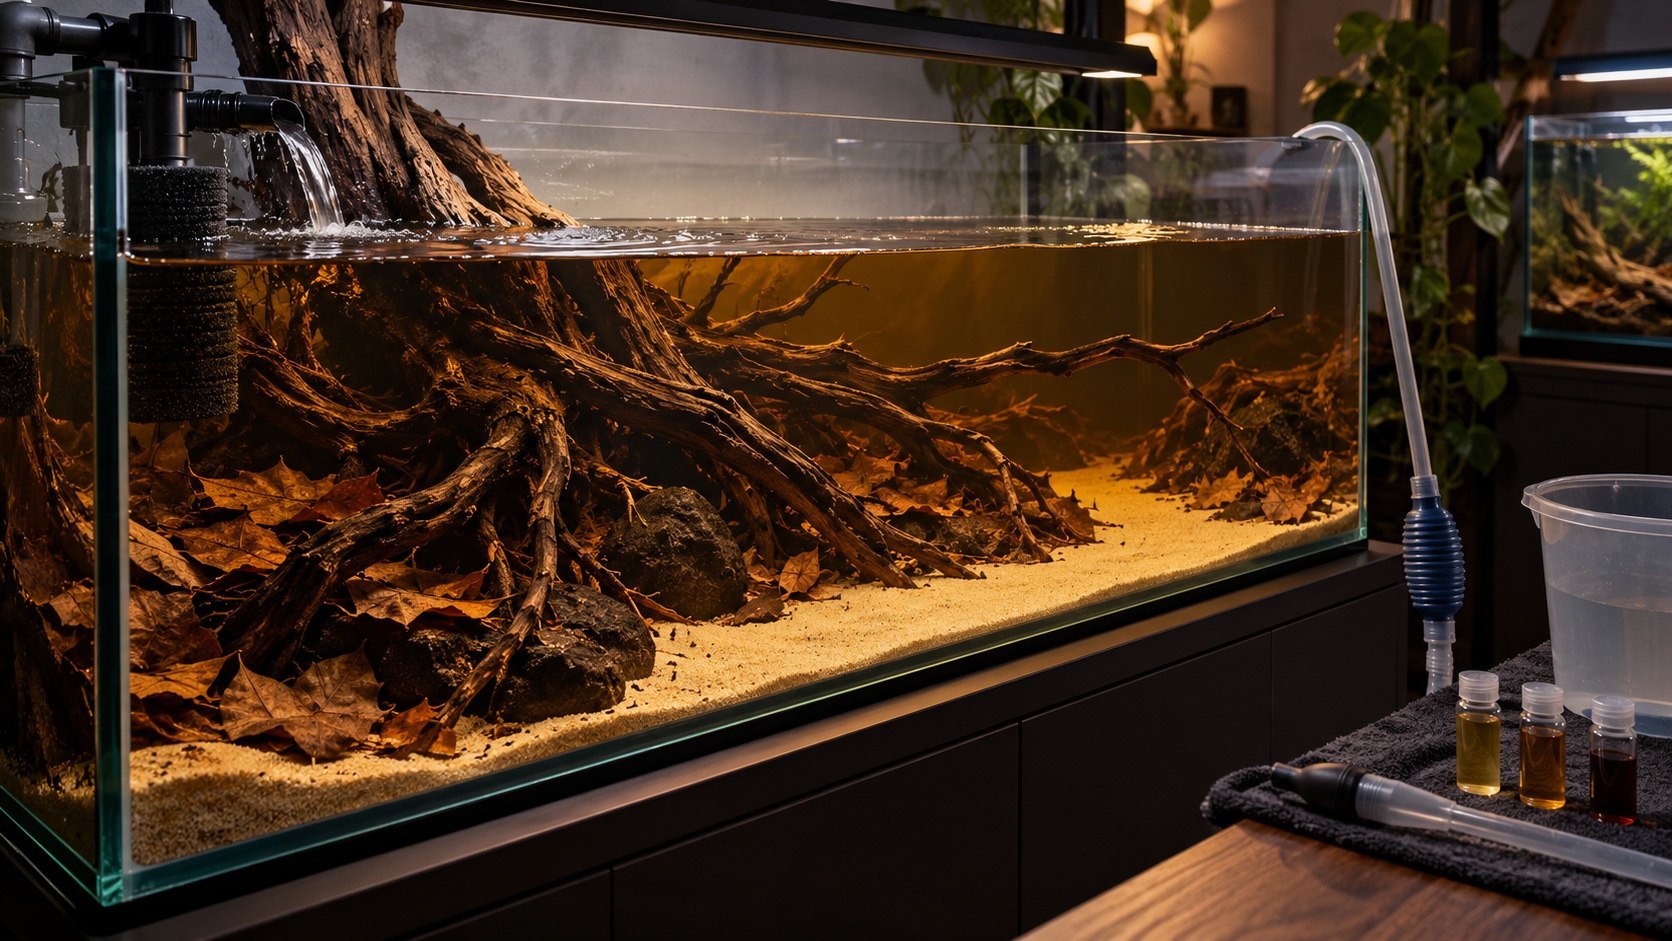
Use a controllable light that can operate at modest intensity. A heater guard may be useful where drifting leaves could rest against a hot surface, provided it suits the equipment. Keep test kits, a thermometer, buckets, and a dedicated siphon close enough that low visibility never becomes an excuse to skip observation. Equipment should make the habitat easier to read and maintain.
Compose the Wood as Functional Root Architecture
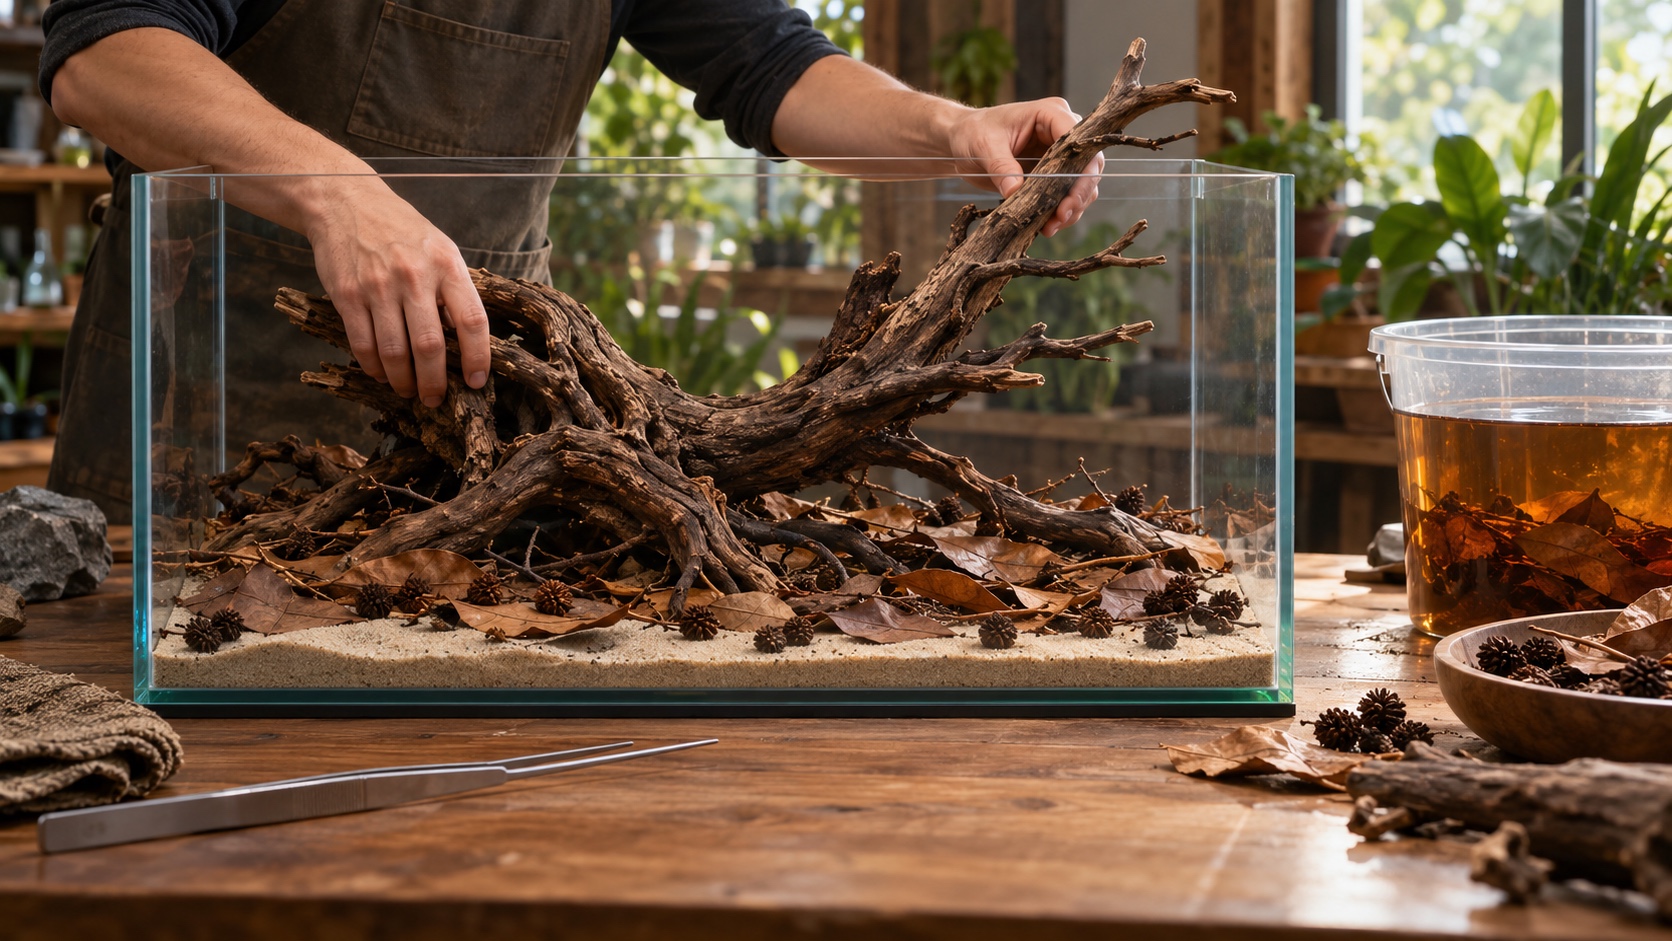
Dry-fit the largest piece outside the tank and identify its stable contact points. Wood may float, roll, or press against glass after filling, so solve buoyancy and balance before adding delicate substrate. Soaking can reduce flotation, while aquarium-safe fastening to a stable base can secure pieces that cannot remain submerged alone. Never wedge a branch under the rim or rely on glass pressure to hold it.
Build one connected root gesture instead of distributing equal branches everywhere. Let the main mass create overhead cover and broken sight lines while thinner tips direct the eye toward open water. Check that fish cannot become trapped in narrowing forks. Leave enough clearance for a siphon, brush, and net, and photograph the dry arrangement from the normal viewing height before it is buried.
Divide the Bottom Into Open Sand and Litter Zones
Use a substrate compatible with the chosen animals, plants, and water goals. Fine inert sand often creates a believable channel and is gentle for many bottom-oriented species, but its suitability still depends on the fish. Retain deeper organic-looking pockets behind wood with stones or hidden barriers rather than covering the entire floor uniformly. The open area provides contrast, feeding visibility, and an accessible place to remove waste. Rinse inert materials when appropriate, keep active soils away from exposed sand if their chemistry is not part of the plan, and protect the glass beneath concentrated rock loads.
Prepare a Controlled Botanical Collection
Use leaves, pods, bark, and cones only when their identity and aquarium suitability are known. Collect from pesticide-free areas away from roads and contaminated runoff, or buy from a reputable aquarium supplier. Avoid aromatic, resinous, treated, moldy, or unidentified material. A natural appearance does not make an unknown object safe.
Sort the collection by material type and condition. Rinse away soil and insects. Preparation methods vary: some keepers soak or briefly boil sturdy materials to clean them and reduce flotation, while delicate leaves may be rinsed and added dry. Boiling can change how quickly a botanical releases color and breaks down, so treat preparation as part of the design rather than a universal sterilization ritual.
Start with less than the mature scene appears to require. A few large leaves can establish scale, while smaller fragments soften their edges after they settle. Keep extra material dry and labeled so replacement batches remain consistent. Never introduce a large mixed load without knowing how rapidly each component decomposes in the aquarium’s temperature and flow.
Add Plants Only Where They Belong
Many blackwater habitats are not dense underwater gardens. If plants support the chosen reference, select species that tolerate the planned light, temperature, hardness, and acidity.
Attach suitable epiphytes to shaded wood without burying their rhizomes. Use rooted plants only where substrate depth and litter movement will not smother their crowns.
Floating plants can create broken shade, but they must not seal the surface or starve submerged growth of all light. Corral them away from the filter return and feeding area.
A sparse planting plan can be more truthful and easier to monitor than a lush arrangement added merely because the aquarium seems empty before fish arrive.
Fill Without Destroying the Litter Pattern
Place a plate or plastic sheet over the open substrate and add conditioned water slowly. Pause at shallow depth to correct floating wood, shifted sand, and leaves caught against the intake. Do not push a moving branch back into position under full water pressure; drain enough water to reset it safely. Once filled, start the heater and filter, confirm a continuous surface ripple, and inspect every hose connection. The first tint may be pale or uneven. Let circulation distribute dissolved tannins instead of adding concentrate simply to reach a photograph-ready color.
Commission the Aquarium in Measured Stages
Establish biological filtration with an appropriate ammonia source and test until the system can process waste reliably. Track pH and alkalinity as the tank matures, especially in very soft water where buffering is limited. Clear water, dark water, and elapsed days do not prove the cycle. Record results so gradual chemical movement is distinguishable from a sudden instability.
Add the remaining botanical layer in small stages while watching oxygen, odor, clarity, and ammonia. New wood may develop pale biofilm, and leaves will soften as microorganisms colonize them. Those changes can be normal. Sour or rotten odor, gasping animals in a seeded test system, rising ammonia, or a rapid bacterial haze after a large addition requires removal of excess material, better gas exchange, and an appropriate water change.
Tune flow after the materials settle. The litter should move slightly when disturbed but should not collect in a sealed mound against the intake. Debris behind the root mass reveals a dead zone. Redirect broad flow or open a discreet passage rather than increasing velocity until the sand migrates. The system is ready for livestock only when its chemistry and processing remain predictable with the final hardscape in place.
Introduce Fish and Let the Scene Mature
Quarantine when possible, then acclimate fish according to the difference between their holding water and the aquarium. Add an appropriate group rather than using one or two schooling fish as a test. Dim the light, keep the room calm, and watch breathing, orientation, and use of cover. The aquarium should provide security without making every animal impossible to count.
Feed small portions in a visible area until the group establishes a routine. Dark litter hides leftovers, so confirm food is eaten and remove persistent waste. Inspect fish from the side with a brief flashlight when needed, checking body condition, fins, color, and respiration. Restore normal subdued lighting after the examination.
Replace botanicals gradually as they fragment. During water changes, preserve the established litter pattern while removing accumulated waste from accessible pockets. Match replacement water to the tank’s temperature and chemistry, and expect the tint to lighten temporarily. Clean filter media in stages so botanical debris removal does not also erase biological capacity.
Photograph the aquarium from the same position each week and compare open sand, wood exposure, litter depth, and fish behavior. A mature blackwater aquarium will change, but it should change slowly enough to understand. When the habitat remains chemically stable, breathable, observable, and easy to service, the amber atmosphere is supported by husbandry rather than illusion.
Edit the Habitat After Its First Month
Review the original design brief after several water changes. Confirm that the named habitat still appears in the arrangement and that the fish use the shelter, open route, and feeding zone as expected. A branch that looked essential while dry may now block observation, while an overlooked gap may have become the group’s preferred refuge. Let real use guide small corrections.
Compare water records before changing the botanical load. If pH, conductivity, oxygen, or ammonia shifts after each addition, slow the replacement schedule and reduce the amount added together. A dependable lighter tint is preferable to dramatic color that repeatedly destabilizes the system.
Examine the litter from several angles during a water change. Lift one dense pocket gently and check for trapped food, blackened compacted material, or strong odor. Return sound leaves in a looser arrangement and remove only the deteriorated excess. This preserves the established habitat while improving circulation.
Watch how the light changes as tannins accumulate and floating plants reproduce. If submerged plants weaken, verify their actual light and nutrient conditions before increasing intensity. A brighter lamp can also increase algae on slow-growing leaves and expose fish that depend on shade, so adjust one variable at a time.
Finish by updating the maintenance plan with what the aquarium has taught you. Note which leaves last, which areas collect waste, how quickly tint returns, and when fish are easiest to inspect. Include the season and room temperature because decomposition and evaporation may change across the year. The completed build should become simpler to manage as those patterns become familiar.