Your First Nature Aquarium Starts With a Point of View
A nature aquarium is not a glass box filled with attractive objects. It is a carefully edited scene that borrows the visual logic of a riverbank, forest floor, rocky slope, or flooded meadow. The style became famous for making small aquariums feel spacious and alive, but its real appeal for beginners is practical: one strong arrangement can guide every later choice, from plants and fish to lighting and maintenance. You do not need rare stone, pressurized carbon dioxide, or contest-level trimming to begin. You need a believable landscape, plants suited to your equipment, and enough patience to let the composition mature. This guide explains how to make those decisions in the right order so your first nature aquarium grows into a stable underwater garden rather than an expensive collection of unrelated parts.
A: Yes. Use moderate light, patient growth expectations, and plants known to adapt well to lower carbon availability.
A: Provide enough depth to anchor roots and form the planned slope, usually with a shallower front and supported higher rear.
A: Soaking can reduce buoyancy and release some tannins, though secure placement and aquarium-safe preparation remain important.
A: Add fish only after testing confirms the biofilter processes waste reliably and the selected species' water requirements are met.
A: No. Sand, gravel, small crypts, Marsilea, or dwarf sagittaria can create an effective foreground with less demanding care.
A: Many nursery plants replace air-grown foliage with submerged leaves; watch the crown and new growth before discarding them.
A: A conservative six-hour schedule is a useful starting point, followed by gradual changes based on plant response and algae.
A: They can, but one visually consistent rock type usually creates a more believable geological story.
A: Trim when growth begins to obscure the intended silhouette, allowing the species' speed and desired density to set the interval.
A: A clear composition, compatible plants and livestock, stable water quality, and maintenance you can sustain matter more than immediate perfection.
What Makes an Aquarium Look Natural
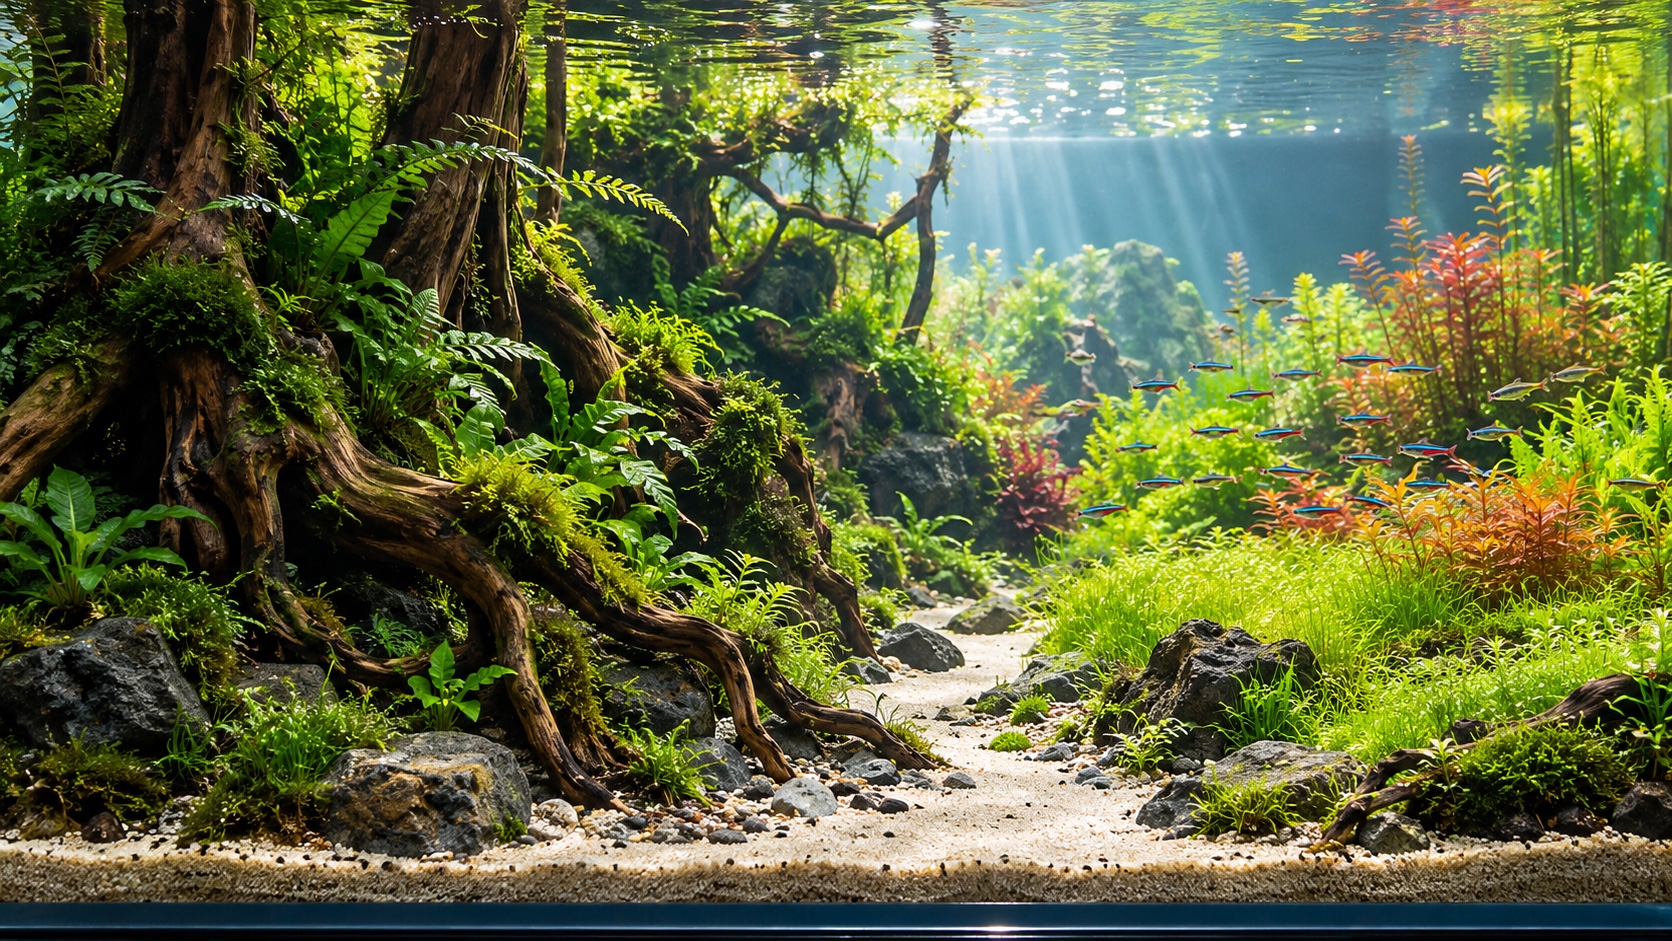
Natural-looking does not mean random. In the outdoors, gravity, current, erosion, and competition leave recognizable patterns: stones lean in a shared direction, roots follow the soil, fine material gathers in quiet pockets, and plants occupy places that suit their needs. A convincing aquascape translates those patterns into a small volume. The viewer should be able to imagine what happened before the tank existed. Perhaps a root mass caught stones at the edge of a stream, or a fallen branch created shelter where ferns and moss established themselves. That implied history unifies the scene more effectively than buying every attractive plant at the store.
The style also depends on restraint. Repeating one rock type looks more geological than mixing five colors. A school of one small fish species usually strengthens the sense of scale better than several pairs of unrelated fish. Empty water and open substrate are useful, too; they give the eye somewhere to rest and allow the planted areas to feel more abundant. When you judge an arrangement, ask whether every element supports the same place and mood. Remove objects that call attention only to themselves.
Choose a Tank You Can Reach and Maintain
A rectangular aquarium between roughly 15 and 30 gallons is forgiving for a first nature layout. It offers enough front-to-back depth to build layers, yet remains manageable during planting and water changes. Wider tanks are generally easier to compose than tall, narrow ones because the extra footprint creates room for slopes and negative space. Before buying, measure the path to the final location, confirm the stand is level and rated for the filled weight, and make sure your arm can reach the substrate without an awkward stretch. Position the tank away from direct sun and leave access for hoses, filter maintenance, and trimming. A beautiful layout becomes frustrating when routine care requires moving furniture or dismantling hardscape.
Turn an Inspiration Image Into a Workable Plan
Begin with a landscape feeling rather than a shopping list. Collect two or three reference images of real environments and identify what attracts you: an exposed root, a low horizon, a bright clearing, or the way a slope disappears into shade. Sketch the aquarium as a simple rectangle and mark one dominant mass, one secondary mass, and the open route the eye will follow. The sketch does not need artistic detail. Its purpose is to stop the focal point from drifting toward the exact center and to reserve open space before plants fill everything.
Decide whether the composition will be triangular, concave, or convex. A triangular layout rises strongly on one side and opens toward the other, making it especially friendly for beginners. A concave layout holds taller material at both ends and creates a central valley or path. A convex layout concentrates height near the middle and can resemble an island or hill. Choose one basic silhouette and protect it. Mixing all three usually produces a crowded skyline with no clear direction.
Make a scale mock-up outside the aquarium if the hardscape is complicated. A cardboard rectangle matching the tank footprint lets you rearrange dry stone and wood without scratching glass or compressing wet soil. Photograph promising versions from the front because the camera quickly reveals tangencies, symmetrical gaps, and pieces that disappear behind one another. Mark the glass height on a temporary backdrop so branches do not end up above the rim or directly under equipment.
Build the Substrate for Plants and Perspective
Rooted plants need a stable bed, but the visible substrate also carries much of the perspective. Many beginners use an active aquasoil because it combines nutrients with a porous texture that roots can penetrate. Inert sand or fine gravel can work when paired with root tabs and water-column fertilizer, especially for hardy plants. Whatever material you choose, avoid making the entire bed perfectly flat. A higher rear line and lower front edge deepen the scene, while steeper mounds behind stone or wood create elevation without requiring an excessive amount of soil.
Support tall slopes so they do not flatten during planting and maintenance. Bags of inert lava rock, plastic retaining grids, or hidden stones can provide a firm core beneath the visible soil. Keep fine decorative sand separate from nutrient-rich soil with a buried barrier or a tight line of rock. Mixed grains are difficult to separate later. Leave a narrow margin between the front glass and soil if you want a clean presentation; this also makes it easier to remove trapped debris.
Arrange Hardscape Before Adding Water
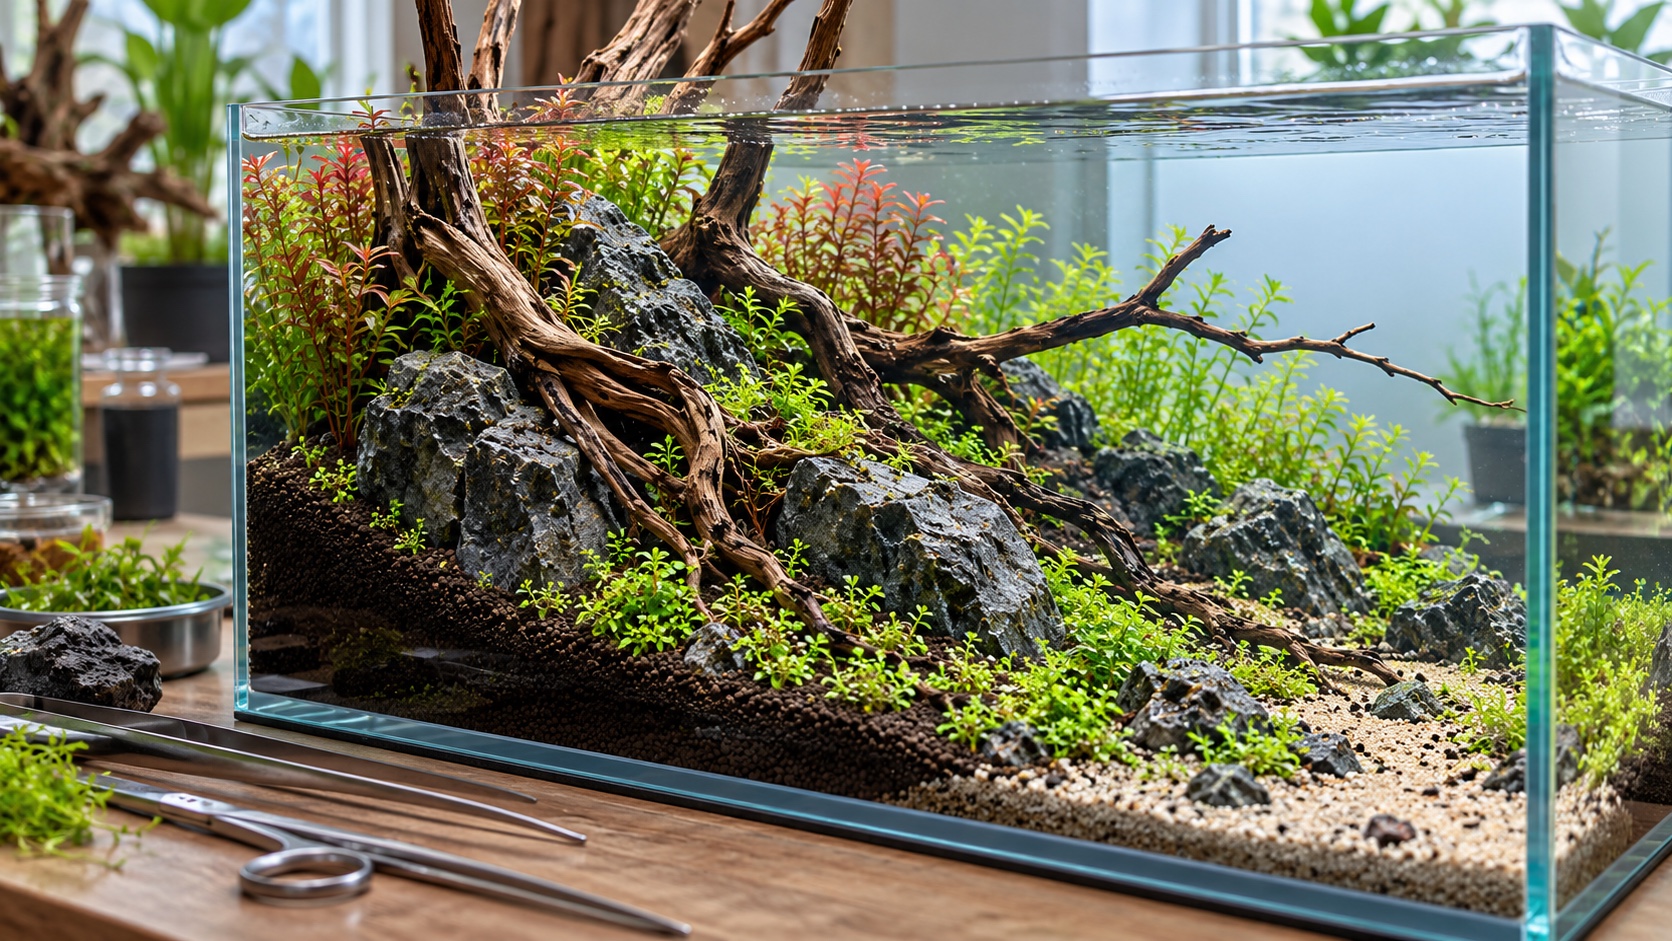
Set the largest stone or primary root first and rotate it until its lines lead into the aquarium rather than out through the glass. Add smaller pieces as fragments of the same formation, not as evenly spaced decorations. Bury the bases. A rock sitting entirely above the substrate resembles an ornament, while a partially buried rock suggests a larger mass continuing underground. Use odd groupings when they feel natural, vary the visible sizes, and align obvious strata or grain direction. Test stability by pressing gently from several angles; fish, siphons, and your hand will eventually apply force.
Select Plants by Job, Not by Popularity
Divide the plant list into foreground, transition, focal, and background roles. A beginner foreground might use dwarf sagittaria, Marsilea, or small crypts rather than a demanding carpet. Midground plants such as Cryptocoryne wendtii, Anubias, Java fern, and compact Bucephalandra soften the base of hardscape. Taller crypts, Vallisneria, Hygrophila, or easier Rotala species can establish the backdrop. Moss can join wood and stone, but a small amount placed deliberately is more convincing than covering every surface.
Match growth demands across the whole planting plan. A low-energy aquarium with moderate light and no injected carbon dioxide should favor slower, adaptable species. A bright tank packed with fast stems will require stronger fertilization, more frequent pruning, and careful carbon dioxide management. The difficult combination is intense light with limited plant growth, because algae can use the surplus energy. If you are unsure, begin with moderate intensity and a six-hour photoperiod, then adjust after several weeks of observation.
Plant Densely Without Losing the Design
Plant while the substrate is damp and the aquarium is only lightly misted. Separate tissue-culture carpets into small plugs, divide stem bunches into individual shoots, and remove rock wool from potted roots. Tweezers help place roots deep enough that they do not float when filling begins. Dense initial planting gives the aquarium a biological advantage because growing plants consume nutrients and occupy surfaces that algae might otherwise exploit.
Keep each species in a recognizable group. A few isolated stems of many varieties create visual noise and are harder to trim coherently. Plant background stems in staggered rows, with the shortest shoots toward the viewing side of the group. Place epiphytes by tying or gluing the rhizome to hardscape; never bury an Anubias or Java fern rhizome in soil. Leave intentional gaps around the focal hardscape so its shape remains readable after growth.
Fill slowly over a plate, plastic sheet, or shallow bowl to avoid excavating the layout. Cloudiness from new soil or sand usually improves as the filter captures particles, but violent filling can undo hours of careful placement. Once full, check for floating plants, trapped air beneath wood, and any stones that shifted. Make small corrections immediately while the planting pattern is still visible.
Cycle the Aquarium and Establish a Maintenance Rhythm
A planted layout still requires a mature biological filter before it can safely support fish. Run the filter continuously, condition tap water, and use a reliable test method to follow ammonia and nitrite. Active soils may release ammonia early, so frequent initial water changes can protect plants and remove dissolved organics. Do not treat a fixed number of days as proof of cycling. The tank is ready only when its nitrogen processing is demonstrably stable under an appropriate waste source.
During the first month, remove melting leaves, replant loose stems, wipe glass gently, and change water on a consistent schedule. Keep the filter intake clear but avoid replacing or sterilizing all media. As growth becomes steady, shift attention from rescue work to shaping. Trim stems above a node to encourage branching, thin crowded rosettes at the base, and remove shaded older leaves from epiphytes. Small, frequent corrections preserve the composition better than occasional severe cutbacks.
Add Fish That Strengthen the Landscape
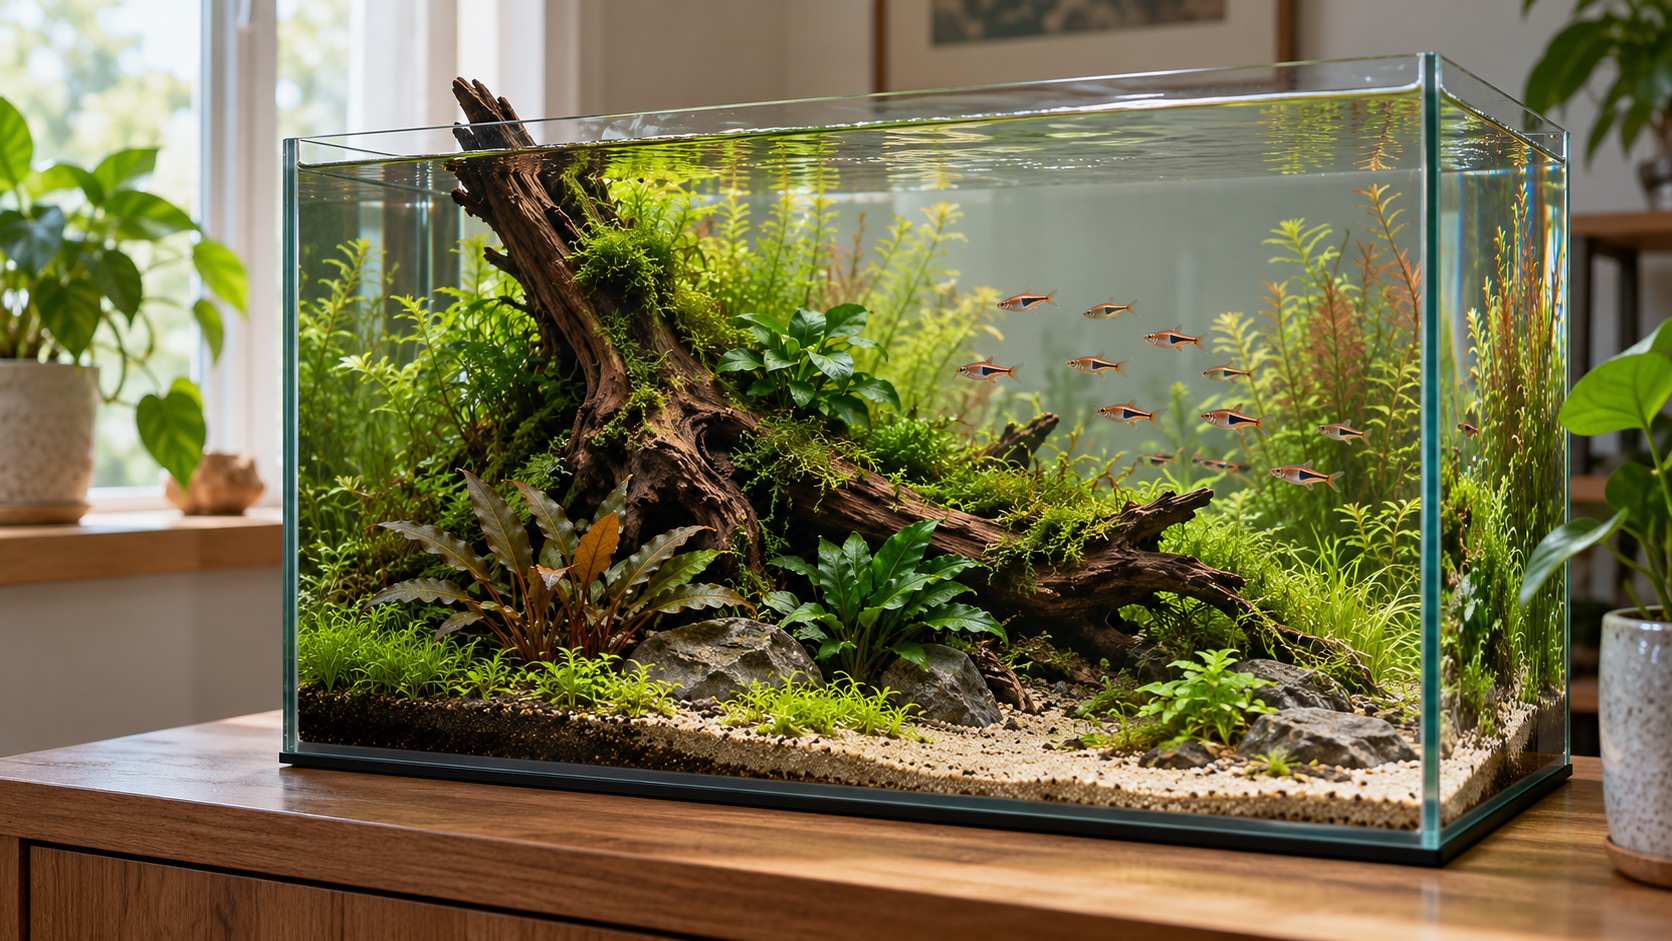
Choose livestock only after water parameters are stable and the planting has begun to root. Research adult size, social needs, temperature, hardness, and behavior rather than selecting by color alone. One appropriately sized school can make the aquarium appear larger because repeated small bodies establish scale and coordinated movement. Peaceful bottom dwellers may add interest, but confirm that the substrate and footprint suit them. Avoid fish that dig vigorously, uproot delicate foregrounds, or require open swimming distances your hardscape has consumed. Introduce animals gradually, quarantine when possible, and feed lightly while the biofilter adjusts.
Let the Layout Mature Instead of Chasing Perfection
The first photograph is only the beginning. Plants will reveal which areas receive enough light and flow, wood may develop temporary biofilm, and some leaves grown above water will melt as submerged foliage replaces them. Observe before reacting. A melting plant may be transitioning, while persistent decline across new growth may signal an actual nutrient, carbon, or lighting problem. Change one variable at a time so the result teaches you something.
Keep a simple record of the light schedule, water changes, fertilizer additions, and major trims. A weekly front-view photograph is often more useful than memory because it shows gradual leaning, boundary loss, and changes in plant density. Notes also prevent the common cycle of making the same adjustment repeatedly before the previous one has had time to show a result.
A successful first nature aquarium does not have to imitate a famous contest tank. It should be stable enough to maintain, clear enough to read, and personal enough that you enjoy returning to it. When the hardscape establishes a believable place and the plants suit the available care, maturity adds the detail no amount of decorating can fake. The reward is not a frozen picture but a landscape that becomes more convincing as you learn how it grows.