Build the Landscape Before You Build the Aquarium
Creating a nature-style aquascape is a design exercise first and an aquarium setup second. The strongest layouts begin with an imagined place and a clear visual route, then use stone, wood, substrate, and plants to make that place believable. Starting with equipment or a cart full of plants often reverses the process: the tank may be healthy, yet the scene never feels intentional. This walkthrough treats the build like a sequence of decisions you can test before water enters the glass. It covers proportion, hardscape stability, planting, startup, and the first trims, with practical choices for a freshwater hobbyist who wants a refined result without copying a contest photograph. The goal is to create a composition that survives growth and maintenance, not merely one that looks finished on setup day.
A: No. Grids help prevent accidental centering, but the scene's balance and directional lines are more important than exact coordinates.
A: Small pieces may, but heavy structures need stable support so shifting substrate cannot undermine them.
A: Widen it toward the front, narrow it toward the rear, and partly obscure the distant end with texture.
A: Attach it before filling, using thin patches that will grow into the desired form without trapping excessive debris.
A: Individual shoots receive better lower light, root more predictably, and can be arranged into a clean mass.
A: No. Moderate light and well-matched adaptable plants can create a rich layout with fewer stability challenges.
A: Pre-soak it or secure it to a stable hidden base until it becomes waterlogged.
A: Trim after healthy submerged growth is established and the group begins to depart from the intended outline.
A: Visual fit is useful only after adult size, social needs, water requirements, and welfare are satisfied.
A: Preserve negative space, distinct plant masses, exposed structural faces, and the original directional gesture during every trim.
Define the Scene in One Sentence
Write a short description of the place you want to suggest, such as “roots gripping a shaded riverbank beside an open channel” or “weathered stones emerging from a bright hillside.” That sentence is a filter for later decisions. A delicate branch that belongs in the riverbank may look misplaced on the exposed hillside. A broad carpet that suits the hill may erase the channel. When two appealing options conflict, keep the one that supports the stated scene.
Choose a viewing distance and mood at the same time. A layout intended for a living room across several feet needs a bold silhouette and fewer tiny details. A desktop tank can reward close inspection with moss, small leaves, and subtle transitions. Mood affects contrast: shaded woodland compositions favor dark recesses and restrained highlights, while open grassland scenes depend on brightness and horizontal space. Naming these qualities prevents the aquascape from becoming a generic mix of fashionable materials.
Map the Composition on the Empty Glass
Use removable tape on the outside of the front pane to mark the approximate substrate line, focal area, and major opening. Do not treat a compositional grid as a rigid formula; use it to avoid accidental centering and equal spacing. Look through the tank from the normal seated or standing position because the apparent relationships change with height. Equipment that will remain visible should be included in the plan rather than mentally erased. A filter intake can disappear into a dark plant group, while an outlet needs enough clearance to move water across the finished canopy.
Shape a Foundation That Will Not Collapse
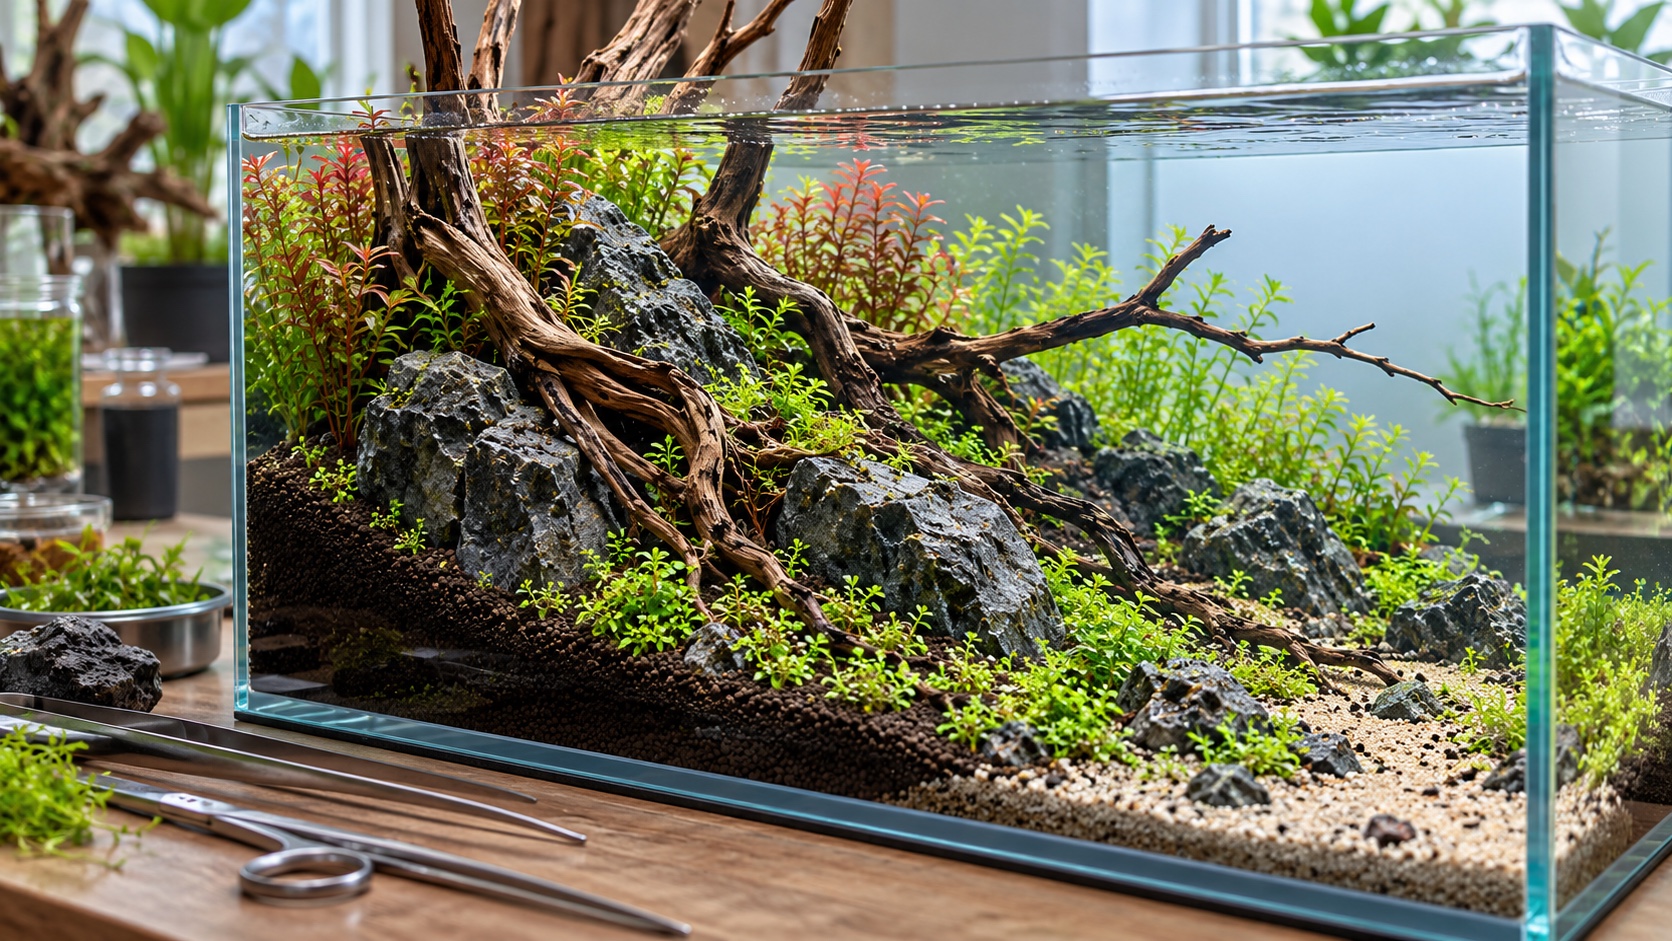
Protect the bottom pane according to the aquarium manufacturer’s guidance, then build hidden elevation with inert, aquarium-safe material where the design needs height. Mesh bags of lava rock are useful because they create bulk without an enormous mass of nutrient soil. Retaining pieces should sit securely and remain concealed after the visible substrate is added. Keep heavy stone supported by the bottom or a stable base rather than balancing it entirely on loose granules that can shift during planting.
Pour the substrate in stages. Establish the general slope, install the primary hardscape, and then pack additional material around its base. This sequence helps the stone or wood appear embedded instead of placed on top. Use a brush or card to sharpen the front edge and form shallow terraces. Extreme unsupported slopes look dramatic when dry but often flatten after filling; moderate elevation with firm internal support creates more durable depth.
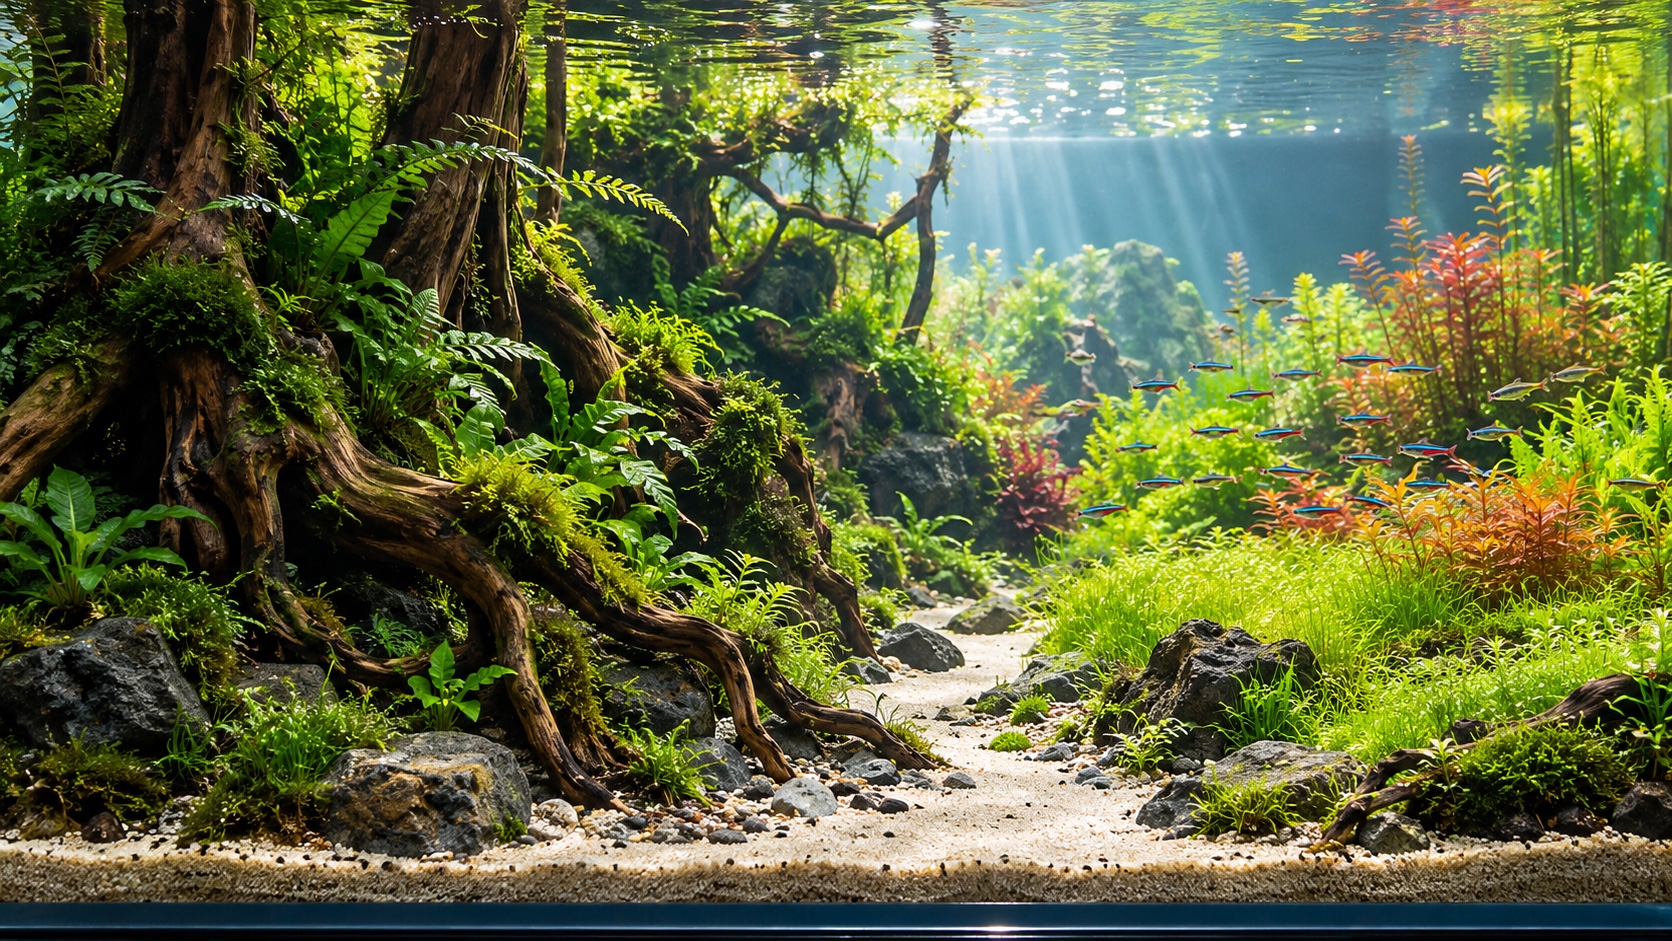
If the scene includes decorative sand, add it after the structural soil and hardscape are settled. A narrow path should widen toward the front and become finer or partially obscured as it recedes. This forced perspective makes the aquarium seem deeper. Contain the boundary with buried rock or dividers, because routine fish movement and siphoning will otherwise blend the materials. Accept that some migration is natural and design the edge so occasional repairs are easy.
Place the Primary Hardscape as a Single Gesture
Start with the most characterful piece, but do not assume its obvious upright orientation is best. Rotate stone to expose interesting strata and lay wood at angles that imply force, age, or flow. The primary mass should establish a directional gesture across the aquarium. A branch can arc toward an opening; a ridge can descend into a path; roots can clutch stones and lead the eye downward. Check the silhouette against a plain background before adding detail.
Add secondary pieces close enough to participate in the same formation. Avoid a row of evenly spaced stones or branches with identical gaps. Nature produces clusters, overlaps, buried edges, and partial occlusion. Smaller fragments should appear to have broken from or accumulated around the dominant forms. Step back after every few pieces. If the scene becomes stronger when an item is removed, leave it out.
Make the Structure Safe for Water and Livestock
Press each major piece from the directions it could be bumped during maintenance. Use aquarium-safe adhesive and support methods where necessary, but mechanical stability should carry most of the load. Sand sharp wood points that occupy swimming routes, confirm that stone will not alter water chemistry beyond the planned livestock range, and avoid narrow traps where a fish could enter but not turn around. Soak or securely anchor buoyant wood. Design access around the intake, heater, and glass so algae removal does not require dismantling the composition. Inspect the structure again after the partial fill. Water changes how wood floats and how dark surfaces overlap, and loose substrate may reveal an unsupported edge. Correct those problems before the tank is full and planted roots make access difficult. A five-minute stability check at this stage can prevent a collapsed slope or cracked pane later.
Assign Plants to the Lines Already Present
Plants should reveal the hardscape rather than cover uncertainty. Place compact epiphytes and moss where roots or stone meet, using them to soften selected junctions. Keep some bare surfaces so the original structure remains legible. Low plants can continue a slope, while upright stems can amplify a rising side. Fine leaves placed behind a branch increase its apparent scale; broad leaves near the focal area provide visual weight.
Limit the palette enough that every species has room to form a mass. Three greens can look more varied than ten isolated specimens when their leaf sizes and growth habits contrast. Use a foreground species, one or two transition plants, a focal texture, and background groups as a starting framework. Red plants are most effective as a controlled accent tied to the focal route, not scattered evenly as decoration.
Confirm that the palette shares compatible lighting, nutrient, temperature, and carbon dioxide expectations. A slow-growing epiphyte beneath strong light may collect algae while nearby demanding stems struggle without sufficient carbon. Either build a coordinated high-energy system and commit to its maintenance, or select adaptable plants for moderate conditions. The design cannot remain separate from plant physiology.
Plant From the Structure Outward
Attach moss and epiphytes before filling because hardscape is easier to handle while dry. Use small amounts of gel adhesive suitable for aquarium use or dark thread that will be hidden by growth. Apply moss in thin irregular patches rather than thick cushions that trap debris. Keep rhizomes exposed. Then plant rooted foreground and midground species, followed by stems at the rear so your hands do not repeatedly cross delicate work.
Plant stems individually or in very small groups with enough separation for light to reach their lower portions. Arrange their tops in the intended outline, knowing they will be cut and replanted as the group thickens. In foreground plugs, spacing permits runners to knit into a carpet and reduces the amount lifted during filling. Mist frequently during a long planting session and cover completed areas temporarily if the room is dry.
Fill, Start the Filter, and Stabilize the System
Lay a sheet or shallow dish over the substrate and add conditioned water slowly. Pause when the tank is partly filled to replace floating plugs and release obvious air pockets. Once full, start the filter and heater, confirm the hardscape has not shifted, and inspect hose connections. Adjust the outlet for broad circulation rather than a narrow jet that bends every plant in one direction.
New aquasoil, disturbed wood, and dense planting can release organics during startup. Follow a deliberate water-change schedule appropriate to the substrate and monitor ammonia and nitrite. Remove damaged leaves before they decay. Keep lighting conservative at first; plants need time to root and convert to submerged growth, while algae can exploit full intensity immediately. If carbon dioxide is used, stabilize delivery and distribution before increasing light.
Cycle the aquarium based on measured biological performance, not on clear water or a calendar promise. Beneficial bacteria populate filter media and surfaces over time. Do not add a full livestock plan at once, and do not sterilize the filter when early biofilm appears. The startup phase is about establishing predictable processes that can support the finished scene.
Use the First Trims to Complete the Design
The initial planting only sketches the plant masses. Once stems establish healthy new growth, trim different groups at different heights to restore the planned silhouette. Cut some stems lower to encourage branching and allow others to remain as leaders. Replant strong tops where density is needed and remove weak bases. For rosettes and epiphytes, remove individual older leaves instead of shearing the plant.
Watch how growth changes negative space. A sand path can vanish under runners, a branch window can close, and two separate plant groups can merge into one shapeless hedge. Editing is as important as growth. Pull runners at boundaries, thin plants before their lower leaves are shaded, and preserve the visual gaps that give hardscape meaning. Take front-view photographs every week or two; gradual drift is easier to notice in a sequence than during daily viewing.
Finish With Livestock and a Repeatable Routine
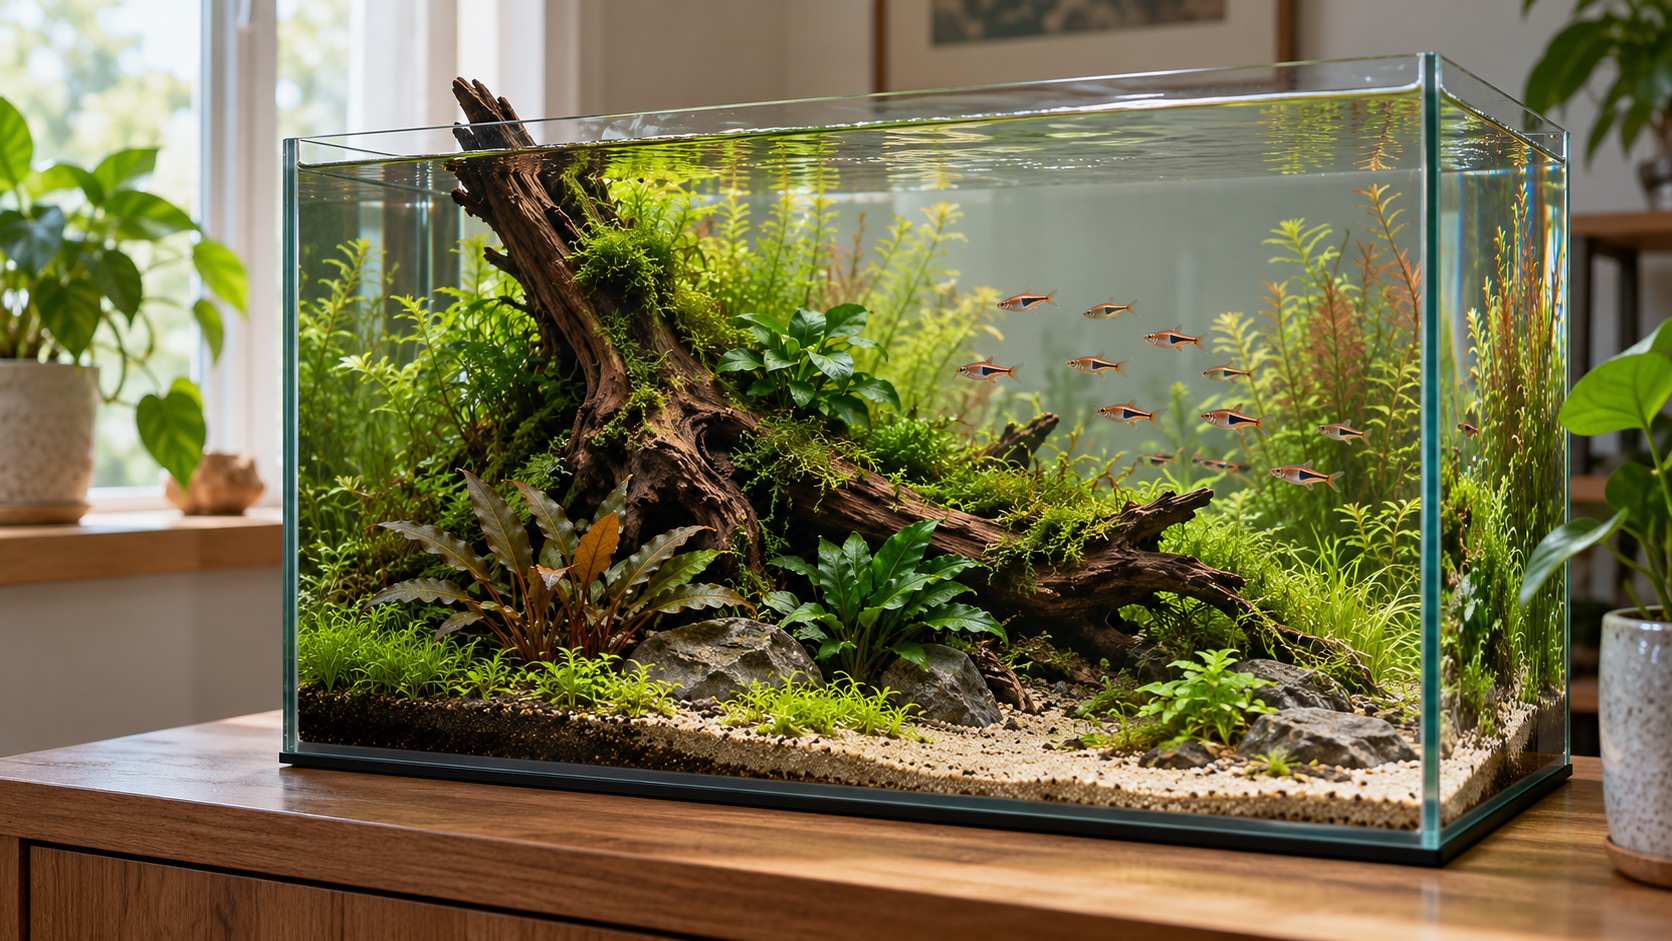
Select fish and invertebrates whose needs fit the water, dimensions, and layout. Schooling fish can echo the hardscape’s direction, while calm bottom species may animate open substrate if it is appropriate for their bodies and behavior. Avoid treating animals as scale accessories; their adult size, group requirements, diet, and swimming patterns come first. Add them gradually after the cycle is secure.
Observe the completed aquascape under ordinary room conditions as well as under its aquarium light. Reflections, background color, and the viewer’s usual angle can change which gaps feel open and which equipment becomes conspicuous. Simple external adjustments, such as a plain background or reduced surrounding glare, may clarify the scene without disturbing established plants.
Set a routine that protects both health and composition: observe daily, trim or clean lightly as needed, change water consistently, and service filter parts in rotation. Compare plant growth before changing fertilizer, light, or carbon dioxide. A nature-style aquascape becomes persuasive through continuity. When the original gesture remains visible beneath mature, healthy growth, the build has moved beyond arrangement and begun to feel like a place.
Allow the routine to evolve with plant mass. A newly planted tank may need frequent water changes and loose-leaf removal, while an established layout demands more pruning and internal thinning. The schedule is successful when it responds to real growth without becoming so elaborate that maintenance is postponed.