Choose Hardscape by Evidence, Function, and Fit
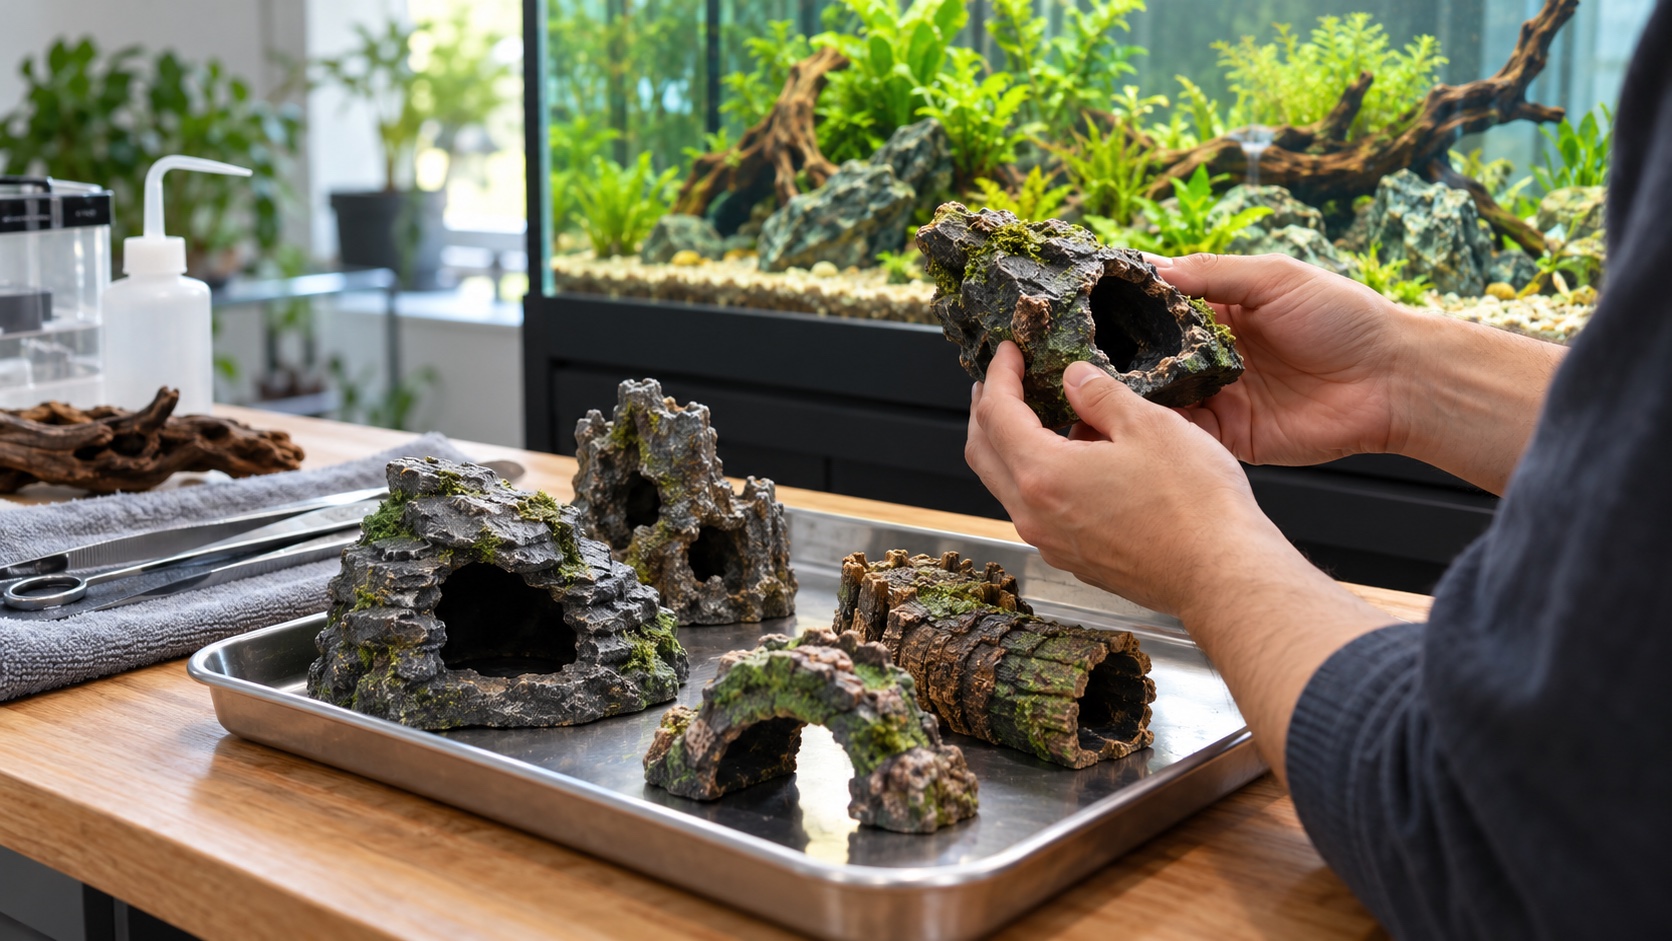
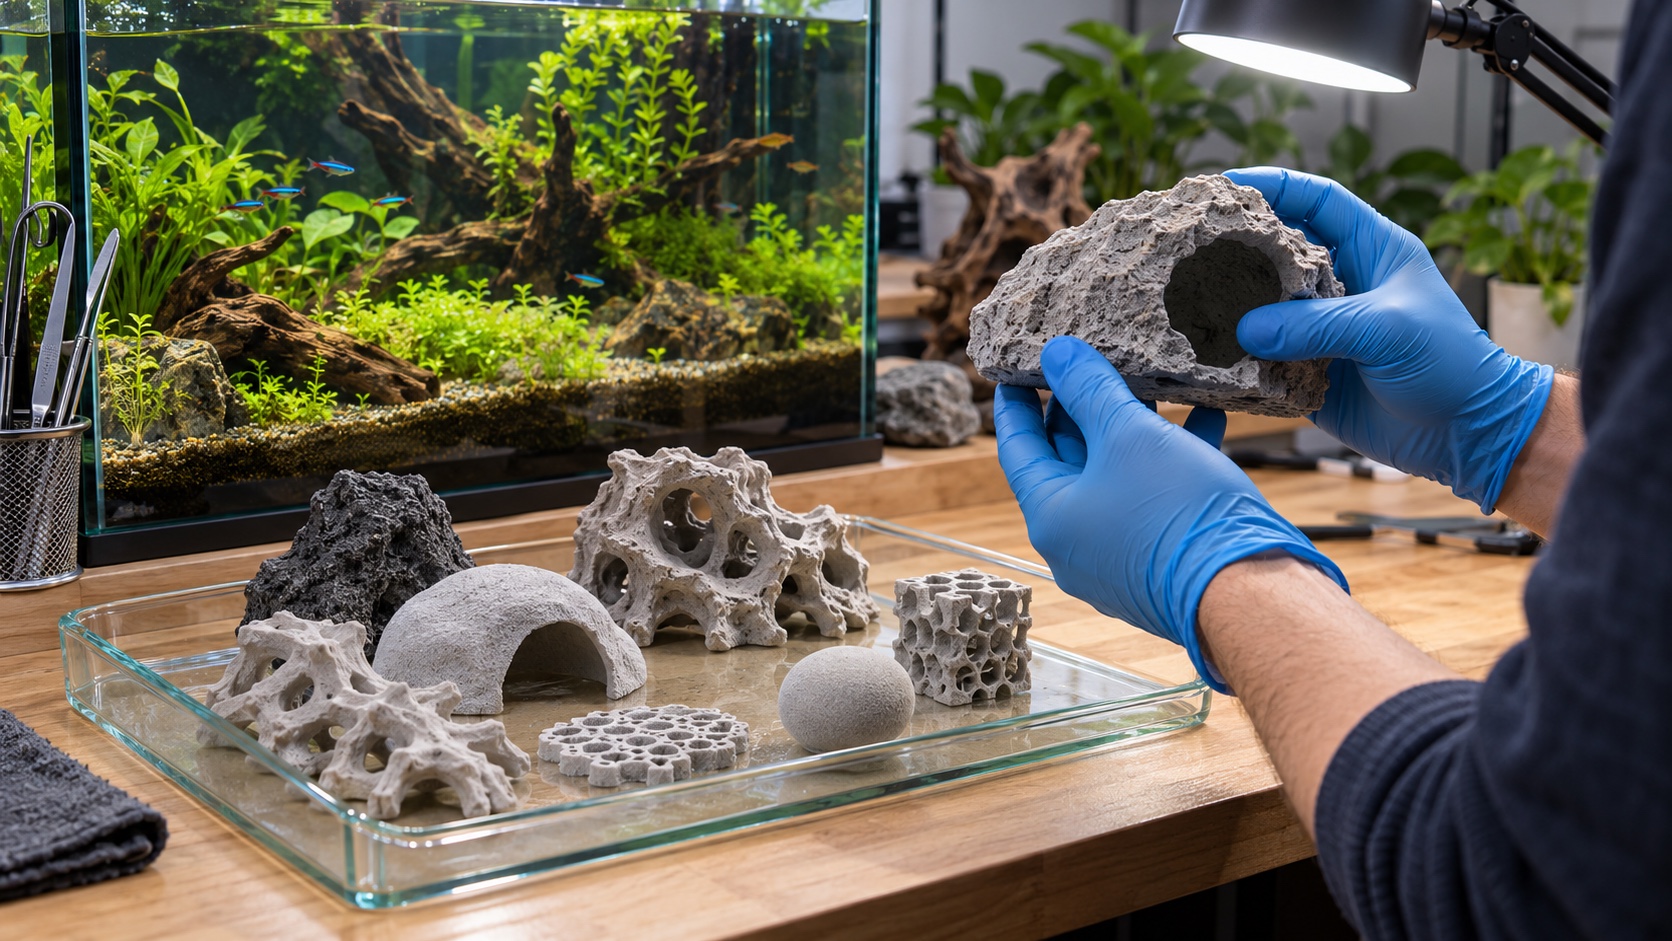
Rocks and resin decorations can both create structure, shelter, and a convincing focal point, yet they present different questions. A natural rock may be chemically reactive, friable, contaminated, or dangerously unstable. A manufactured resin piece may have excellent consistency but uncertain paint, hidden cavities, sharp seams, or a finish not intended for permanent submersion. The safest choice is not automatically “natural” or “artificial.” It is the object whose origin, material behavior, geometry, support, and maintenance demands fit the aquarium and its adult inhabitants. Begin with the fish, water goals, and layout constraints before shopping. Then evaluate each candidate as a complete object, rehearse the structure outside the tank, and reject anything that depends on guesswork or precarious installation. This selection process helps the aquarist compare rock and resin without treating either category as universally harmless.
A: No. Either material can be unsuitable because of origin, chemistry, edges, stability, geometry, or maintenance limits.
A: Cleaning does not identify mineral behavior or remove every possible environmental contaminant, so traceable aquarium stone is the safer choice.
A: No single household spot test establishes full mineral composition, contamination history, structural strength, and long-term suitability.
A: A known manufacturer, explicit submerged-use guidance, intact finish, inspectable interior, stable base, and maintainable geometry reduce uncertainty.
A: Do not assume a hollow molded object can carry stone. Support heavy pieces independently.
A: Leave appropriate clearance whenever contact could concentrate pressure, scratch a pane, or block cleaning.
A: Repeat a limited plant palette around the transition while preserving openings, coatings, supports, and inspection access.
A: A soak may reveal obvious physical changes, but it cannot certify unknown composition or contamination.
A: The answer depends more on shape and finish than category; a simple accessible object is easier than a porous maze or coated cavity.
A: Change it when mature fish, plant growth, waste patterns, or shifting supports show that the planned routes and access no longer work.
Define the Job Before Choosing the Material
Decide whether the hardscape must create a breeding cave, break sight lines, anchor plants, protect a filter intake, establish a theme, or guide schooling fish around open water. A single object may serve several roles, but naming the primary job prevents appearance from overruling habitat.
Map the mature animals. Record adult length and body depth, bottom use, digging, grazing, fin shape, group size, territorial behavior, and preferred current. A delicate long-finned fish and a powerful excavator place different demands on the same arch.
Mark equipment clearance, siphon routes, feeding areas, and the space required to catch a sick fish. Decorations receive the usable remainder. A visually impressive rock that blocks heater circulation or a resin castle that cannot be removed without draining the tank has failed the plan.
Trace the Origin of Every Candidate
Buy rock identified for aquarium or established aquascaping use from a knowledgeable source when possible. “Natural stone” does not reveal where it was collected, whether it contacted pesticides, salt, fuel, metal dust, or industrial runoff, or whether its mineral composition suits the intended water.
For resin, look for a finished product intended for aquarium submersion and backed by an identifiable manufacturer. Do not substitute outdoor décor, reptile furniture, painted toys, craft castings, or tabletop miniatures merely because they tolerate occasional moisture.
Keep invoices, product names, and packaging details. Traceability supports later questions about preparation, coating changes, and replacements. An anonymous bargain is difficult to investigate when its surface changes six months later.
When the origin cannot be resolved, leave the object out. No home test can identify every contaminant, additive, pigment, or coating in an unknown material.
Assess How Rock May Influence Water
Some carbonate-bearing rocks can dissolve gradually and raise hardness or buffering, an effect that may be useful in one aquarium and undesirable in another. The significance depends on the specific stone, exposed surface, water chemistry, maintenance, and biological needs. Do not rely on a visual rock name alone.
Reject Weak, Crumbling, or Metallic-Looking Stone
Brush and inspect the dry rock. Avoid pieces that shed grit continuously, split along fragile layers, crumble under light pressure, or expose sharp glassy points. Weathered pockets can break later when lifted or undermined.
Unusual metallic veins, oily odor, colored residue, or unknown staining warrant caution. Surface rust color is not a complete chemical analysis, and a magnet test cannot establish aquarium suitability. Select a better documented stone rather than experimenting with livestock.
Check every piece, even within one purchased lot. Mixed rock sold under a broad trade name can contain different mineral zones and structural weaknesses. Use consistency as a reason to inspect, not as a substitute for inspection.
Examine Resin as a Layered Finished Object
Identify the base, paint, clear coat, attached foliage, adhesive, and any embedded weight. The aquarium claim should apply to the complete product. A safe structural resin does not excuse an undocumented metallic accent or flaking color layer.
Inspect the underside and interior, where manufacture is often less polished. Look for pour points, rough seams, drainage holes, foam-like filler, plugs, screws, and cavities. A front-facing product photo rarely shows the places fish will investigate.
Reject sticky surfaces, persistent chemical odor, loose artificial moss, powdery color, peeling paint, or cracks. Do not assume soaking will remove whatever causes the defect. Choose an intact product and follow its preparation directions.
Remember that one resin ornament cannot prove another is safe. Formulations and finishes vary between makers and even between product lines. Evaluate the exact model rather than borrowing confidence from a different object.
Compare Edges and Animal Clearance
Feel accessible rock edges and resin seams with care, then use fine fabric to detect small catches. Natural texture can abrade fish that squeeze through it; molded texture can hide a sharp ridge beneath realistic paint.
Measure the narrowest point of every route at adult fish dimensions. Include fins, barbels, armor, and the space needed to turn. Decorative windows are especially risky because their exterior rim may be wider than the cavity behind it.
Design Stable Foundations Before Stacking
Heavy stone needs a support plan that prevents settling, sliding, and pressure against glass. Build on an appropriate stable base before loose substrate can be excavated from beneath critical contacts. Keep all loads within the aquarium manufacturer’s constraints.
Use broad, deliberate contacts instead of balancing dramatic points. Test the dry arrangement from several directions, including the direction a siphon, algae tool, or digging fish might disturb it. If a small bump begins a collapse, the design is not ready. Mark contact locations on a rehearsal board and photograph the structure at tank height. Rebuilding from a reference reduces the temptation to accept a weaker arrangement when hands are working inside narrow glass walls.
Resin pieces also need stable bases. Hollow ornaments may float until flooded, and tall props may become top-heavy under current or during cleaning. Never use loose rocks to pin an unsuitable floating object. Check whether the base traps a wide sheet of air against the substrate and whether drainage holes remain accessible after installation. A piece that floods only after repeated tilting may not belong beneath a completed aquascape.
Plan disassembly. A large structure should come apart in a controlled order without forcing hands between rock and glass. Photograph contacts and keep a temporary livestock container available for major maintenance.
Use Material Repetition to Avoid Visual Clutter
Choose one dominant rock family or one anchor resin object, then support it with limited related forms. Mixing many unrelated stones and multiple painted props can make even safe materials look like inventory rather than a habitat.
Integrate Rock and Resin Without Creating a Disguise
A resin ruin can sit convincingly within natural rock when color, scale, and direction agree. Let stone partly frame the object without covering its inspection points, drainage, or base. The goal is visual connection, not hiding evidence of deterioration. Repeat one or two surface colors in nearby gravel rather than pressing small stones into every seam. Open transitions look more natural after plants mature and remain easier to vacuum.
Plants can soften transitions. Epiphytes may attach to verified surfaces by a supported aquarium method, while rooted plants can grow around stable bases. Keep rhizomes exposed and prevent moss from sealing small entrances.
Do not stack heavy stone on a hollow resin roof. A molded cave may look solid while lacking the structure to carry a concentrated load. Support every heavy component independently.
Prepare Each Material by Its Own Instructions
Rinse documented rock to remove loose dust and soil using dedicated aquarium tools. Some stones benefit from brushing or repeated water changes, but boiling rock can create burn, fracture, or pressure risks and is not a universal preparation method.
Prepare resin according to the maker’s care directions. A gentle rinse is commonly appropriate, while abrasion, solvents, high heat, bleach, or aggressive scrubbing can damage coatings. Never use soap on objects entering the aquarium.
Observe both materials in a separate clean container if their behavior is uncertain. Look for crumbling, floating, trapped air, discoloration, odor, or surface change. This observation can reveal obvious problems, but it does not certify unknown chemistry.
Keep preparation records for complex builds. When water chemistry changes or a coating fails, knowing which pieces entered on which date makes troubleshooting more disciplined.
Test the Complete Layout Without Livestock
Fill slowly and watch for movement, trapped bubbles, settling, and contact with the glass. Run filtration long enough to see where debris accumulates and whether ornaments create stagnant zones. Confirm that intake, heater, and return flow remain serviceable.
View the aquarium from the sides and above. Hidden cavities and unstable rear contacts often disappear from the main view. Shine a light through intended tunnels and verify that every animal-accessible space can be inspected. Use a mirror outside the glass if the rear view is limited, but do not accept an inaccessible chamber merely because it looks dark from the front. Maintenance visibility should be designed, not improvised.
Practice the maintenance route. Move a siphon around the bases, simulate glass cleaning, and decide how the structure would be removed. Correcting a blocked route is far easier before fish establish territories.
Maintain Rock and Resin Differently
Rock generally tolerates gentle brushing, but fragile surfaces can still erode. Clean only what affects function or appearance, preserve useful biofilm when appropriate, and avoid lifting a stone without accounting for animals beneath it.
Resin coatings deserve lighter contact. Use a soft brush and removed aquarium water, and compare high-wear surfaces with the original photograph. Scratching through the finish can expose material never intended for direct contact.
Both materials can trap waste. Redirect flow, adjust feeding, or simplify the footprint rather than accepting a permanent debris pocket. A decoration that makes routine cleaning impossible is too complex for the available maintenance.
After deep cleaning or plant removal, retest every support. Roots and substrate may have been contributing to a structure without being designed to do so. Restore deliberate contacts before livestock returns.
Let Long-Term Condition Decide What Stays
Inspect rock for new fractures, shifting, and undercut bases. Inspect resin for peeling, softening, swelling, exposed filler, and loosened attachments. Remove any object whose condition can injure animals or whose material change cannot be explained.
Reassess fit as fish reach adult size and as plants narrow routes. The original selection was made for a projected habitat; the mature aquarium supplies better evidence. Replace a cave or arch before clearance becomes marginal.
Choose replacements by function first. If an established resin shelter must be retired, provide a stable alternative with comparable entrance direction and privacy before rearranging the entire territory. If a rock group becomes unstable, simplify rather than reproducing the same height with weaker contacts.
Aquarium-safe selection is a continuing process. Documented origin, suitable water behavior, intact surfaces, adult-scale geometry, stable support, and accessible maintenance must remain true together. Rock and resin can coexist beautifully when neither is asked to do a job its material or construction cannot support.
Compare the finished aquarium with the original role map after one month. Confirm that the planned shelter is actually used, open water remains open, and service routes still work with plants and livestock present. If the resin anchor has become a defended bottleneck or the rock base collects food beyond the siphon’s reach, correct the structure while the problem is small.