
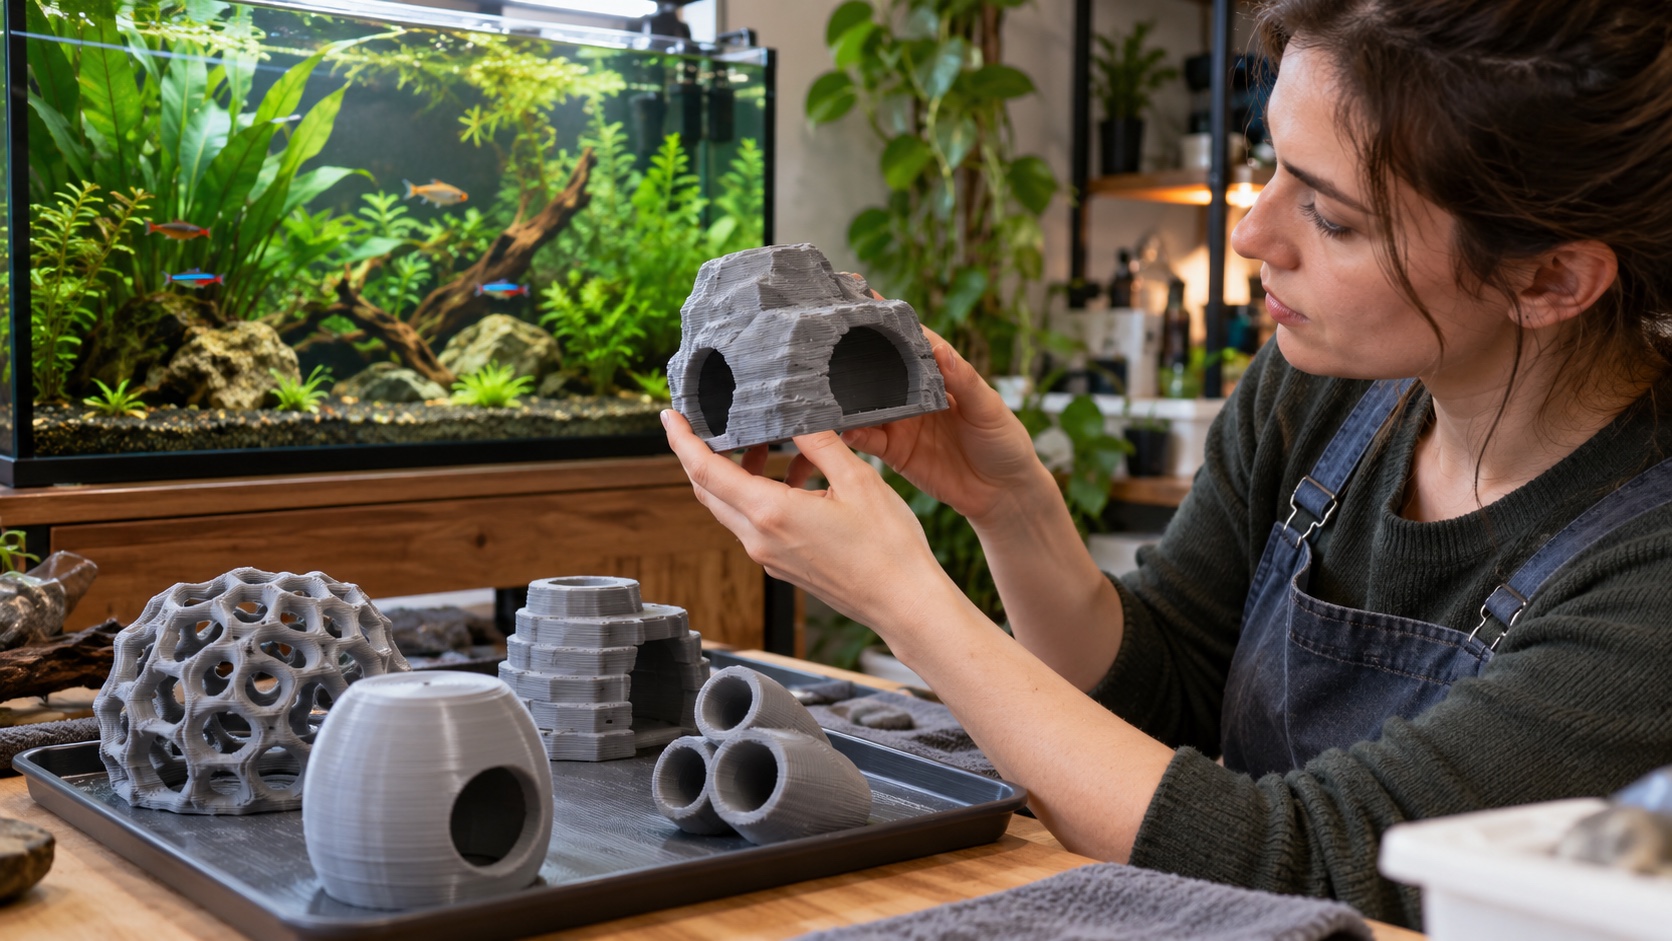
Safety Depends on the Material, Print, and Finished Habitat
A 3D-printed decoration can be usable in an aquarium, but the printer does not create safety by itself. The complete result depends on the exact feedstock, colorants and additives, printer history, nozzle, processing method, layer bonding, model geometry, post-processing, cleaning, and long-term condition underwater. A simple solid cave printed from a traceable material on a clean filament machine presents different questions from a hollow photopolymer sculpture containing trapped liquid resin. Even a chemically suitable plastic can fail as habitat when it has stringing, sharp support scars, brittle projections, narrow fish traps, hidden voids, or a base that rocks. Fishkeepers should demand material documentation and inspect the actual finished part instead of relying on a generic claim that PLA, PETG, or “resin” is safe. The right answer is conditional, testable, and specific to one print.
A: No. Safety depends on the exact material, production path, geometry, post-processing, installation, and ongoing condition.
A: PETG has useful water-resistant properties, but each formulation, color, printer history, and finished print still requires evaluation.
A: Some keepers consider specific PLA products, but temperature, additives, long-term behavior, and print quality must match the application.
A: Specialty additives introduce extra composition, abrasion, and exposure questions that plain documented material avoids.
A: Normal fine texture may be acceptable, while sharp seams, blobs, strings, support scars, and delamination can create injury or debris risks.
A: No. Watertightness does not establish chemical suitability, animal-safe geometry, or maintainability.
A: Extra curing cannot replace product-specific immersion evidence and validated washing, drying, drainage, and post-curing.
A: Only use a compatible documented coating system; sealant cannot correct weak layers, contamination, hidden resin, or unsafe shape.
A: Inspect it dry, commission it in a dedicated container without animals, then observe stability and flow in the unstocked layout.
A: Replace it for cracks, layer separation, loose fragments, trapped waste, narrowing clearance, instability, or unexplained surface change.
Identify the Printing Process First
Fused-filament fabrication melts a thermoplastic strand and deposits it in layers. Resin printers use liquid photopolymer cured by light. The word “3D printed” covers both, yet their handling hazards, post-processing, void risks, and evidence requirements differ substantially.
Ask which process produced the object, the exact material and color, whether the machine used other feedstocks, and how the part was cleaned. If the seller cannot provide basic production details, visual quality alone is not enough.
Printed decorations sold by a third party should still have a responsible maker, intended-use statement, and care guidance. A download page for the model describes shape, not the chemistry or workmanship of every person who prints it. Ask whether the photographed sample matches the supplied material and settings, and whether the seller will identify changes between production runs. Color alone cannot confirm that two parts came from the same feedstock.
Evaluate Filament by Exact Product
PLA and PETG are frequently discussed for aquarium projects, but polymer names do not disclose every pigment, impact modifier, lubricant, recycled fraction, or special effect. Use a traceable plain filament with technical information rather than assuming all spools bearing one abbreviation are equivalent.
PETG is valued for water and humidity resistance and strong layer adhesion in many technical applications. Those properties can make it a practical candidate, but they do not certify a particular brand, color, or printed geometry for indefinite fish contact.
PLA can print cleanly and is widely available, yet heat resistance and long-term environmental behavior vary with formulation and conditions. Aquarium lighting, pumps, hot rinsing, and unusually warm tanks may create demands that a room-temperature display never encounters.
Avoid specialty filament containing metal, wood, carbon, glow, glitter, fragrance, antimicrobial compounds, or unidentified recycled material unless the manufacturer explicitly supports the final aquarium exposure. Added particles also change nozzle wear and the finished surface.
Include the Printer and Nozzle in the Material History
A known filament can pick up residues from a machine used with unknown or highly filled materials. Record prior feedstocks, purge deliberately according to printer guidance, and use dedicated components when the risk warrants it.
Brass nozzles are common, while hardened steel or other nozzles may be chosen for abrasive materials. The appropriate choice depends on the filament and intended use. Do not make food-contact or aquarium claims from nozzle material alone; consider the whole production path.
Distinguish Water Resistance From Watertightness
A polymer may resist water while the printed part still allows water through layer gaps, seams, under-extruded regions, or screw holes. Watertightness is a property of both material and workmanship.
Water entering an intended solid wall can create stagnant pockets or buoyancy changes. A deliberately open cave is easier to inspect than a sealed-looking object whose interior slowly floods. Design either fully open drainage or a reliably solid form rather than accidental voids.
More infill does not automatically create a watertight shell. Perimeters, extrusion consistency, layer adhesion, orientation, and model integrity matter. A slicer preview should be examined for thin walls and isolated internal chambers.
Inspect Layer Lines and Surface Defects
Layer texture is not inherently dangerous, but sharp under-extruded edges, zits, blobs, strings, support scars, and delamination can catch fins or abrade animals. Inspect under raking light and run fine fabric along fish-contact routes.
Look inside entrances with a flashlight. Support removal is often roughest beneath arches and ceilings, exactly where fish may pass repeatedly. A hand that fits only through the front cannot confirm the deepest surface.
Reject brittle thin features and decorative spikes. Increasing scale does not always thicken every modeled detail enough for aquarium handling. Modify the model rather than depending on sanding around fragile geometry.
If smoothing is required, use a process supported for the chosen material and keep the surface uniform. Aggressive solvent treatment or heat can deform openings, trap residue, weaken a wall, or create a glossy exterior that hides internal defects.
Design Openings Around Adult Animals
Measure the smallest internal passage, not merely the visible entrance. Account for adult body depth, fin spread, barbels, armored plates, and the need to turn. Printed lattices and repeating holes can create many wedge points at once.
Provide alternate exits where territorial species may use the shelter. A beautiful single-door dome can become a defended trap. Broader arches and openly backed structures are often easier to supervise.
Scale files intentionally. Enlarging or shrinking a model changes wall thickness, gap size, support behavior, and print time together. Re-slice and re-inspect instead of assuming proportional scaling preserves safety.
Treat Hollow Models as High-Attention Objects
Hollow filament prints need generous drain paths and cleanable interiors. Tiny relief holes can clog with biofilm or substrate, while sealed cavities may conceal water, air, or manufacturing debris. Photopolymer prints create a more serious concern when uncured liquid resin or contaminated wash remains inside. Drainage, washing, drying, and post-curing must reach every cavity according to the exact material workflow. A sealed hollow print should never be presumed processed correctly.
Do not ask the aquarium to reveal a hidden defect. Cut open and discard a representative test piece if necessary to validate the production method, then redesign any inaccessible region. The finished habitat should allow ongoing inspection.
Understand the Extra Burden of Resin Printing
Liquid photopolymer requires protective handling and proper waste management. The printed part must be washed, fully dried, and post-cured as directed. General-purpose resin is not converted into an aquarium material merely by extending exposure under a lamp.
Biocompatible or engineering labels apply to defined use conditions and validated post-processing. They should not be stretched into claims about indefinite aquarium submersion unless the manufacturer supplies relevant evidence.
Because a resin print can hide liquid in supports, cups, or cavities, simple solid geometries are easier to evaluate. If the intended decoration can be made safely through a documented filament route instead, compare that lower-complexity option.
Never wash uncured resin over an aquarium sink, discard contaminated solvent down drains, or cure leftovers near livestock. Follow product and local disposal rules.
Be Cautious With Paints and Sealants
Painting introduces another material system. Primer, color, and clear coat all need compatible aquarium-use support, full cure, and reliable adhesion to the print. Fine layer valleys are difficult to cover and inspect.
A sealant cannot rescue contaminated feedstock, weak layer bonding, trapped uncured resin, or dangerous geometry. It may also scratch during cleaning and expose the substrate. Use coating only as part of a documented complete system.
Run a Dry Mechanical Release
Examine the part before water contact. Flex it gently where appropriate, press the base on a flat surface, inspect glued joints, and look for whitening or cracks. A decoration that creaks, rocks, or sheds fragments should not proceed.
Remove every support and loose string, then inspect the area under magnification. Avoid leaving narrow support stubs as hidden spikes. If removal opens a cavity or thins a wall, reprint with a better orientation or altered model.
Confirm the part can be cleaned with soft tools. Test whether a brush reaches interior corners and whether the object can be gripped without squeezing fragile features. Maintenance access belongs in acceptance, not just design.
Set the part on a flat surface and mark any rocking corner. Do not grind the base casually when that would open infill or thin a perimeter. Correct the digital base plane and reprint if the defect is structural, then verify the revised file rather than treating physical trimming as an undocumented production step.
Commission the Decoration Away From Fish
Rinse using the process appropriate to the verified finished material. Do not use soap, household sanitizer, or boiling water as a universal treatment. Allow the part to dry so residual debris is visible.
Use a dedicated container to observe buoyancy, trapped bubbles, water entry, warping, color transfer, odor, and layer separation. Rotate open forms to release air. A soak is a workmanship screen, not proof of chemistry.
After installation in an unstocked layout, run filtration and inspect flow. Lightweight printed forms can shift more readily than stone, while detailed bases may trap food. Correct placement before animals establish shelter. Check again after the part has fully flooded because its balance may differ from the first hour. Confirm that intake suction or return flow cannot pull a thin wall toward equipment.
Watch for Long-Term Wear and Microdamage
Photograph the new print from several angles. During maintenance, compare thin projections, entrance roofs, glued seams, base corners, and areas grazed by fish or snails. Layer separation may begin as a fine line before a piece becomes loose.
Use soft brushes and avoid tools that gouge the surface. Deep scratches, broken layers, or exposed internal fill make cleaning harder and may create detritus pockets. Retire the object rather than repeatedly trimming damage inside the aquarium.
Heat and cleaning history matter. Do not place the print in a dishwasher, oven, or boiling water unless the material maker explicitly supports that treatment. A part that looks unchanged can still warp enough to narrow an entrance or rock on its base.
Account for fish before removal. Printed caves can be light when drained yet still conceal an animal. Lift over a container and illuminate the interior from both ends.
Use a Conditional Answer, Not a Blanket Verdict
A 3D-printed aquarium decoration is a reasonable candidate only when the exact material is supported, the printer history is controlled, the model avoids traps, the print has no hazardous defects, and the finished part can be commissioned and maintained.
Filament printing with a traceable plain material and open solid geometry is generally easier to evaluate than a complex hollow photopolymer print. Easier does not mean automatic. Every object still needs adult-scale clearance, stable placement, and ongoing inspection.
Skip anonymous marketplace prints whose maker cannot identify material or processing. The low purchase price does not compensate for an inaccessible void, unknown additive, or brittle edge inside a stocked aquarium.
Most importantly, treat the file as only the beginning. Safety emerges from the chain that turns digital geometry into a finished habitat component. If any link is undocumented or physically poor, revise or reject the print before fish interact with it.
Revisit the decision after changes to livestock, temperature, water chemistry, or maintenance tools. A cave accepted for small shrimp may not suit a growing armored catfish, and a part kept away from a heater may face different stress after equipment moves. The installed context is part of the safety claim.